Wood Bowl

This is my sixth wood bowl!
Table of Contents
Overview
- Start: May 22, 2020
- End: Mar 3, 2021
- Wood Species: Jack Pine
The burl for this bowl was collected at the same time and general location as the burl for a separate bowl project while in Minnesota. It was extracted and completed in the same manner as that burl/bowl.
Bark Removal
My first step was to remove the bark from the burl. Because I allowed the burl to dry with the bark attached, removing the bark was difficult. I had to use a chisel and paint scraper until I felt comfortable with the amount of bark removed.


Carving
Next, I needed to find a way to safely and accurately hollow the bowl.
Precise control here was critical because penetrating through the bowl edge was a non-starter.
I used a dremel with diamond wheel from Home Depot1 to progressively refine the thickness of the bowl.

Base Plug
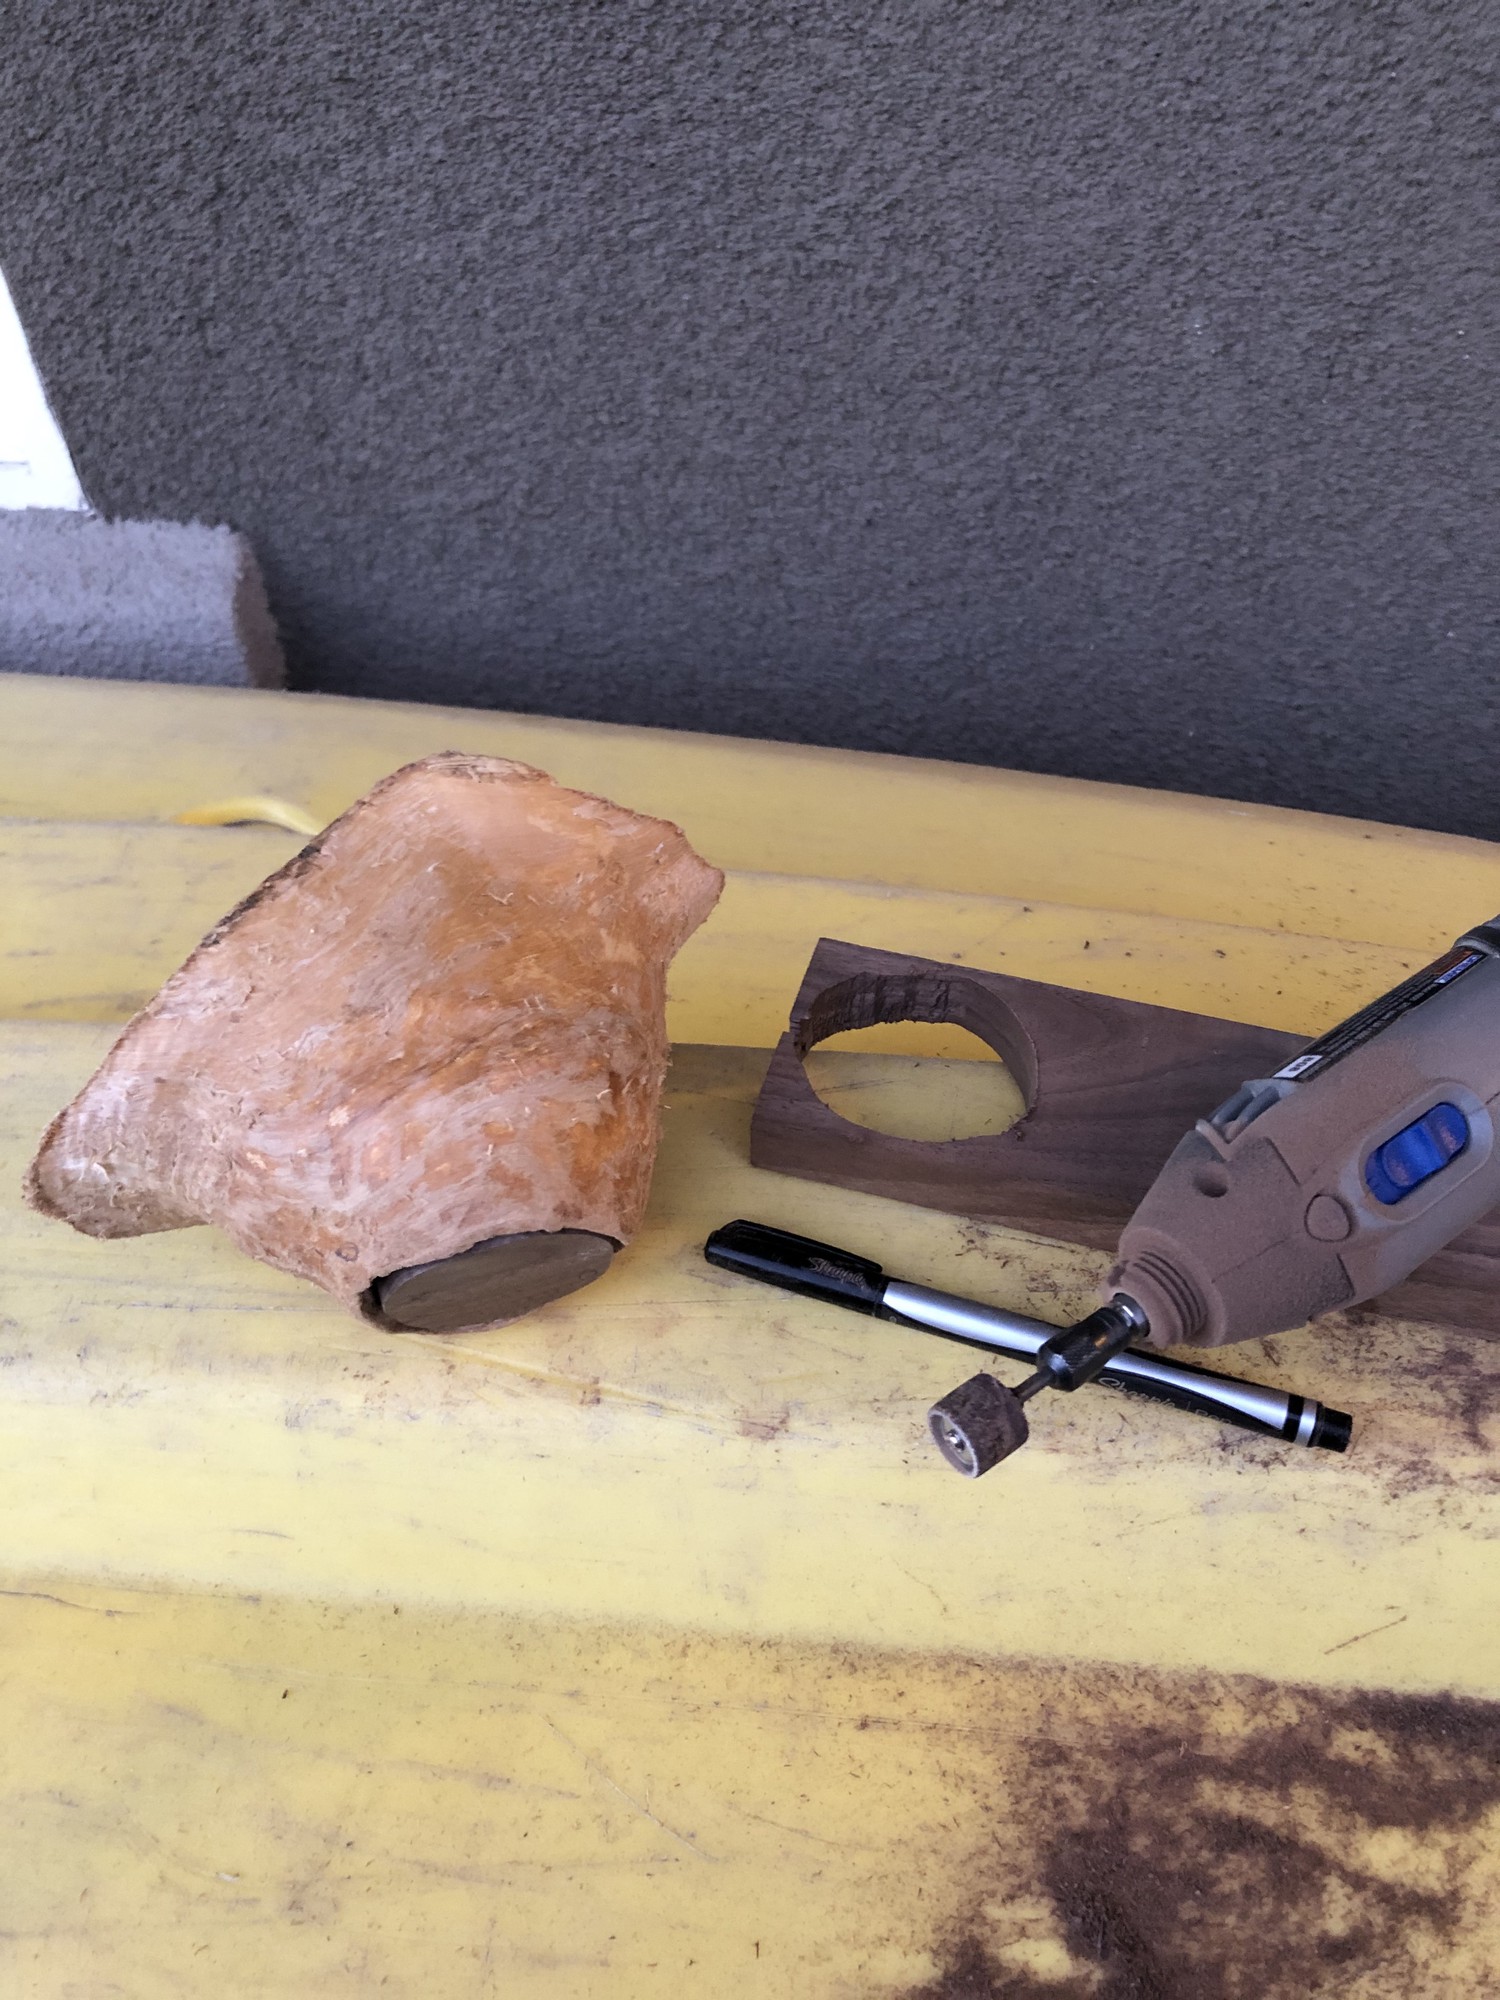
Because the burl was rotten through its center, there was hole left open at the base of the would-be bowl.
I decided to plug this hole with a custom fitted piece of black walnut purchased from Home Depot.
The plug was initially cut using a dremel and multipurpose cutting bit2.
Then the shape was further refined to fit the hole using a dremel and drum sander3.
Once the fit was snug, I tapped the plug into the hole until it was flush with the bottom of the bowl.


1st Pass Crack Filling
The plug needed to be sealed into the base of the bowl. I used West Systems 105 resin4 and West Systems 205 hardener5 along with a black epoxy pigment6 (the natural color of the cured epoxy is yellow and hence, slightly ugly).

I then cleaned up the fill using a dremel, diamond wheel bit1, drum bit3 and several polishing wheels from a polishing set7.


1st Pass Sanding
Next, I moved on to sanding the burl using a dremel, wet/dry 220 grit sandpaper, sanding drum bit3, wire wheels8 and several polishing wheels7.


2nd Pass Crack Filling
Once the first pass of sanding was completed, it became apparent that the epoxy fill had small pockets formed from trapped air during the curing process.
I decided to perform a second pass filling of the hole in the same manner as the first.

These small secondary, fills were then cleaned up using a dremel and polishing wheels7.
Wipe Down
Before applying the finish coats of oil, I wiped-off as much of the residual sawdust from the burl as possible using a lightly dampened, paper towel.
Finish Coats
The last step was to apply finish to stain and protect the bowl as well as to enhance the chatoyancy of the bowl. For this I used Walnut colored Rubio Monocoat9 following the instructions on the back of the can. This finish is highly respected in the woodworking community as it is in-grain, requires just one application that takes about 15 minutes to apply and once dried (after ~5 days), is food-safe.


Finished Bowl


Cheers!
-
https://www.homedepot.com/p/Dremel-7-8-in-Rotary-Tool-Diamond-Wheel-for-Marble-Concrete-Brick-Porcelain-Ceramics-and-Epoxies-545/100346850 ↩︎
-
https://www.amazon.com/Dremel-561-Multipurpose-Cutting-Bit/dp/B00004UDIB/ref=asc_df_B00004UDIB/?tag=hyprod-20&linkCode=df0&hvadid=309832851244&hvpos=&hvnetw=g&hvrand=2678974696045048954&hvpone=&hvptwo=&hvqmt=&hvdev=c&hvdvcmdl=&hvlocint=&hvlocphy=9031914&hvtargid=pla-383694946481&psc=1&tag=&ref=&adgrpid=64417494871&hvpone=&hvptwo=&hvadid=309832851244&hvpos=&hvnetw=g&hvrand=2678974696045048954&hvqmt=&hvdev=c&hvdvcmdl=&hvlocint=&hvlocphy=9031914&hvtargid=pla-383694946481 ↩︎
-
https://www.amazon.com/Dremel-407-Drum-Sander/dp/B00004UDGV/ref=sr_1_6?dchild=1&keywords=dremel+sanding+drum&qid=1588277399&sr=8-6 ↩︎
-
https://www.westmarine.com/buy/west-system---105-a-epoxy-resin--323733?cm_sp=Onsite-Recs-_-Related-Items-_-Desktop ↩︎
-
https://www.westmarine.com/buy/west-system---205-a-fast-hardener--318360?cm_sp=Onsite-Recs-_-Related-Items-_-Desktop ↩︎
-
https://www.westmarine.com/buy/evercoat--resin-coloring-agent--P004_120_004_002?recordNum=4 ↩︎
-
https://www.amazon.com/gp/product/B075C72PGK/ref=ppx_yo_dt_b_asin_title_o00_s00?ie=UTF8&psc=1 ↩︎
-
https://www.homedepot.com/p/Dremel-3-4-in-Rotary-Tool-Wheel-Shape-Wire-Brush-428/202263147 ↩︎