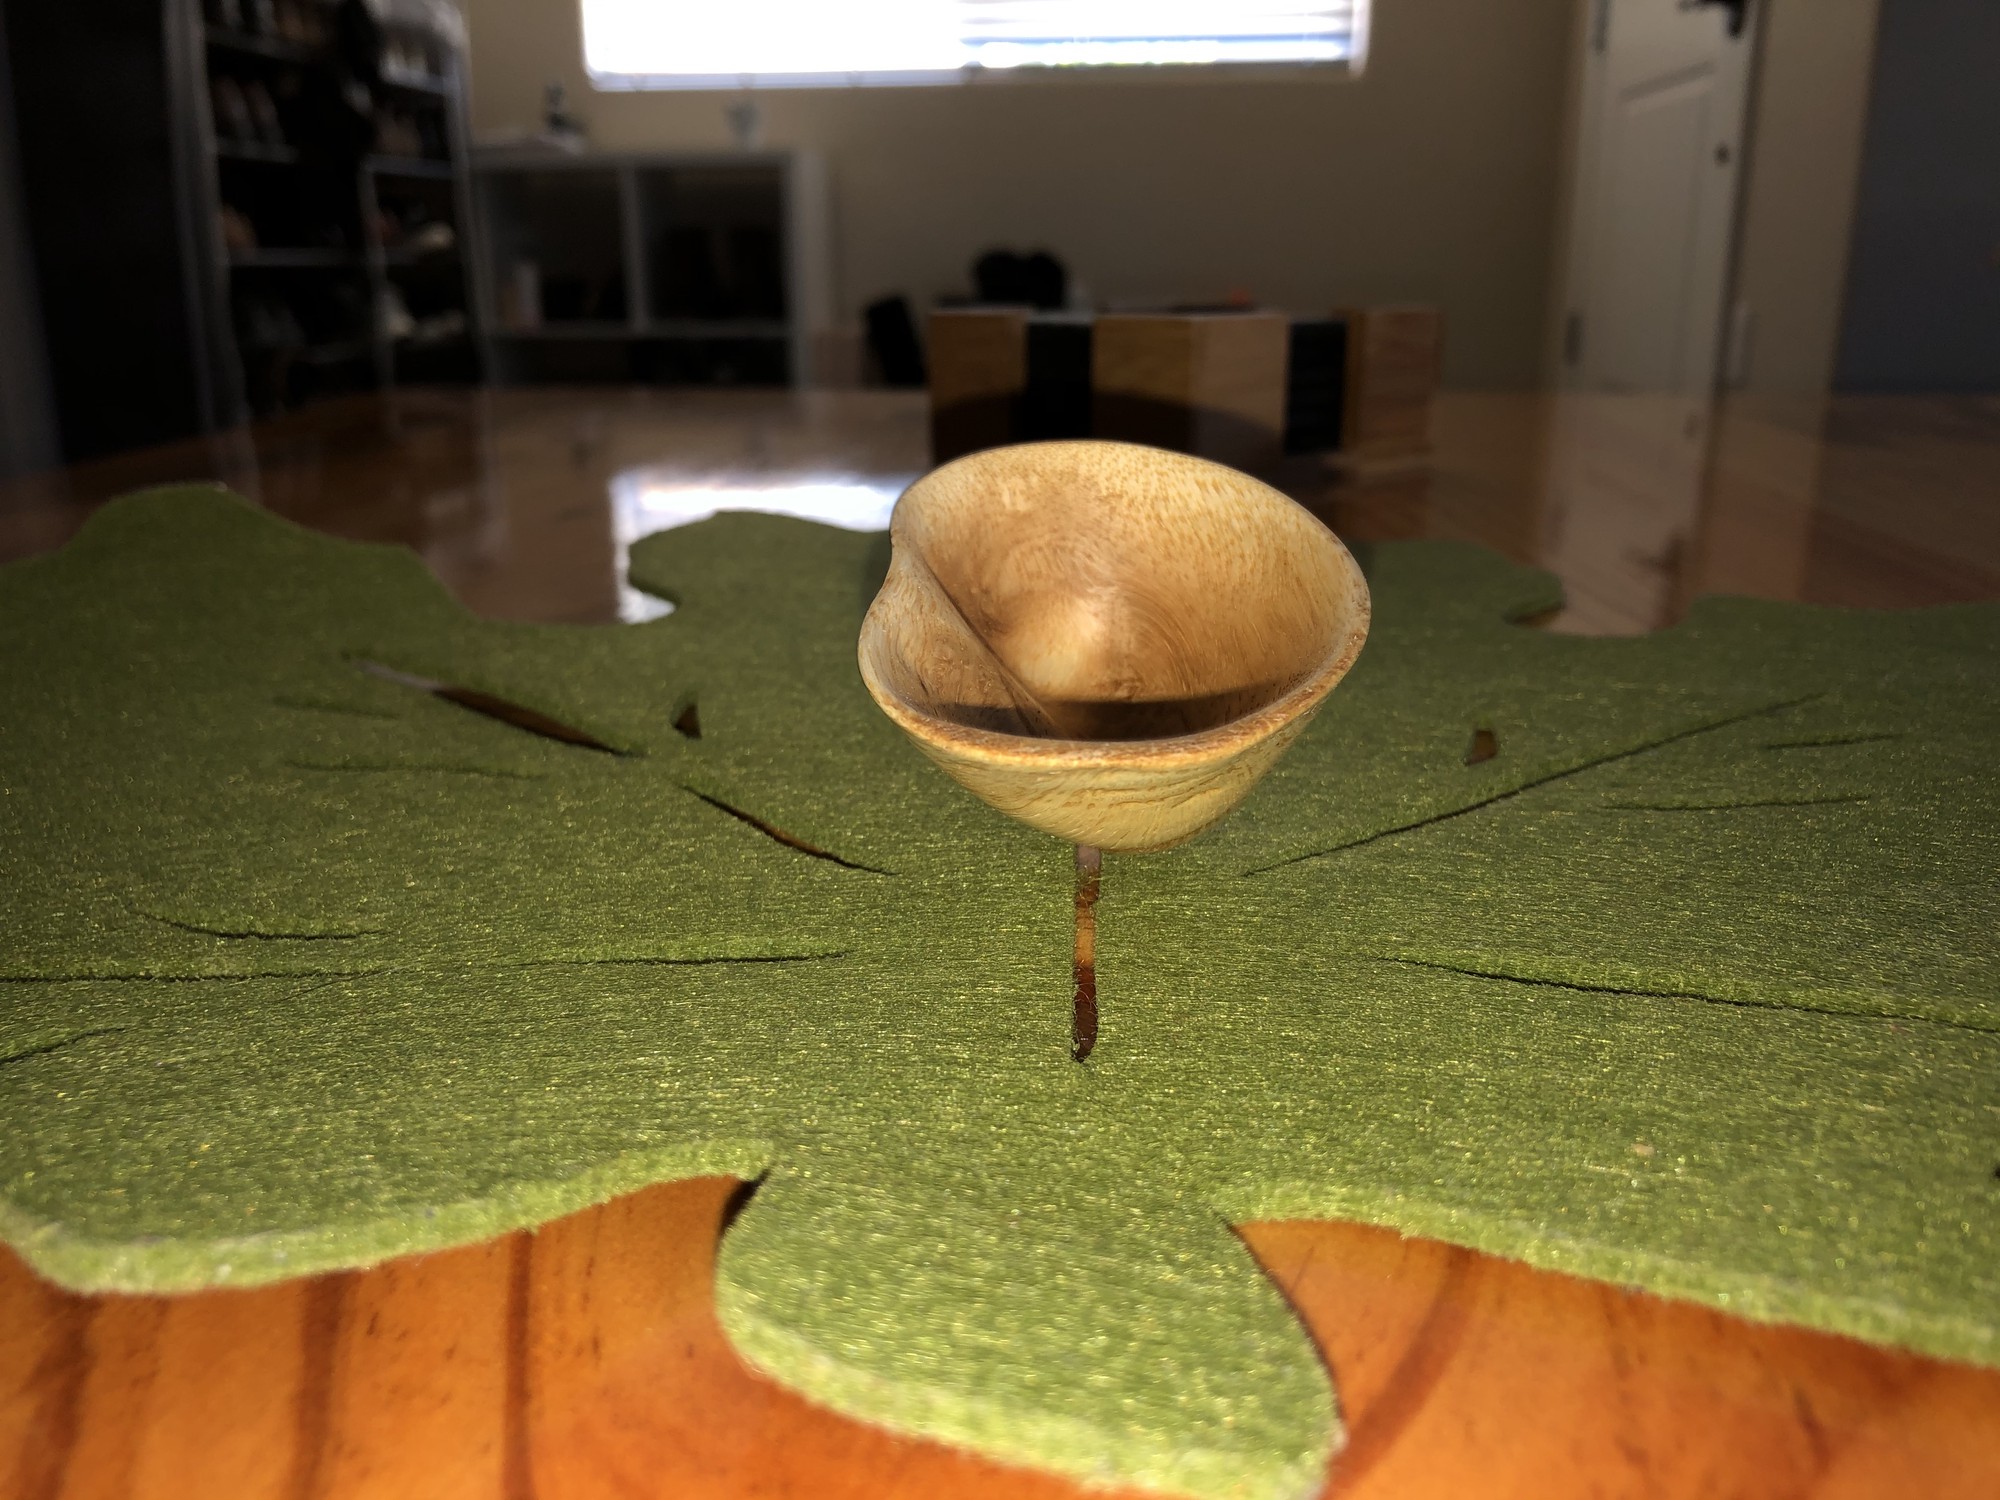
Wood Bowl

This is my second wood bowl!
Table of Contents
Overview
- Start: December 27, 2019
- End: April 25, 2020
- Wood Species: Jack Pine
After completing my
first burl bowl, I decided to take on more bowls-from-burls projects.
This past winter, while hiking in Minnesota, I stumbled across an easily accessible burl on a Jack Pine tree.
I proceeded to extract it with a hand saw (poor tree) and transport it back to my home on the West Coast.
Bark Removal
My first step was to remove the bark from the burl. Because I allowed the burl to dry with the bark attached, removing the bark was difficult. I had to progressively move from using a flat head screw driver to finer and finer sanding paper until I felt comfortable with the amount of bark removed.


Carving
Next, I needed to find a way to safely and accurately remove any remaining bulk wood from the bowl and to evenly hollow it out.
Precise control here was critical because penetrating through the bowl edge was a non-starter.
I considered my dremel a prime tool for this task.
After my experience gained on my
first burl bowl with various bits (smoother wheels tended to simply burn the wood), I used course-grain sanding drums1 and a laterally cutting bit from Home Depot2.
This task was tedious and required complete focus so as to avoid penetrating too deep through the wood.
This burl is very small and as such, its small recesses were difficult to evenly extract material from.
Unfortunately, the bowl was small enough that I couldn’t remove material in a way as to allow the bowl’s center of mass to be positioned such that is was balanced when rested on its bottom.
This step took ~4hrs.

Sanding
Next, I moved on to sanding the cored out burl using 220, 320 and 600 grit wet/dry sand paper (in that order). This sanding was all done by hand and took ~4hrs.

Wipe Down
Before applying the finish coats of oil, I wiped-off as much of the residual sawdust from the burl as possible. I made the mistake of first wiping the bowl down with a lightly damp paper towel. This raised the grain of the wood enough to be noticeable to the touch. So, I then performed one final light sanding with 600 grit paper followed by a light wipe down using a dry paper towel.


Finish Coats
The last step was to apply finish coats to both stain and protect the bowl. For this I used Watco Natural Danish Oil3 following the instructions on the back of the can.


Finished Bowl


Cheers!
-
https://www.amazon.com/Dremel-407-Drum-Sander/dp/B00004UDGV/ref=sr_1_6?dchild=1&keywords=dremel+sanding+drum&qid=1588277399&sr=8-6 ↩︎
-
https://www.homedepot.com/p/Dremel-1-8-in-Multi-Purpose-Rotary-Tool-Cutting-Bit-for-Wood-Plastic-Fiberglass-Drywall-Aluminum-and-Vinyl-Siding-561/202263174?g_store=6603&mtc=Shopping-B-F_D25T-G-D25T-25_9_PORTABLE_POWER-Multi-NA-Feed-LIA-NA-NA-PortablePower_LIA&cm_mmc=Shopping-B-F_D25T-G-D25T-25_9_PORTABLE_POWER-Multi-NA-Feed-LIA-NA-NA-PortablePower_LIA-71700000044155732-58700004615424082-92700051389149201&gclid=Cj0KCQjw7qn1BRDqARIsAKMbHDZXeK2O-piyDd4PnQGrw3kONUvxlGfu_1uRgcSn6VzRwH7K4mXz86IaApzfEALw_wcB&gclsrc=aw.ds ↩︎
-
https://www.homedepot.com/p/Watco-1-pt-Natural-Danish-Oil-265503/203164644 ↩︎