Wood Bowl C13
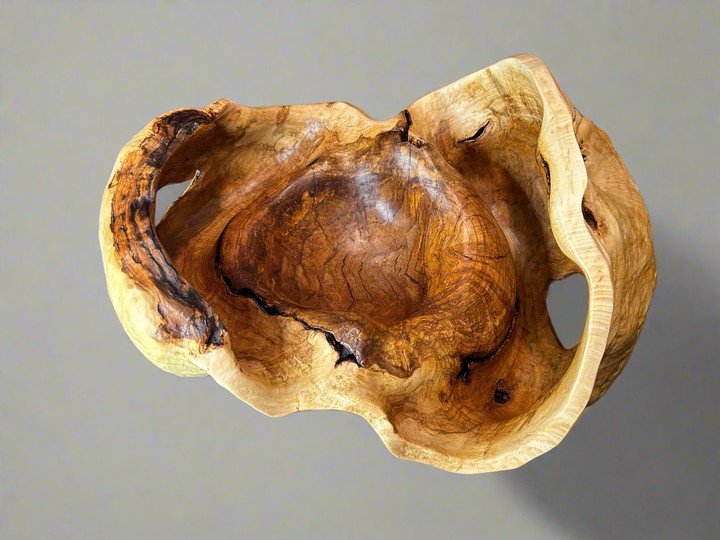
My first Minnesota oak bowl!
Table of Contents
Overview
- Start: Dec 12, 2022
- End: Feb 10, 2025
- Wood Species: Oak
This burl came from family property in Minnesota. I harvested it in 2022 and finally had a reason to tackle its complexities when I was asked to donate a piece for the 2025 Stars of Tomorrow Gala Fundraiser for the Arkady Fomin Scholarship Fund’s charity auction in Chicago. It’s likely the most complex and laborious burl bowl that I have attempted to-date. In addition to being my first public appearance at any large show-room floor, it also holds special value as I produced it during my brother’s passing.
You can see the sales page for the bowl here.
A timelapse of making the bowl is here.
Production time alone for this bowl (not counting harvesting, curing, or write-ups like this blog post), took over 50 hours!
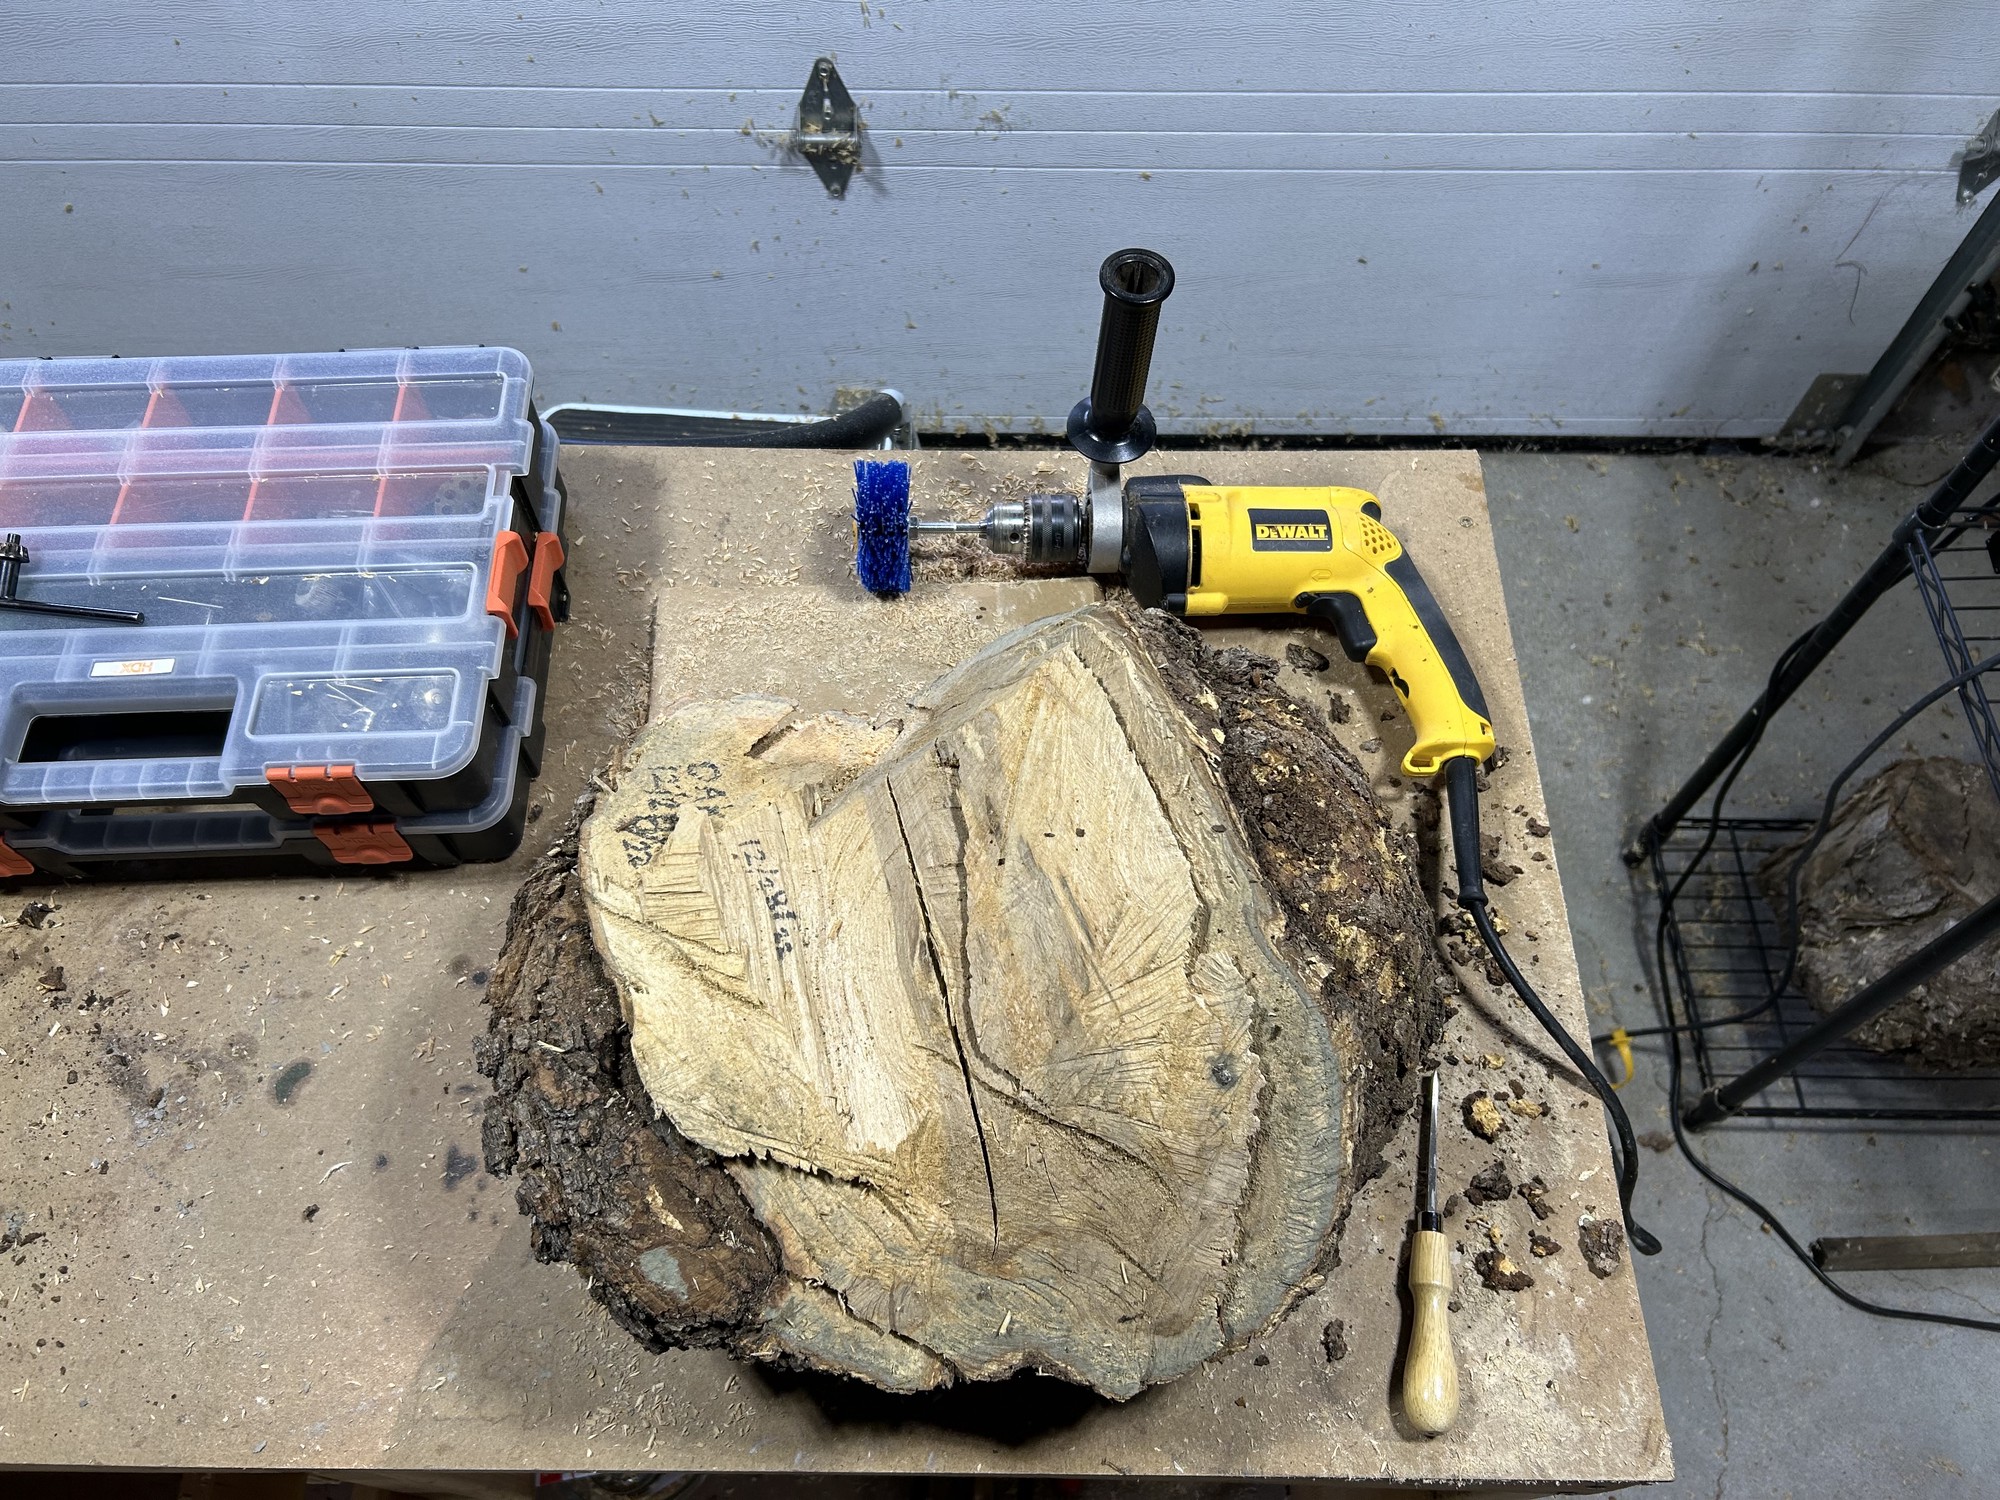
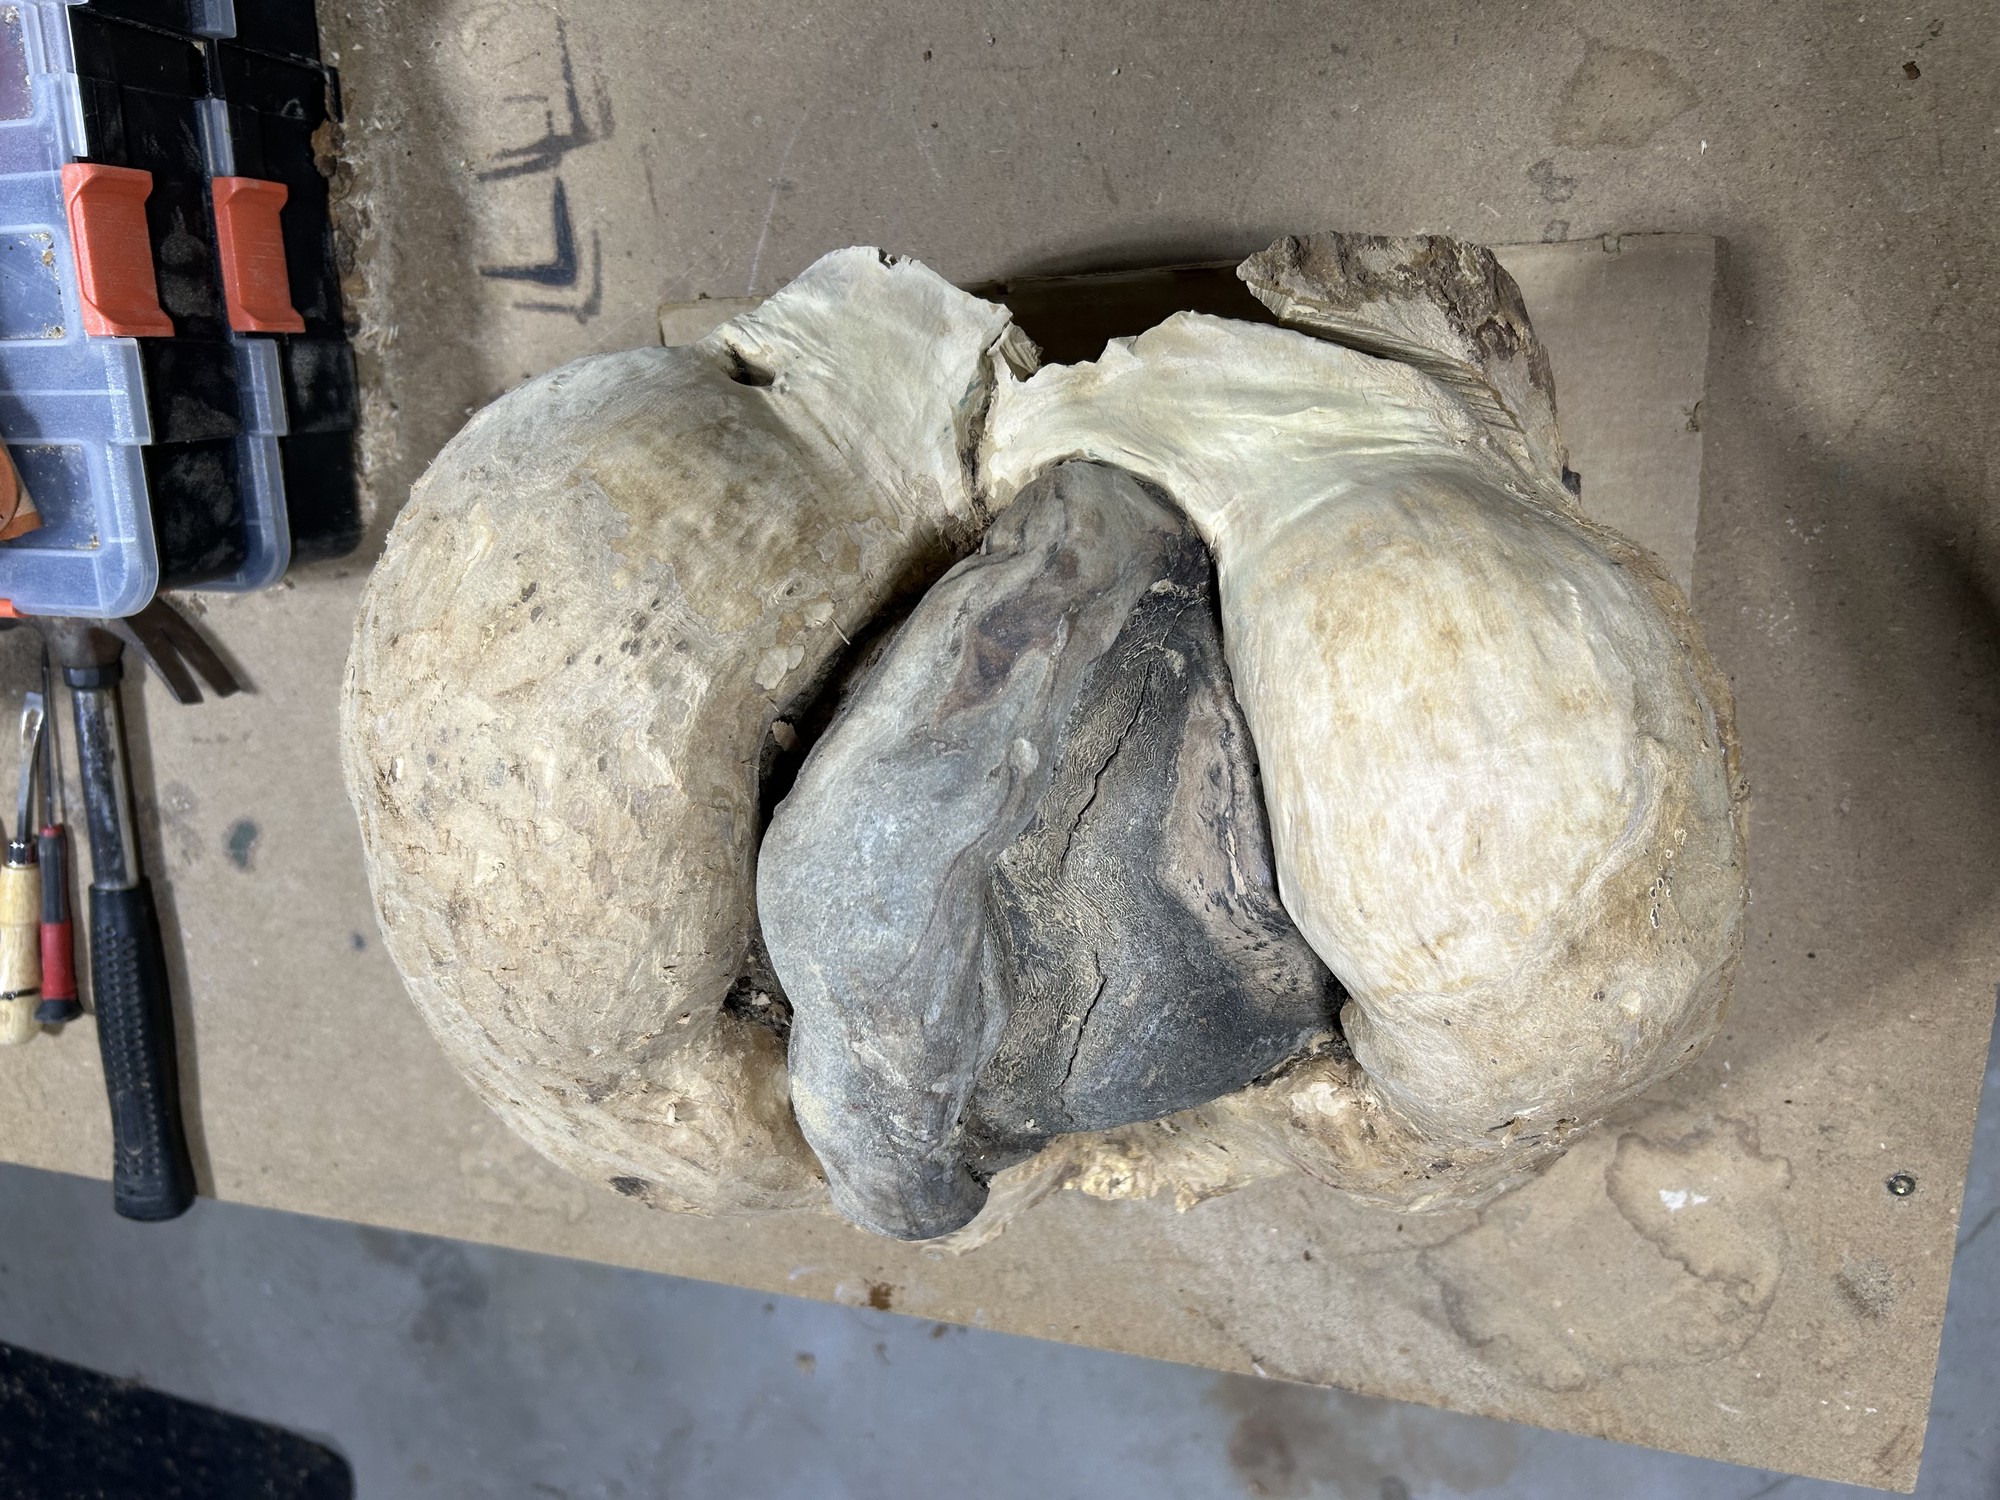
Bark Removal
Bark removal for this piece was extremely difficult as the bark and phloem layers refused to separate cleanly from the cambium layer by hand peeling. This was performed using flat head screw-drivers, chisels, a hammer, and both an 80 grit nylon wheel brush1 and wire wheel brush2 with a high torque drill. Using a first pass with hammer and chisel/flat-head-screwdriver to remove the bark layer, followed by the 80 grit nylon wheel brush to remove the phloem layer, proved to be the best procedure. It balanced my desire for rapid removal with the need to be careful not to remove the cambium layer (this layer is very pretty when polished/oiled). Small flat-head-screwdrivers were helpful removing bark in intricate areas while the wire wheel brush helped with fast removal of bark in stubborn areas. The 80 grit nylon wheel provided the ability to not only remove the phloem layer, but also polished the wood.
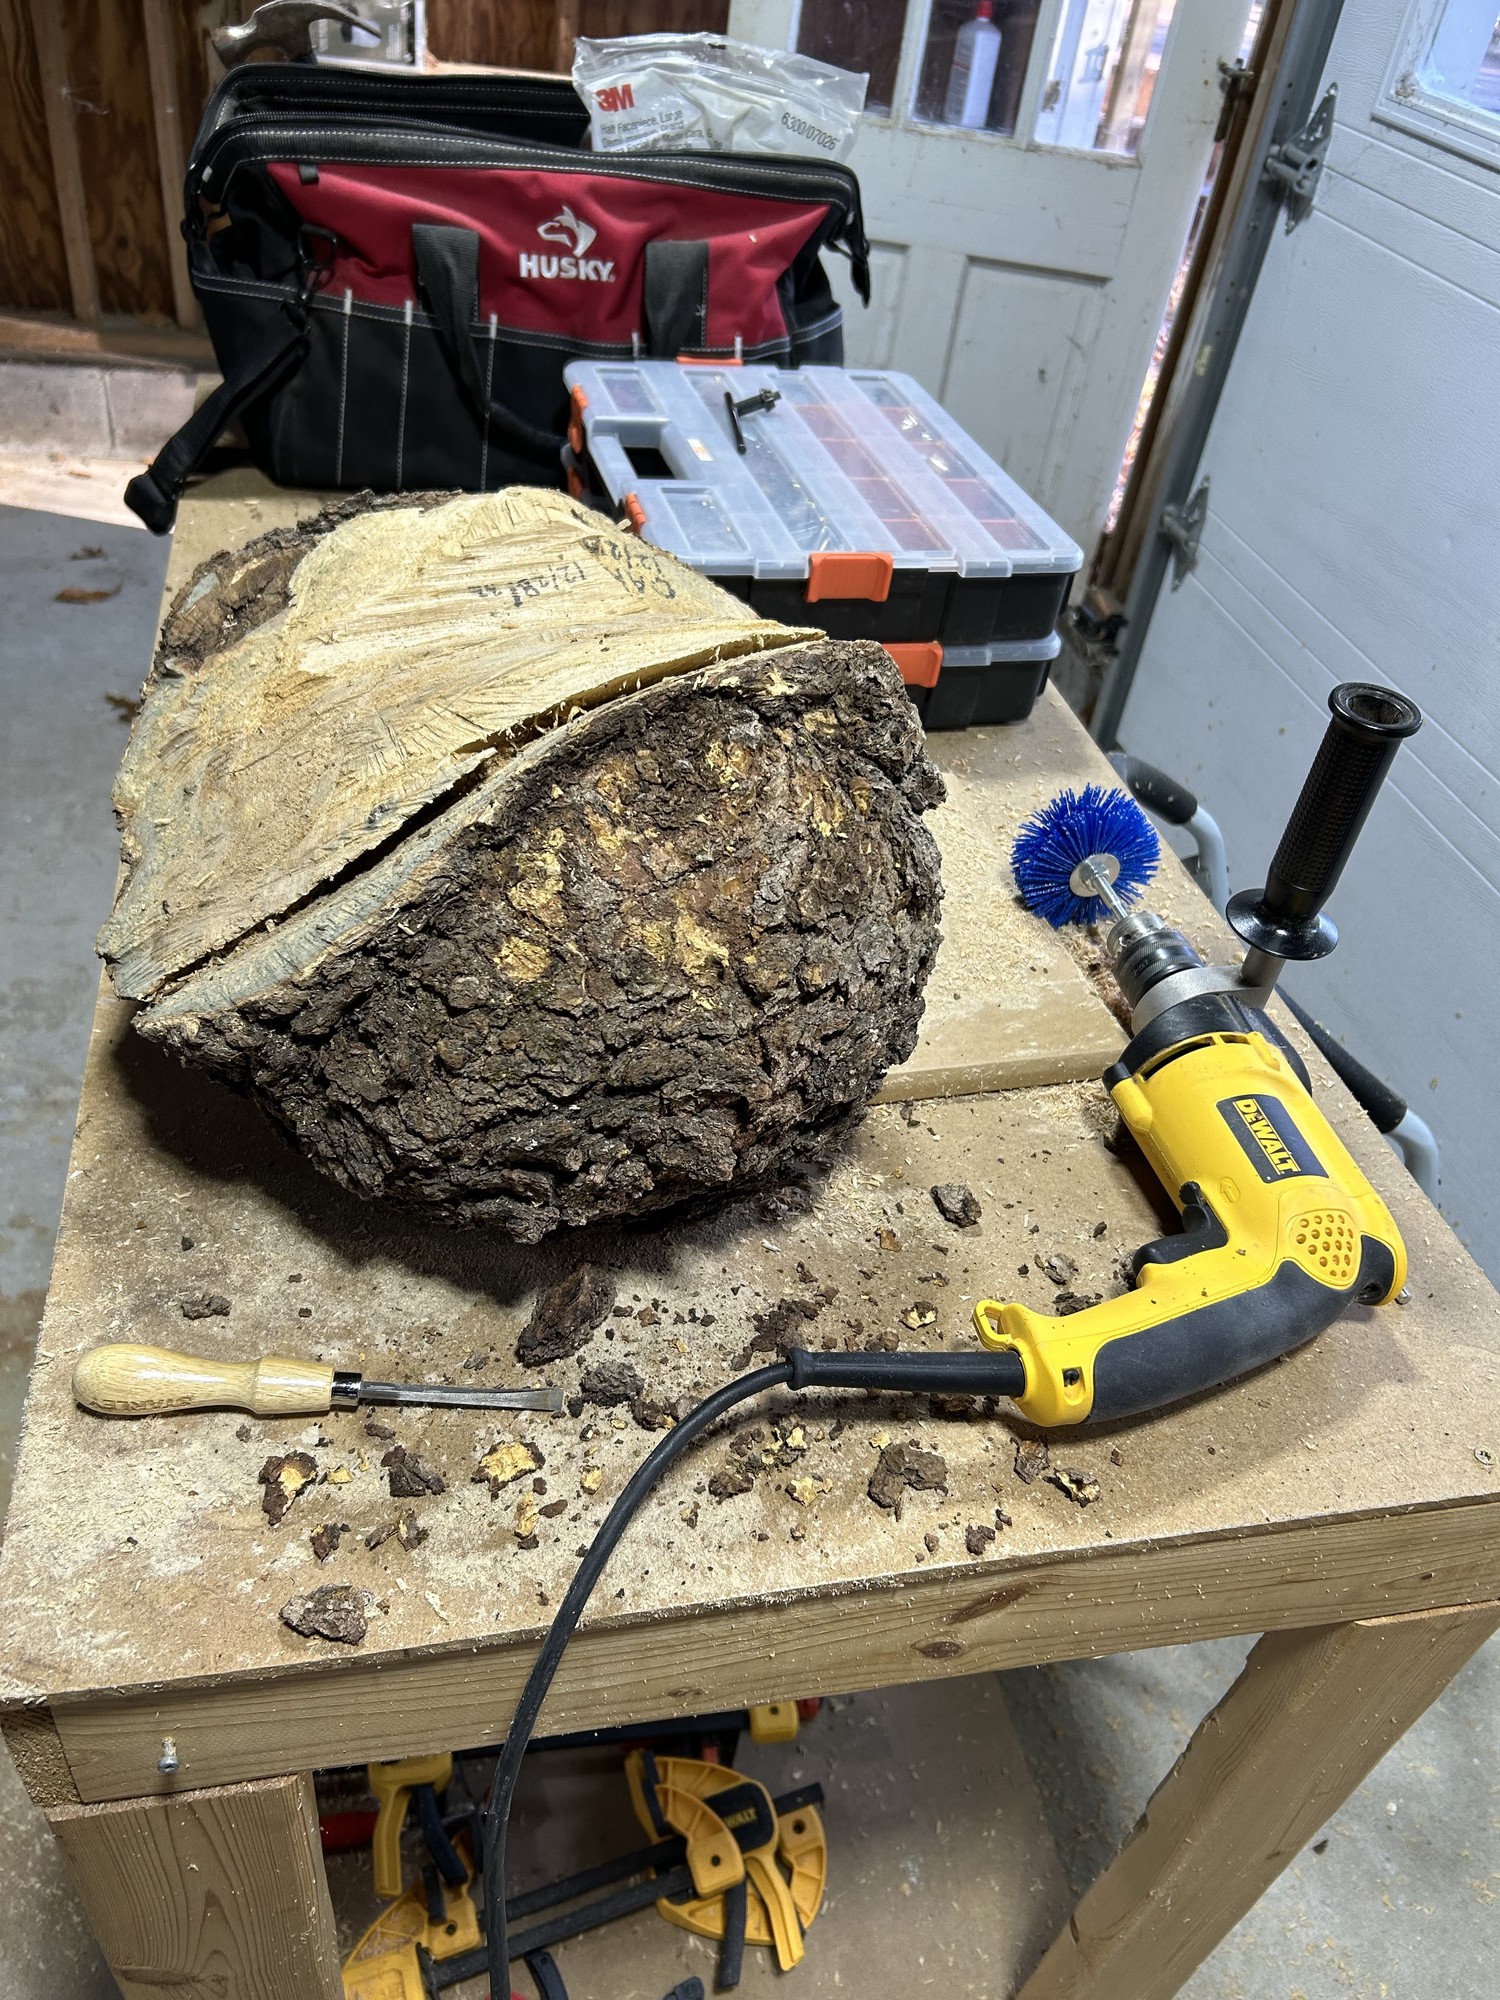
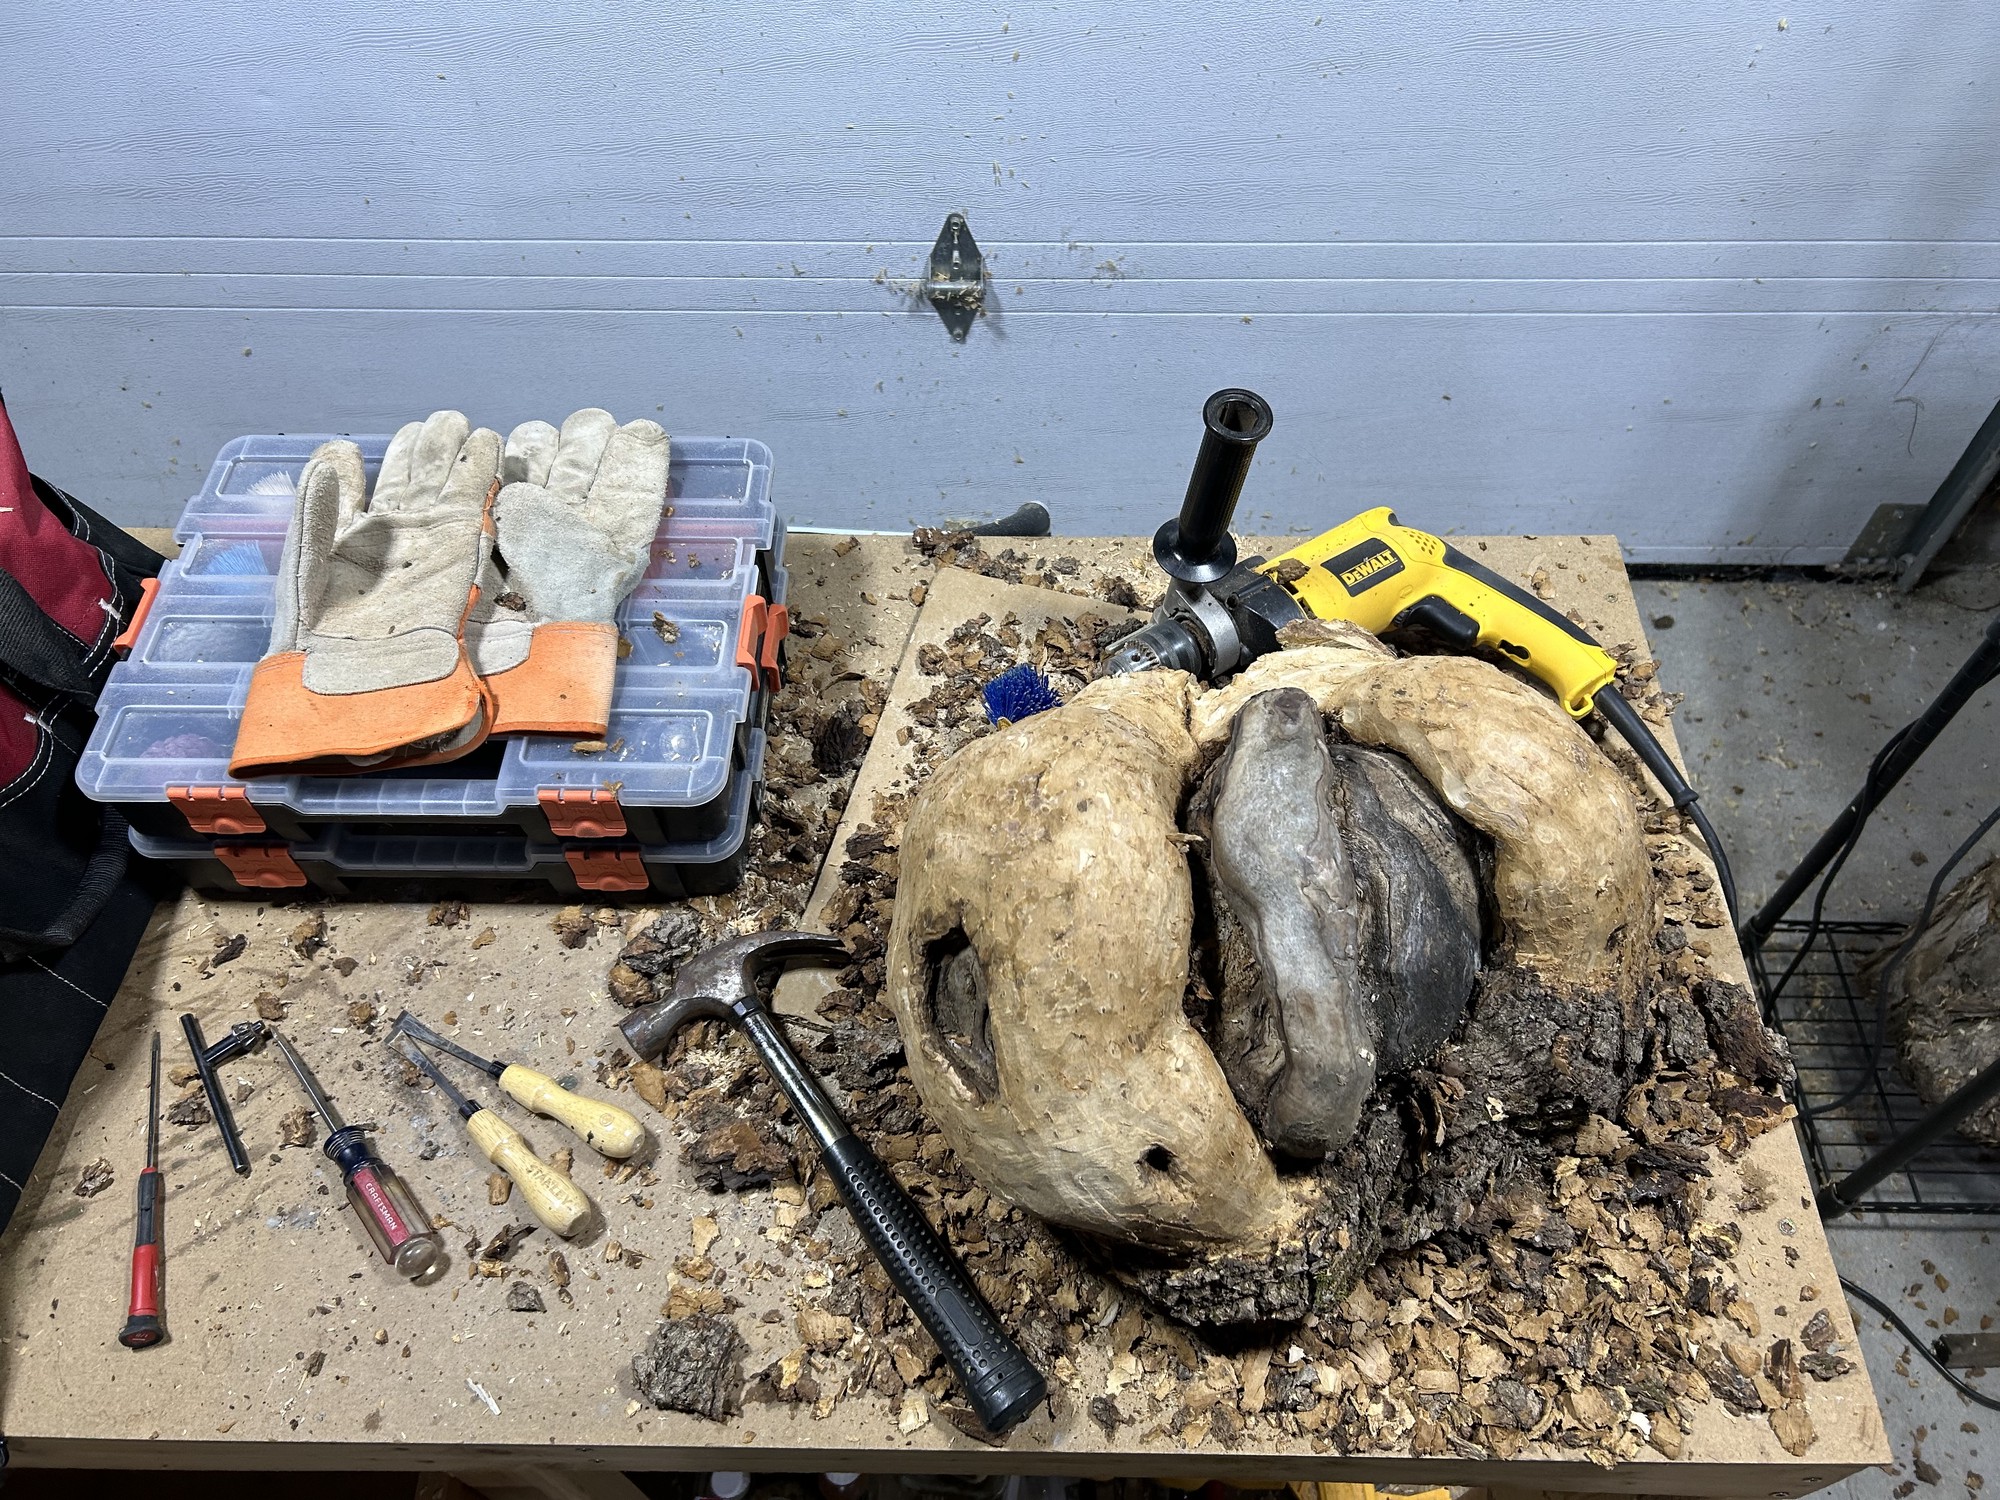
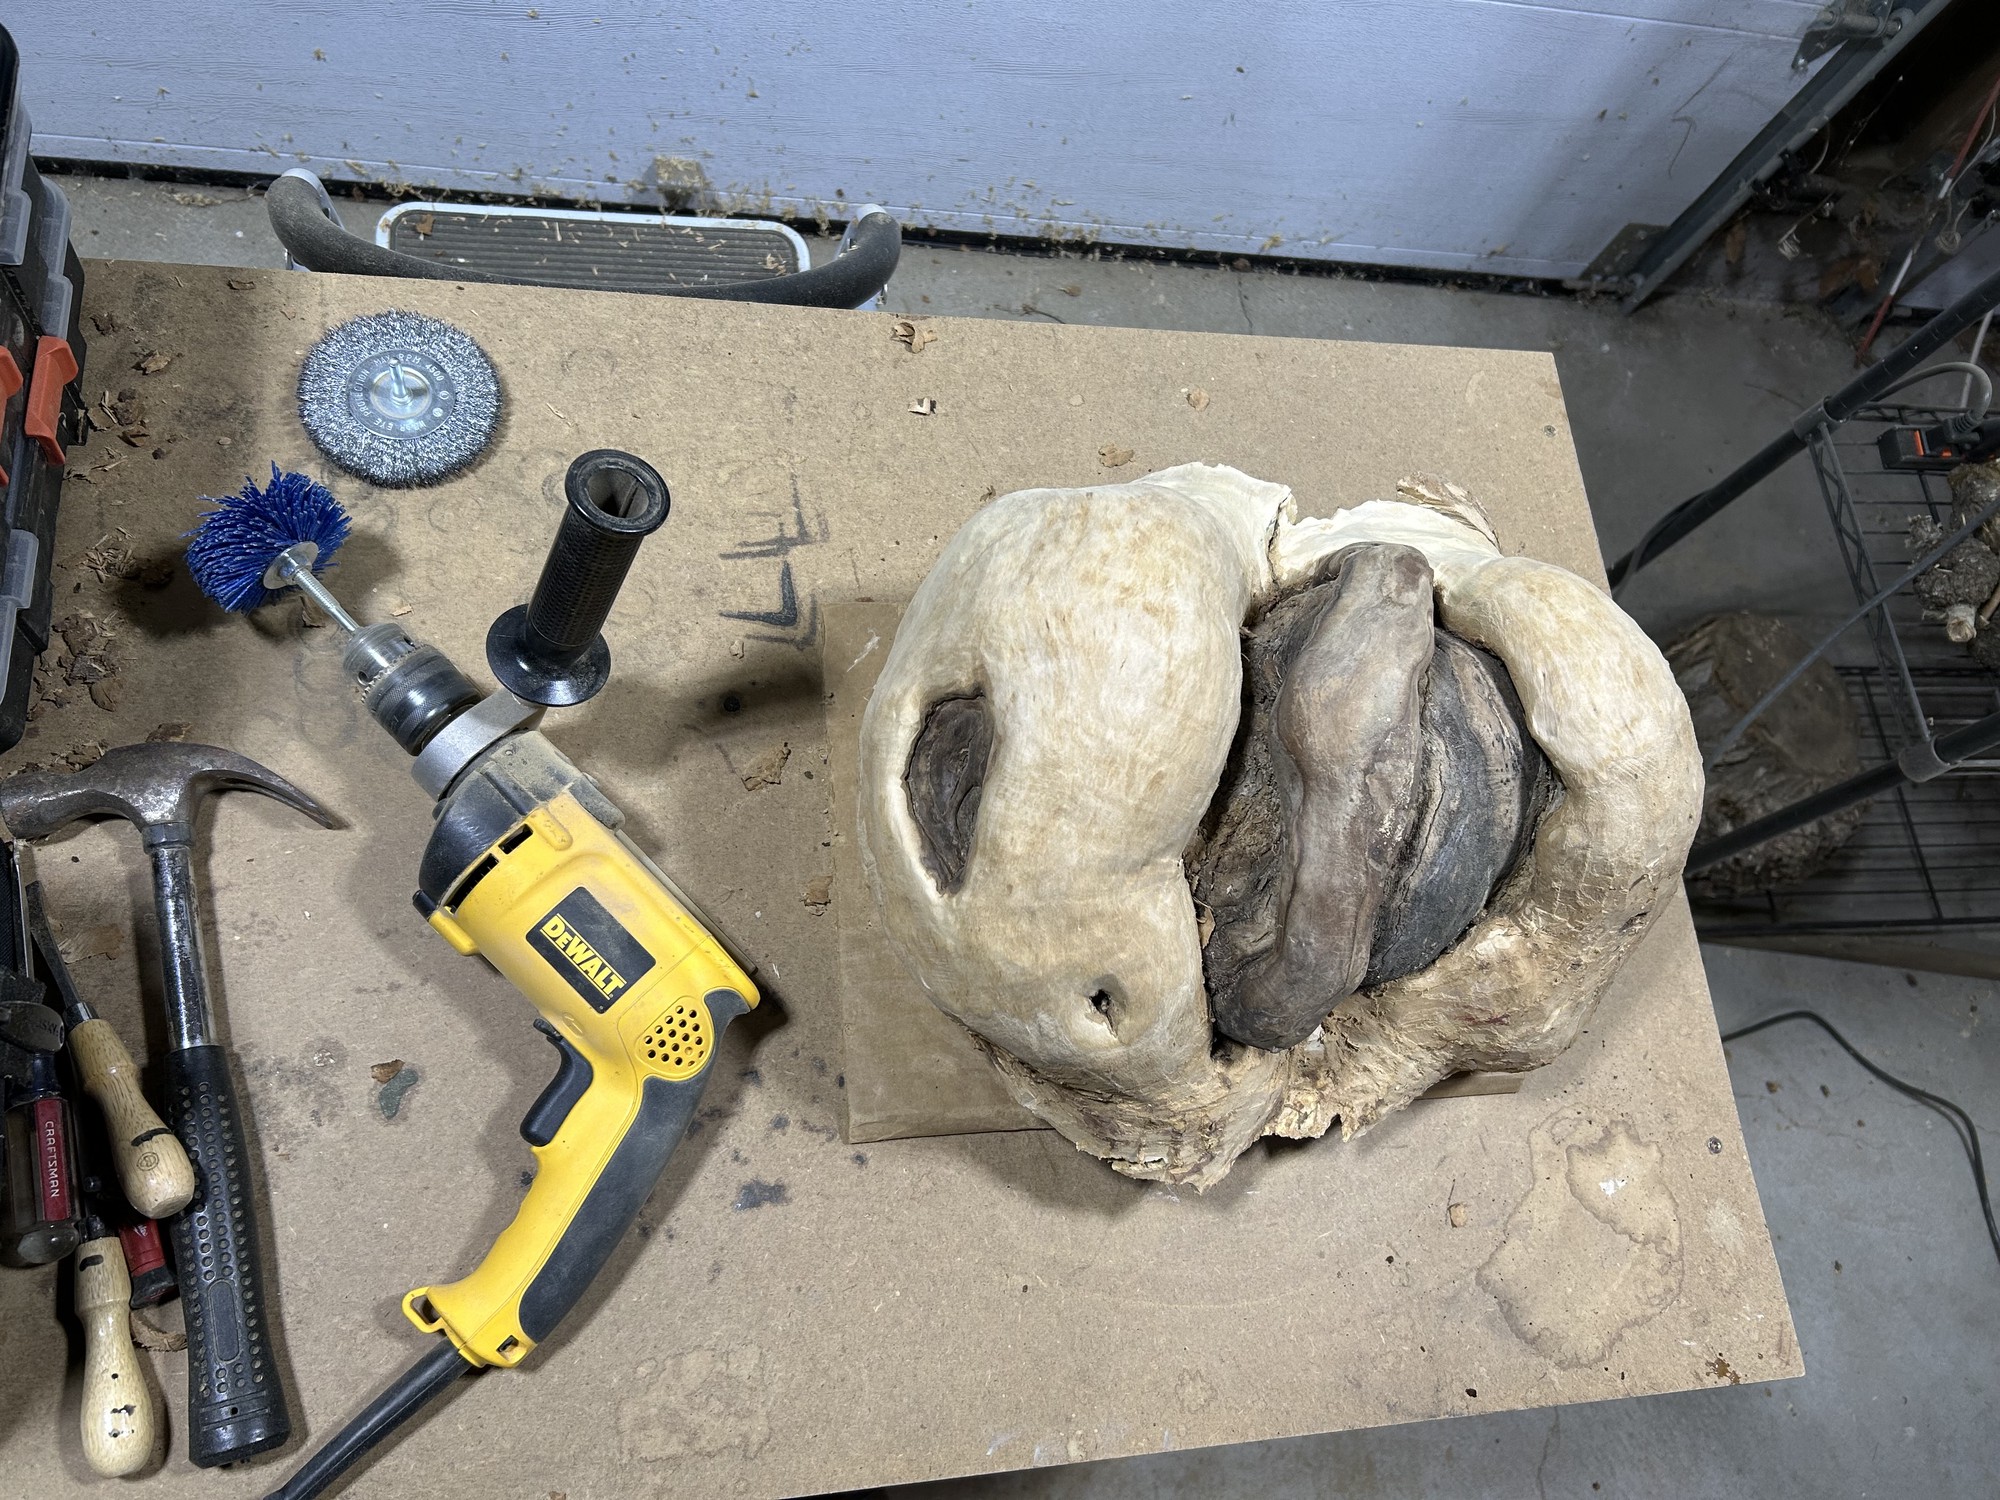
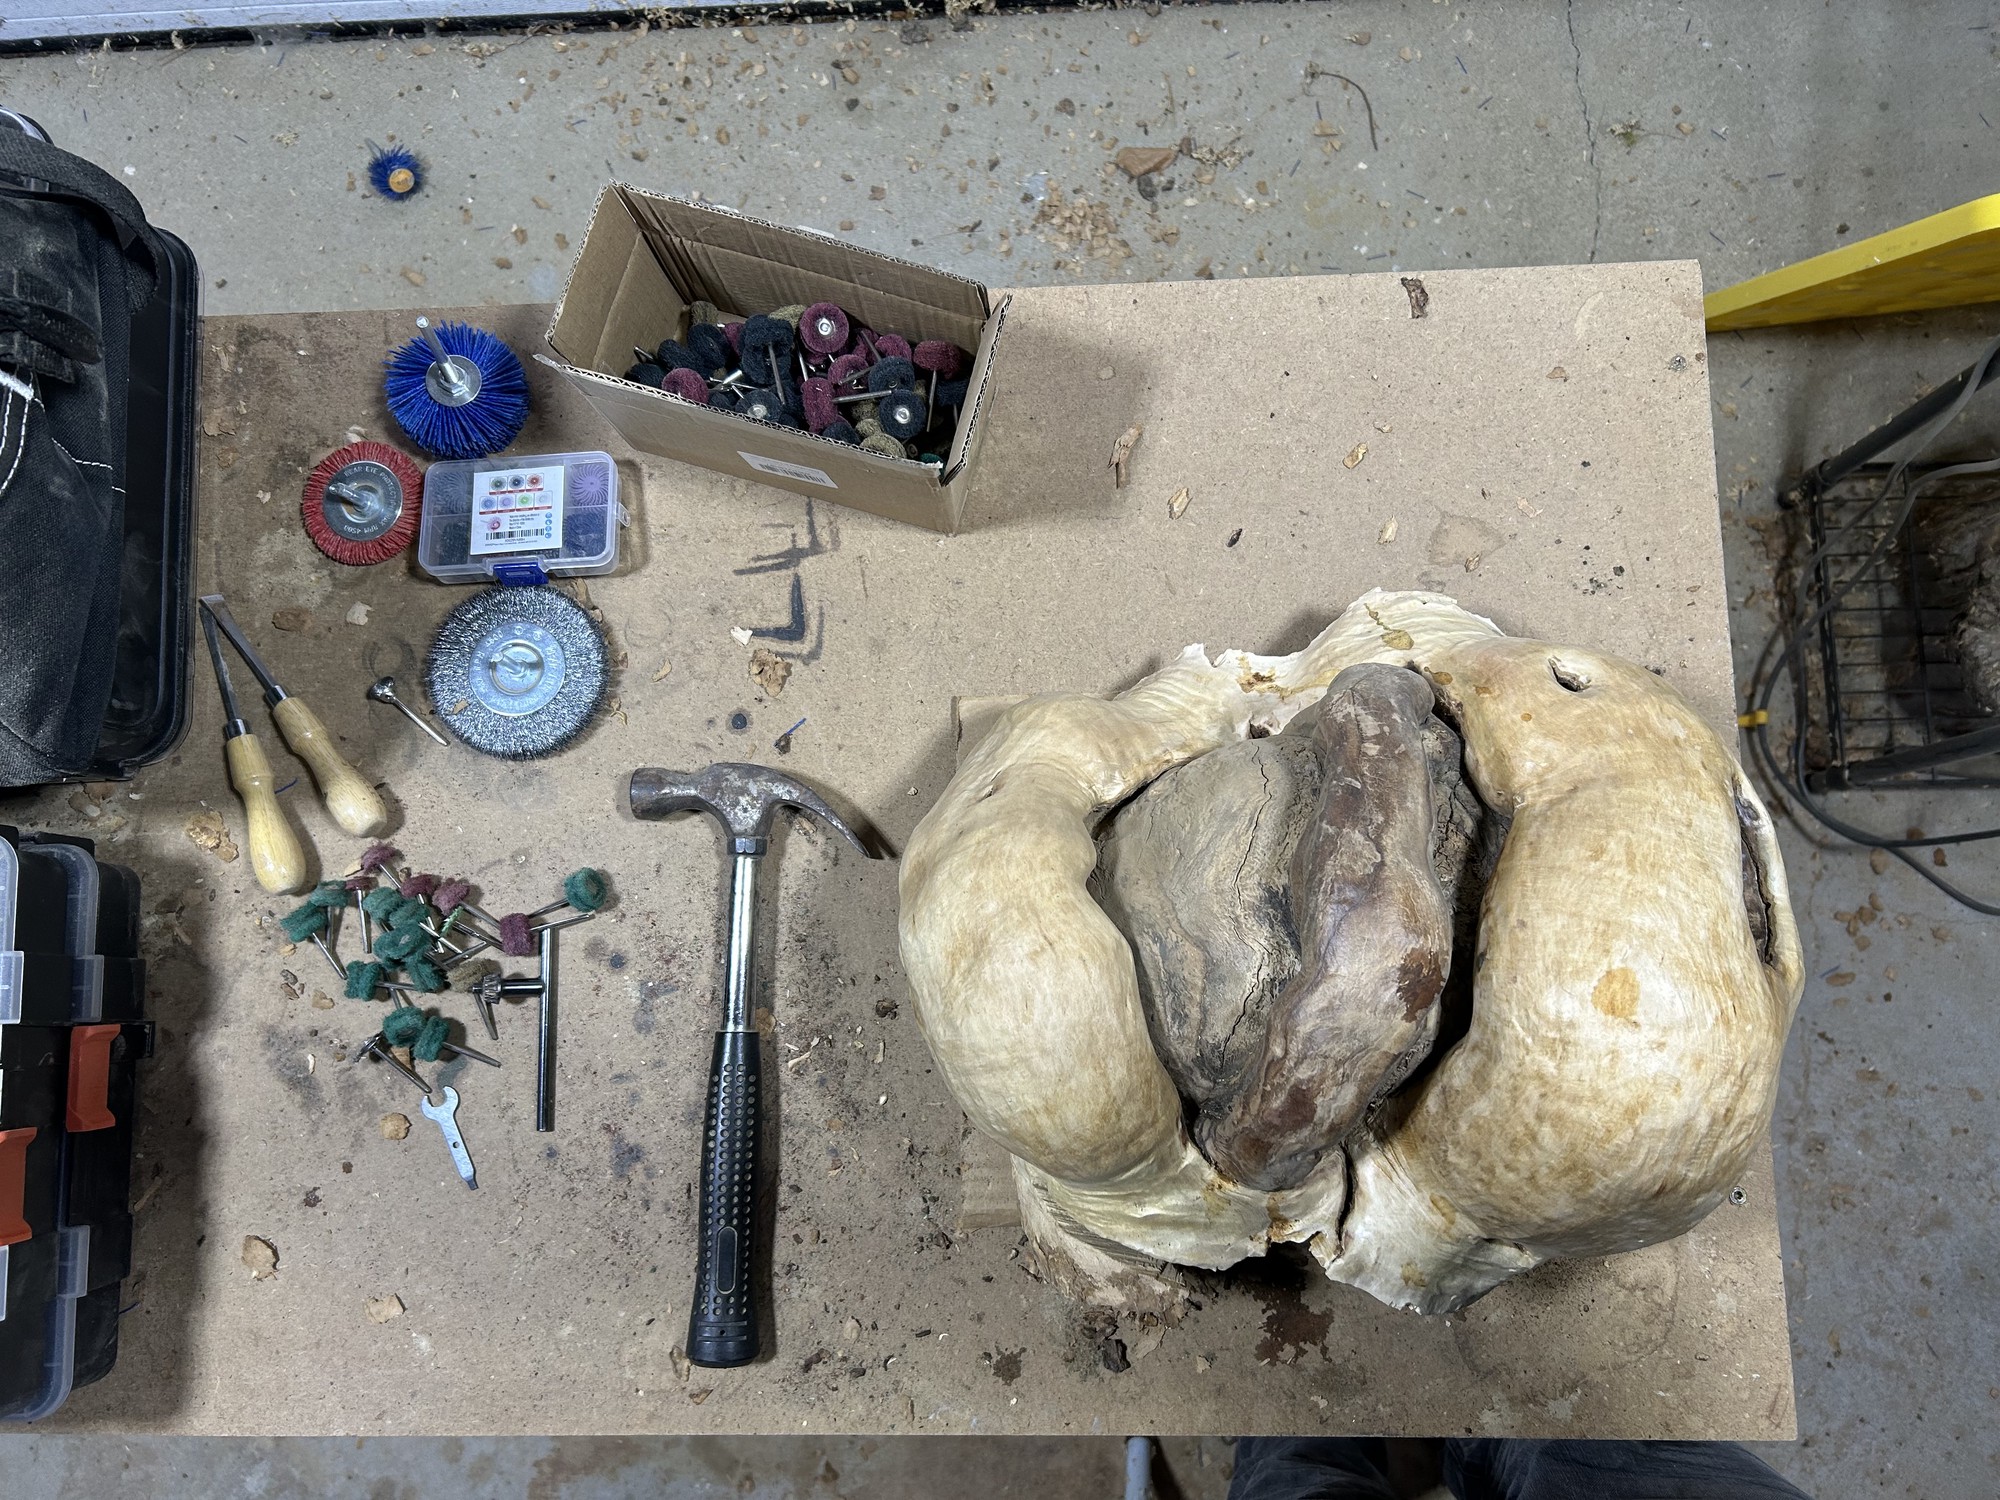
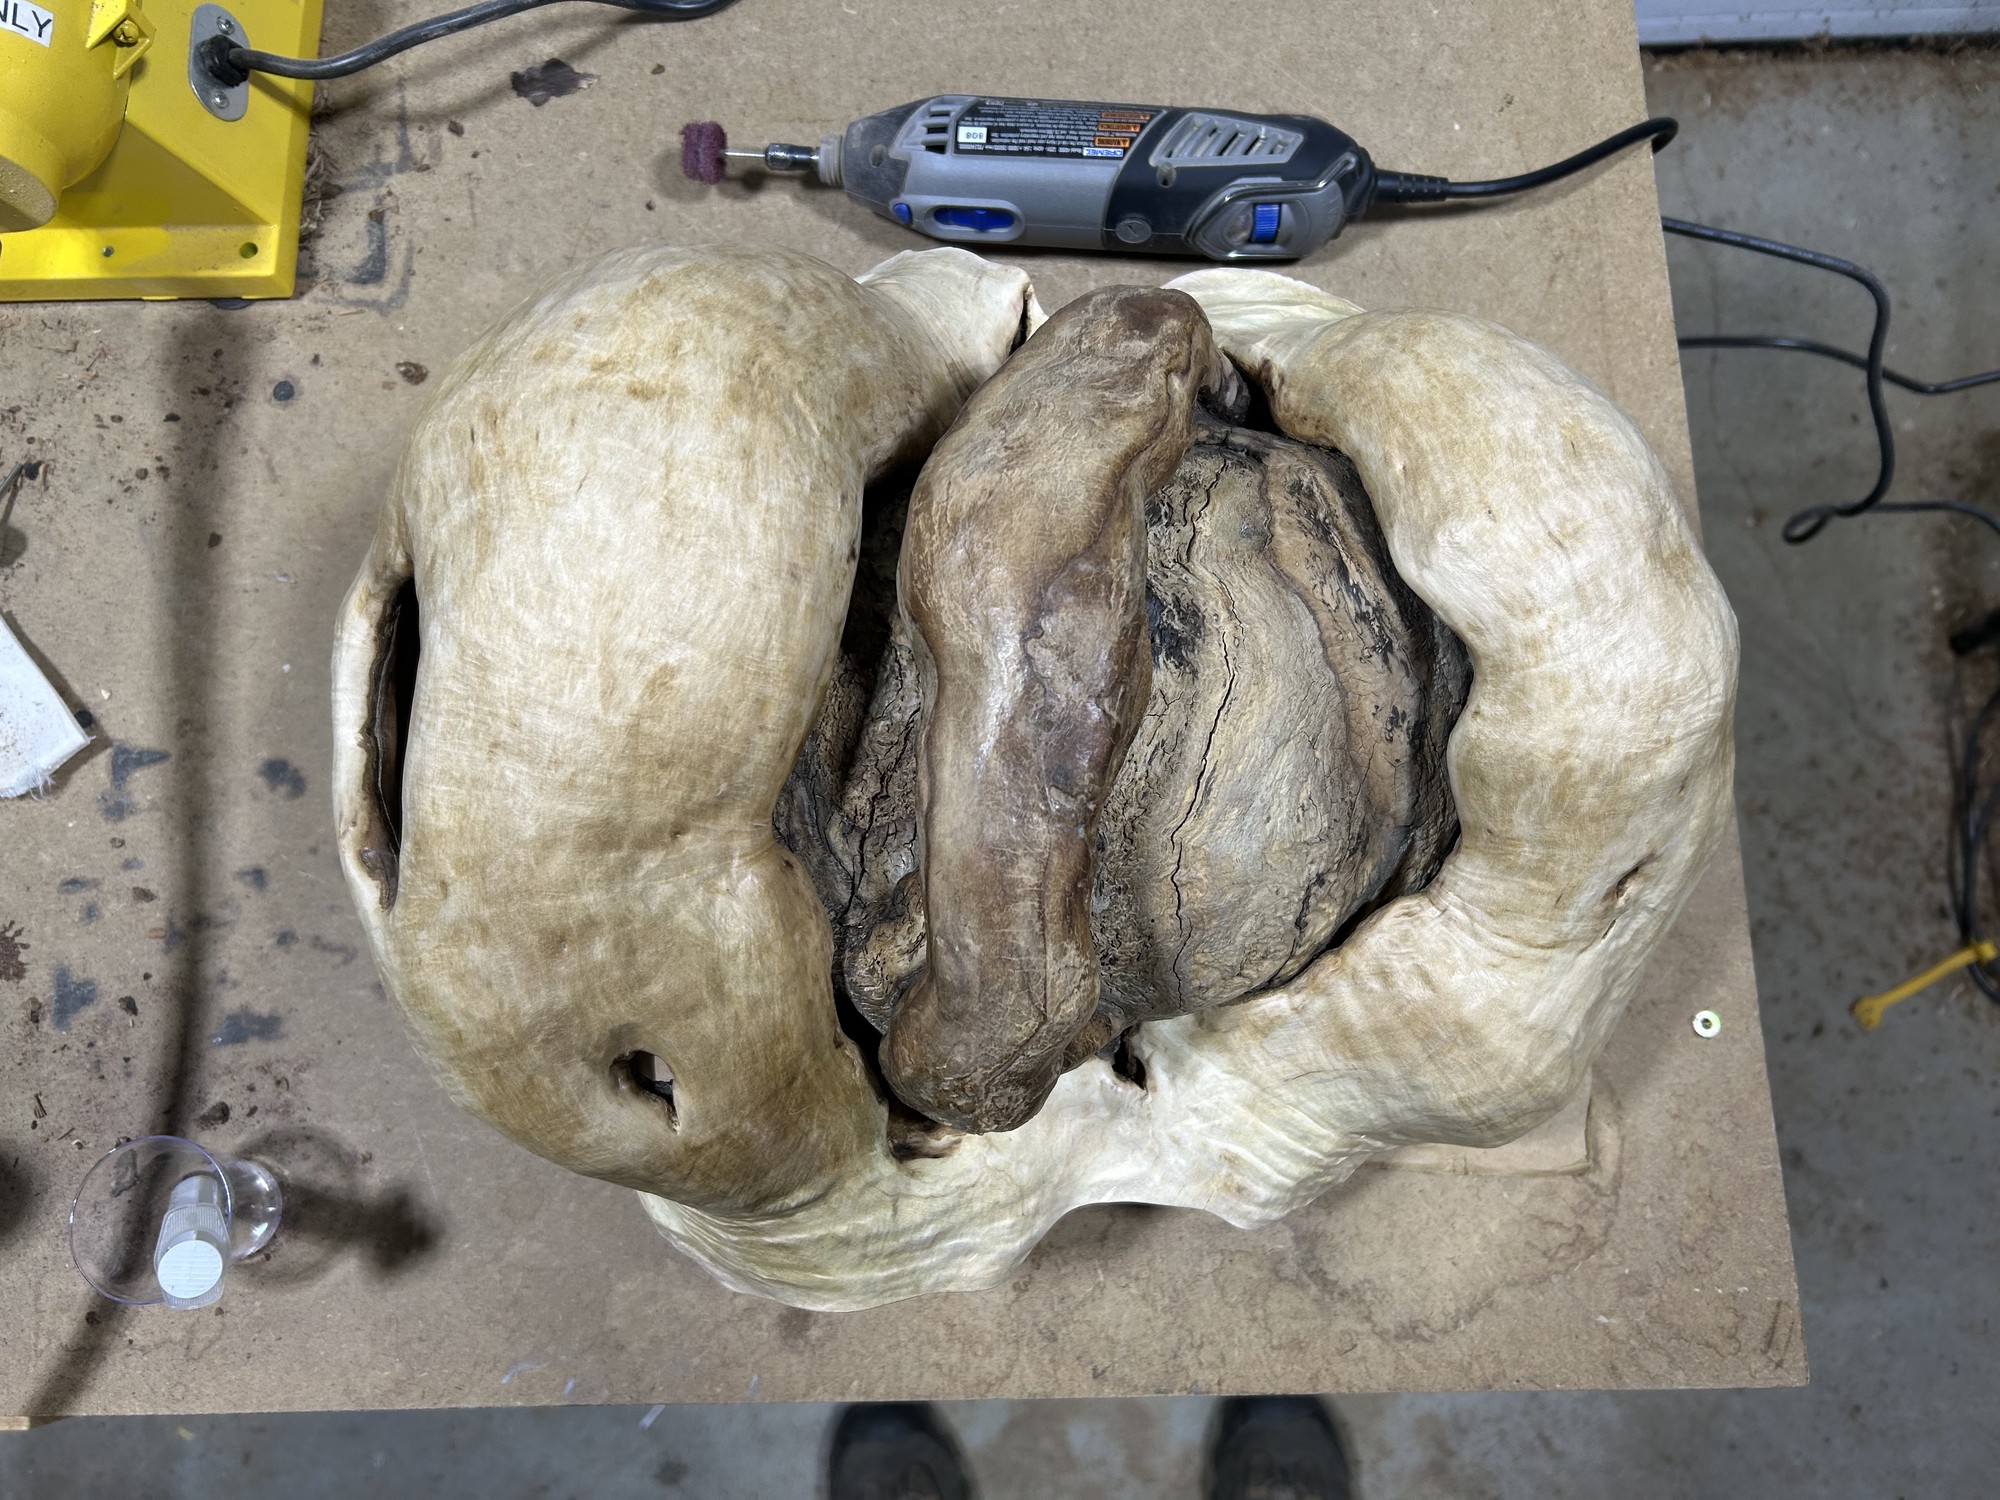
For areas like shown below in the crevices, or on the weathered portions of the bowl where bark had not been present for years (dark middle area), using small dremel wheel brushes3 helped safely remove the bark/phloem layers. It is important to remember not to hold these brushes in one spot for too long, as they can easily burn the wood.
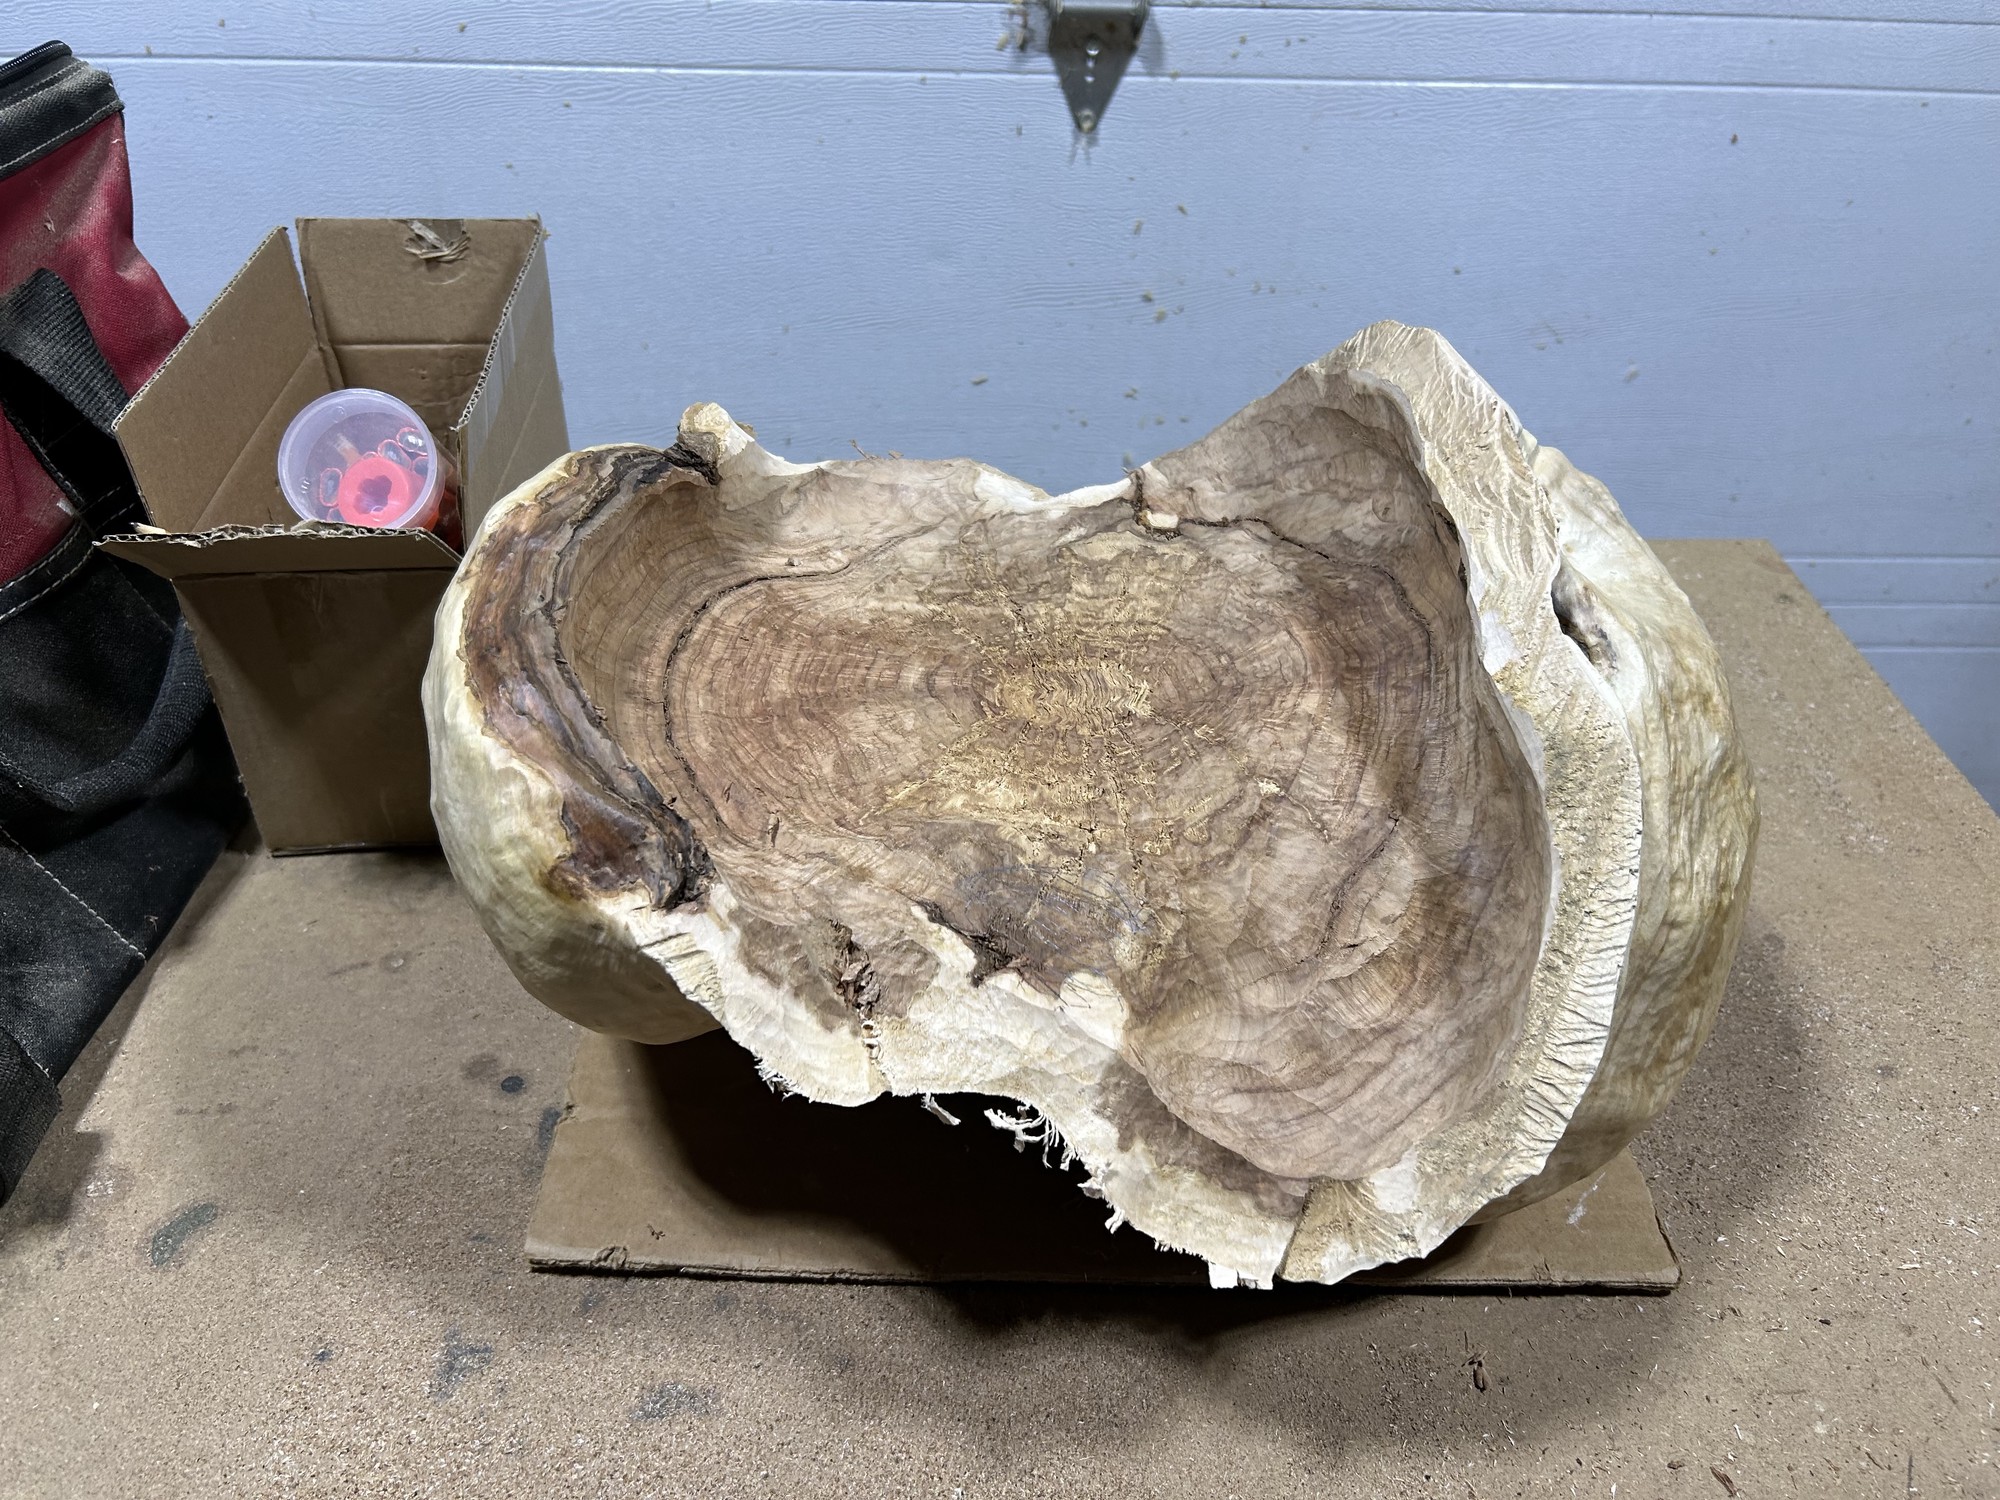
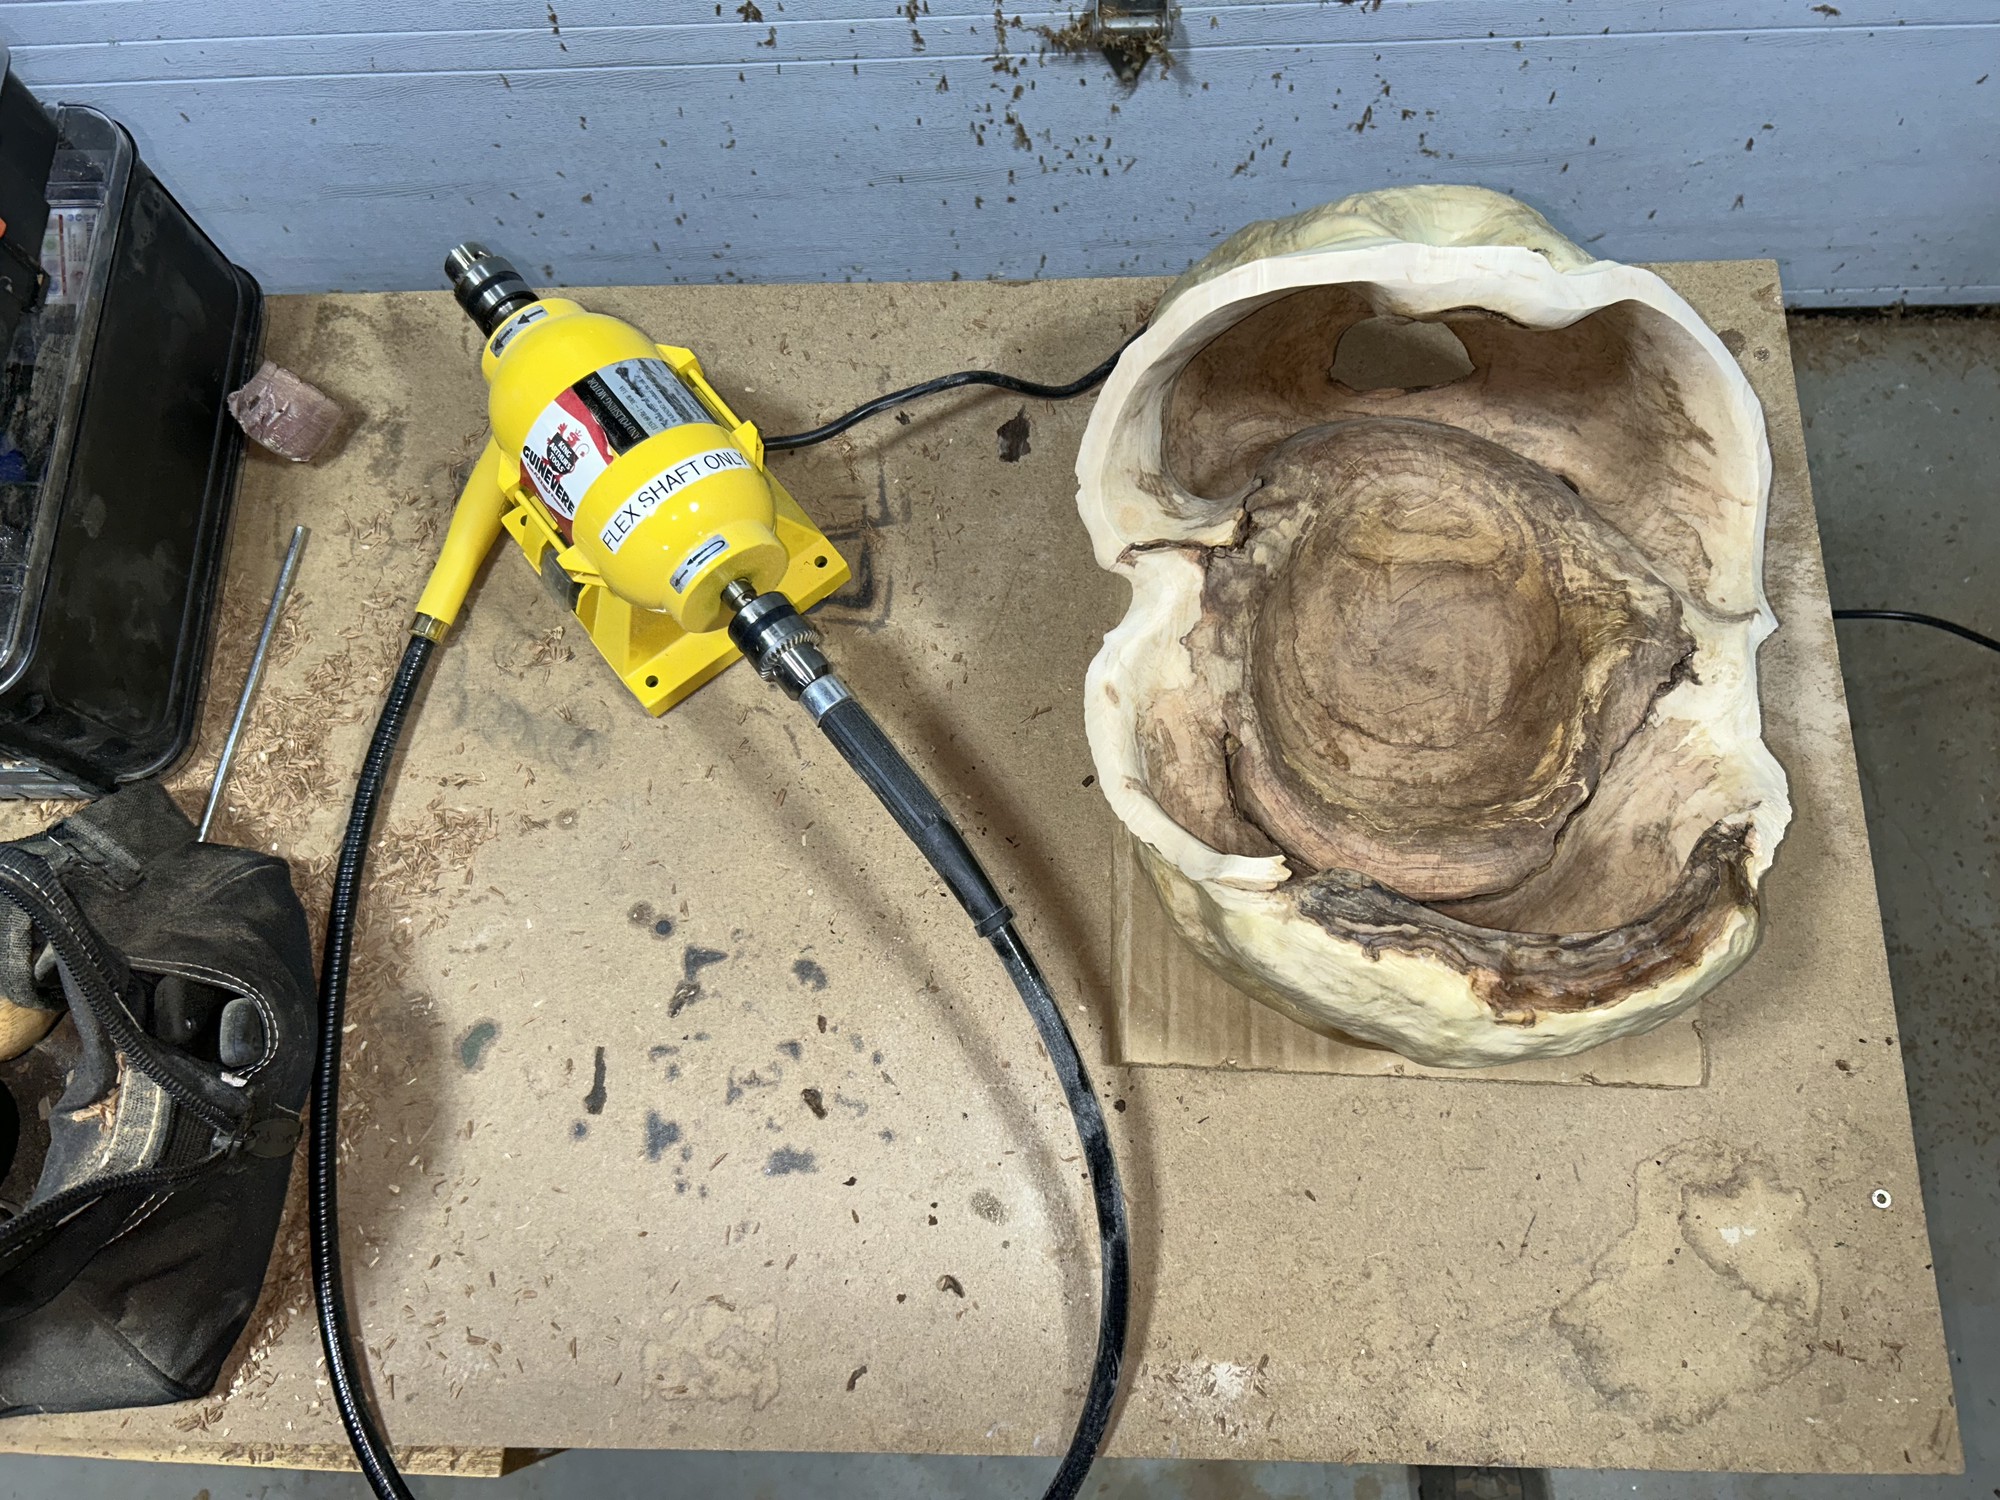
Carving
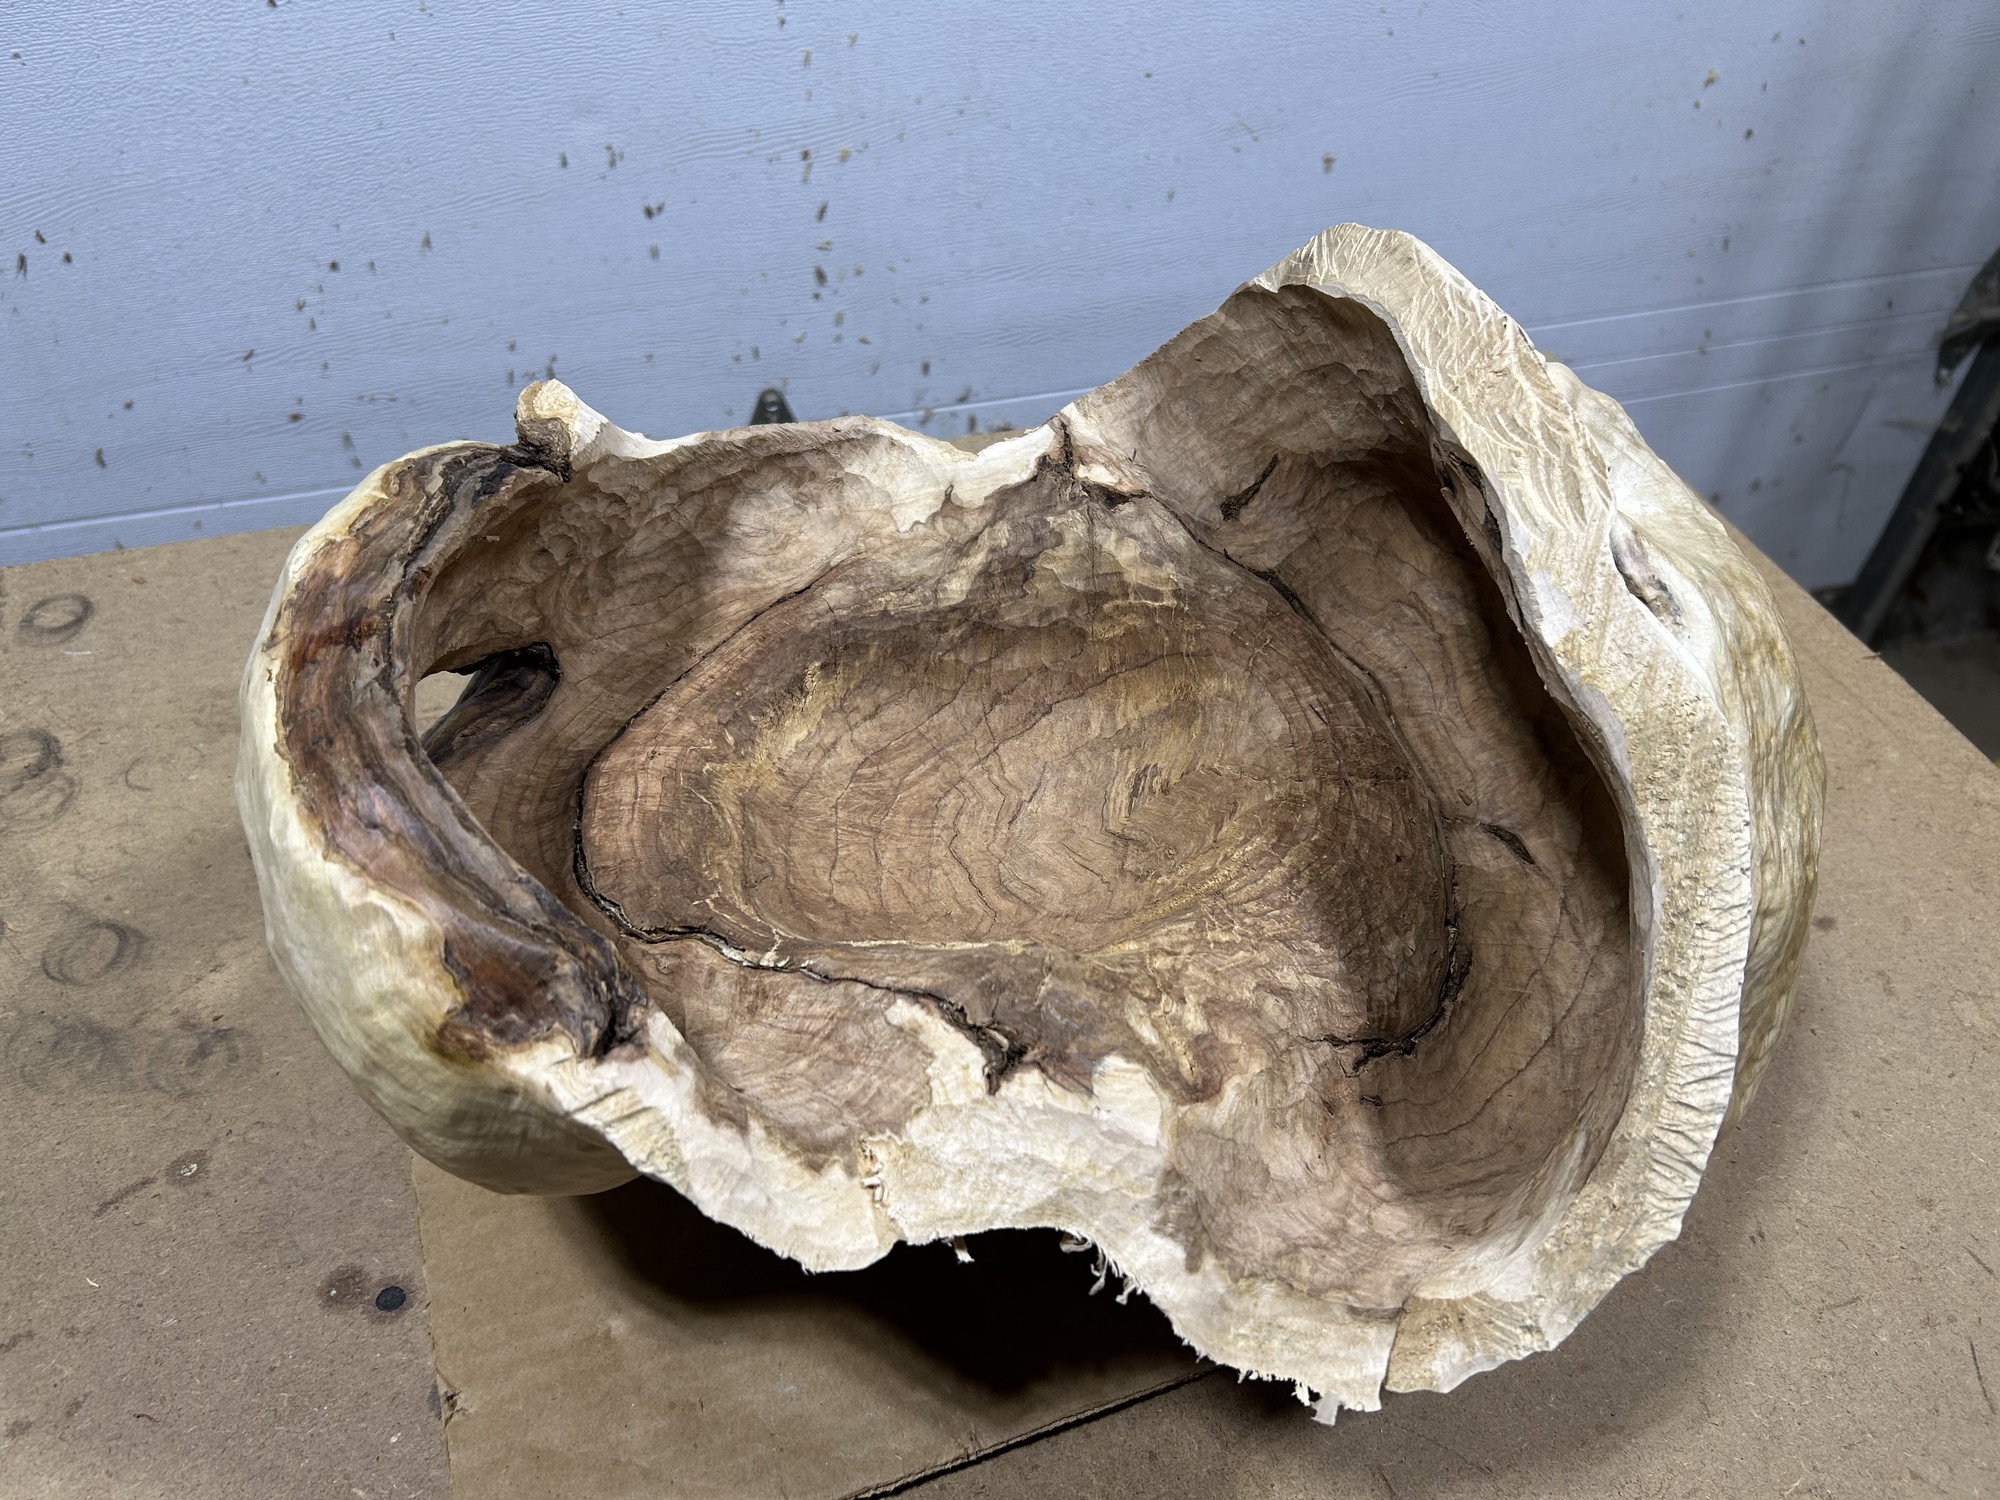
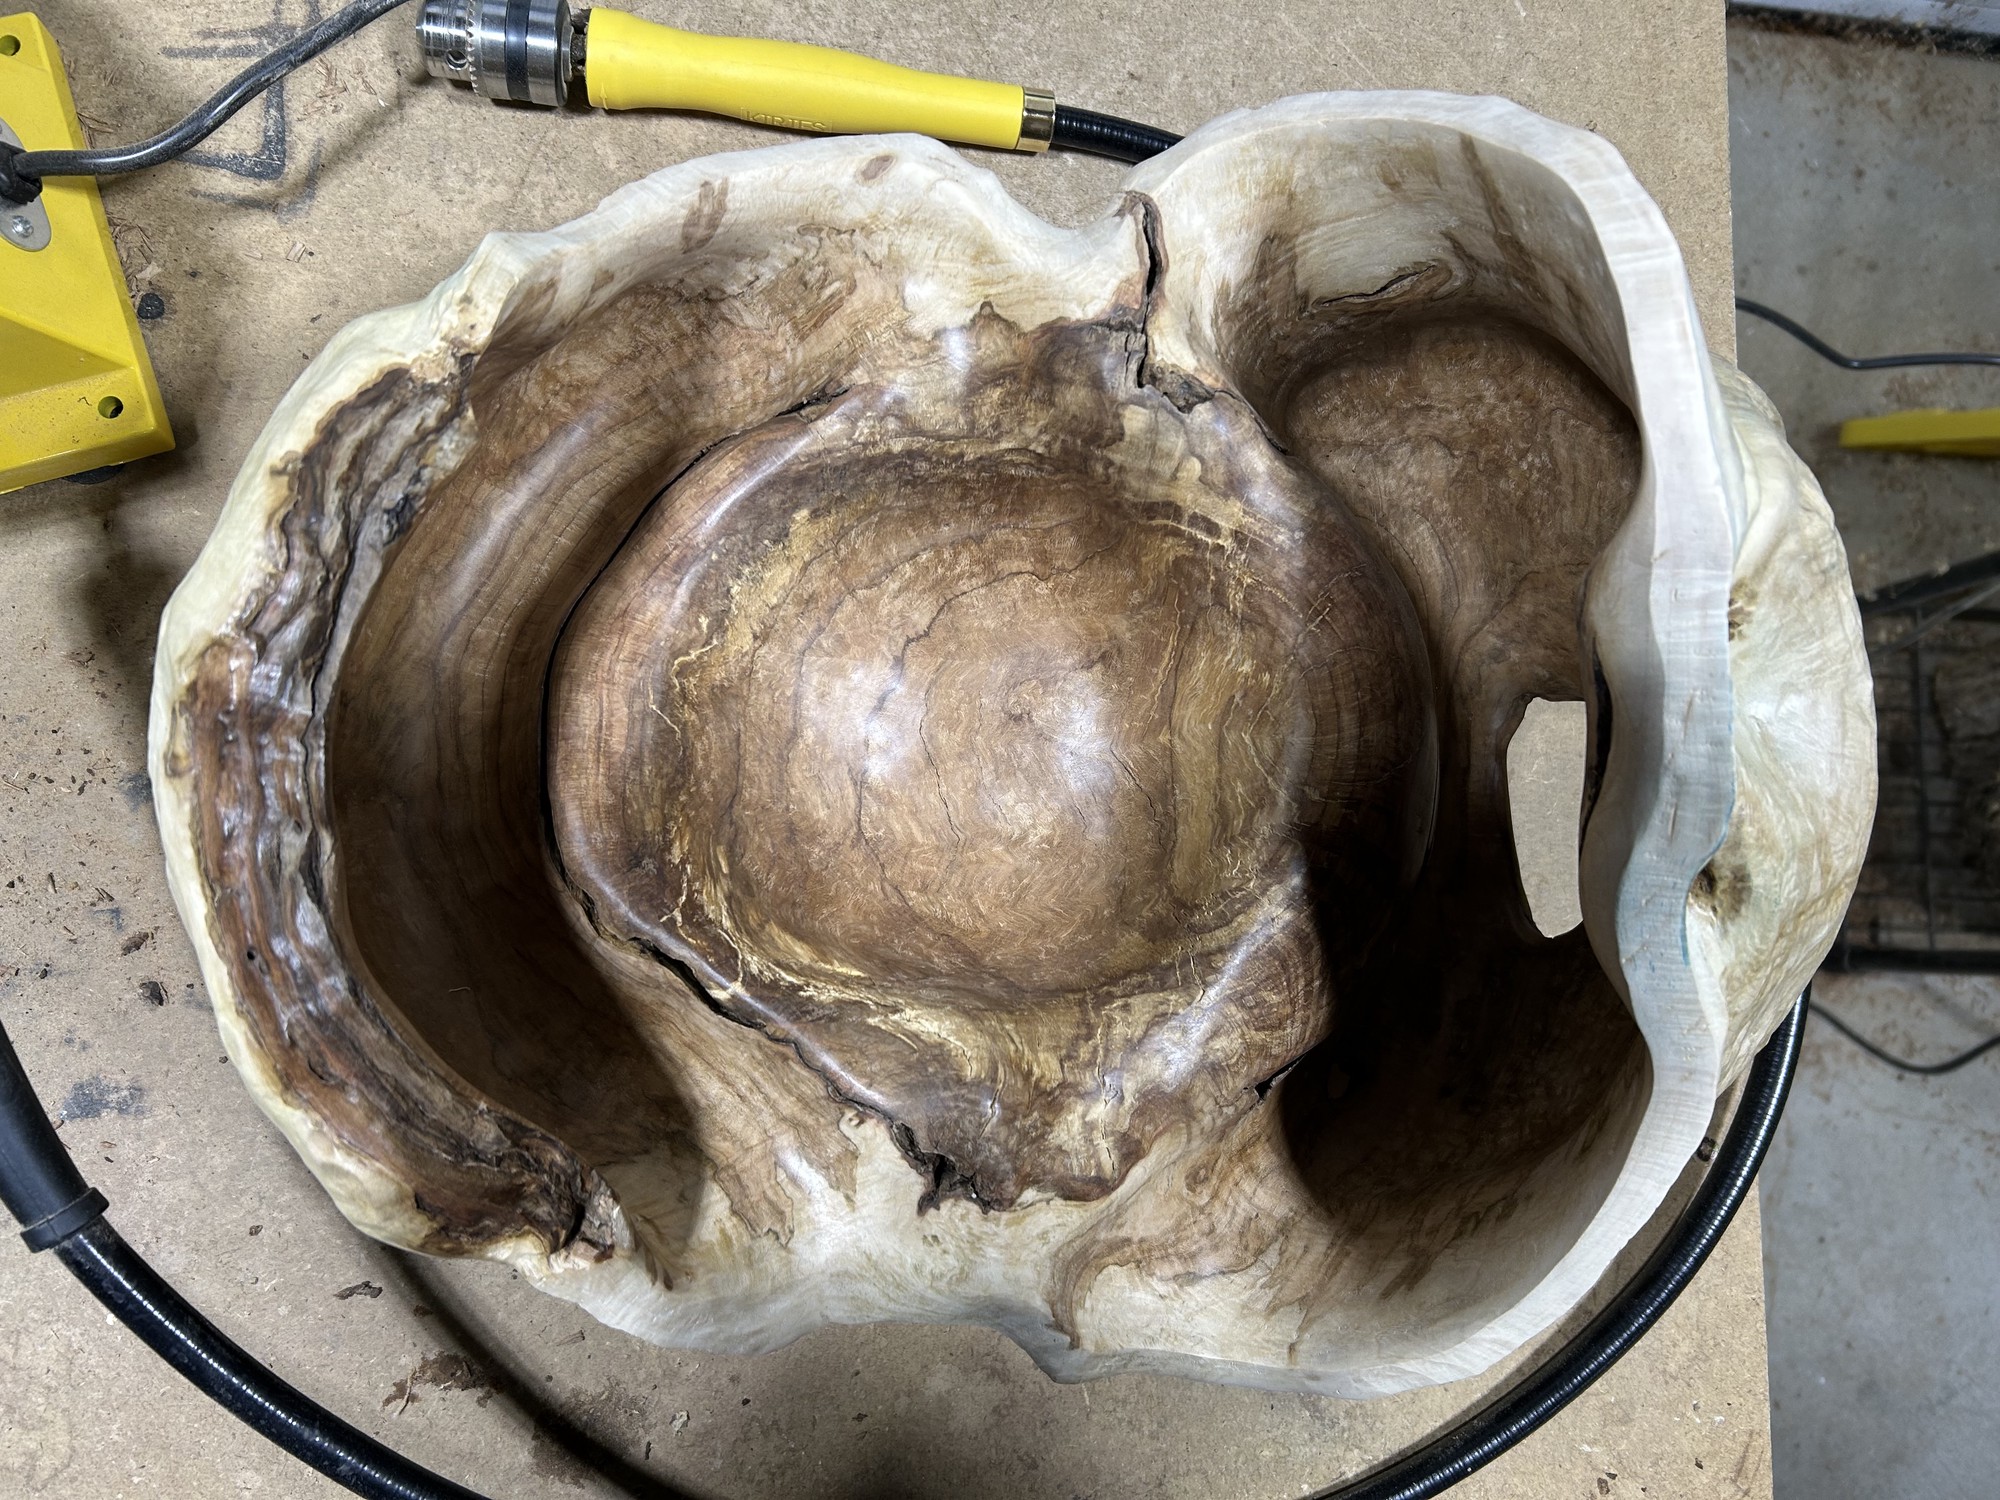
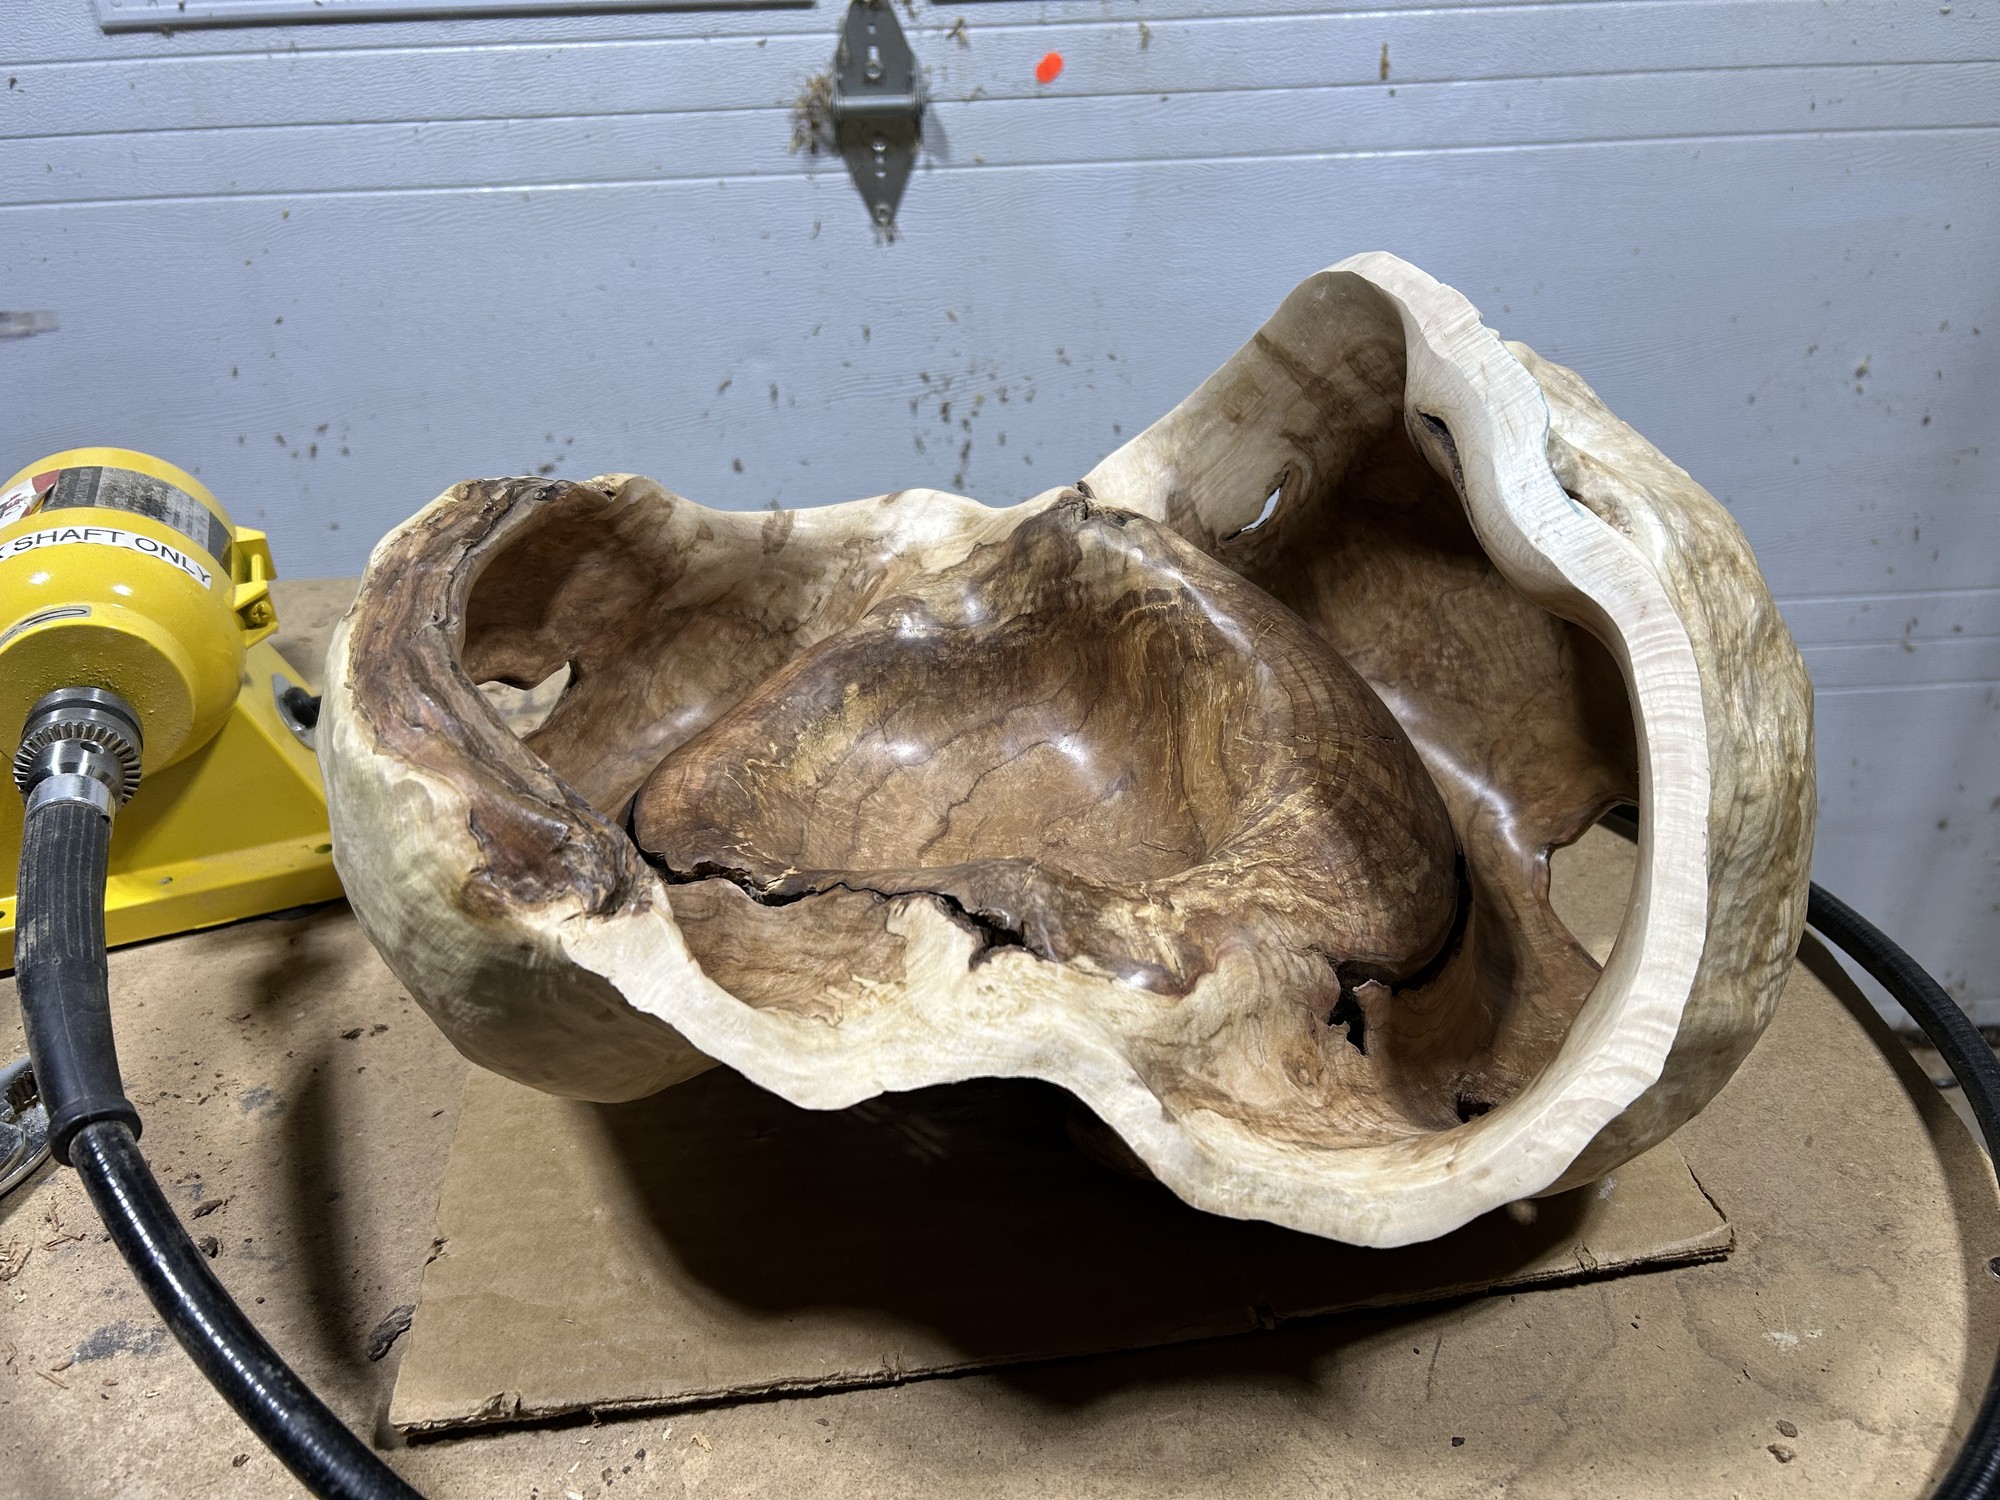
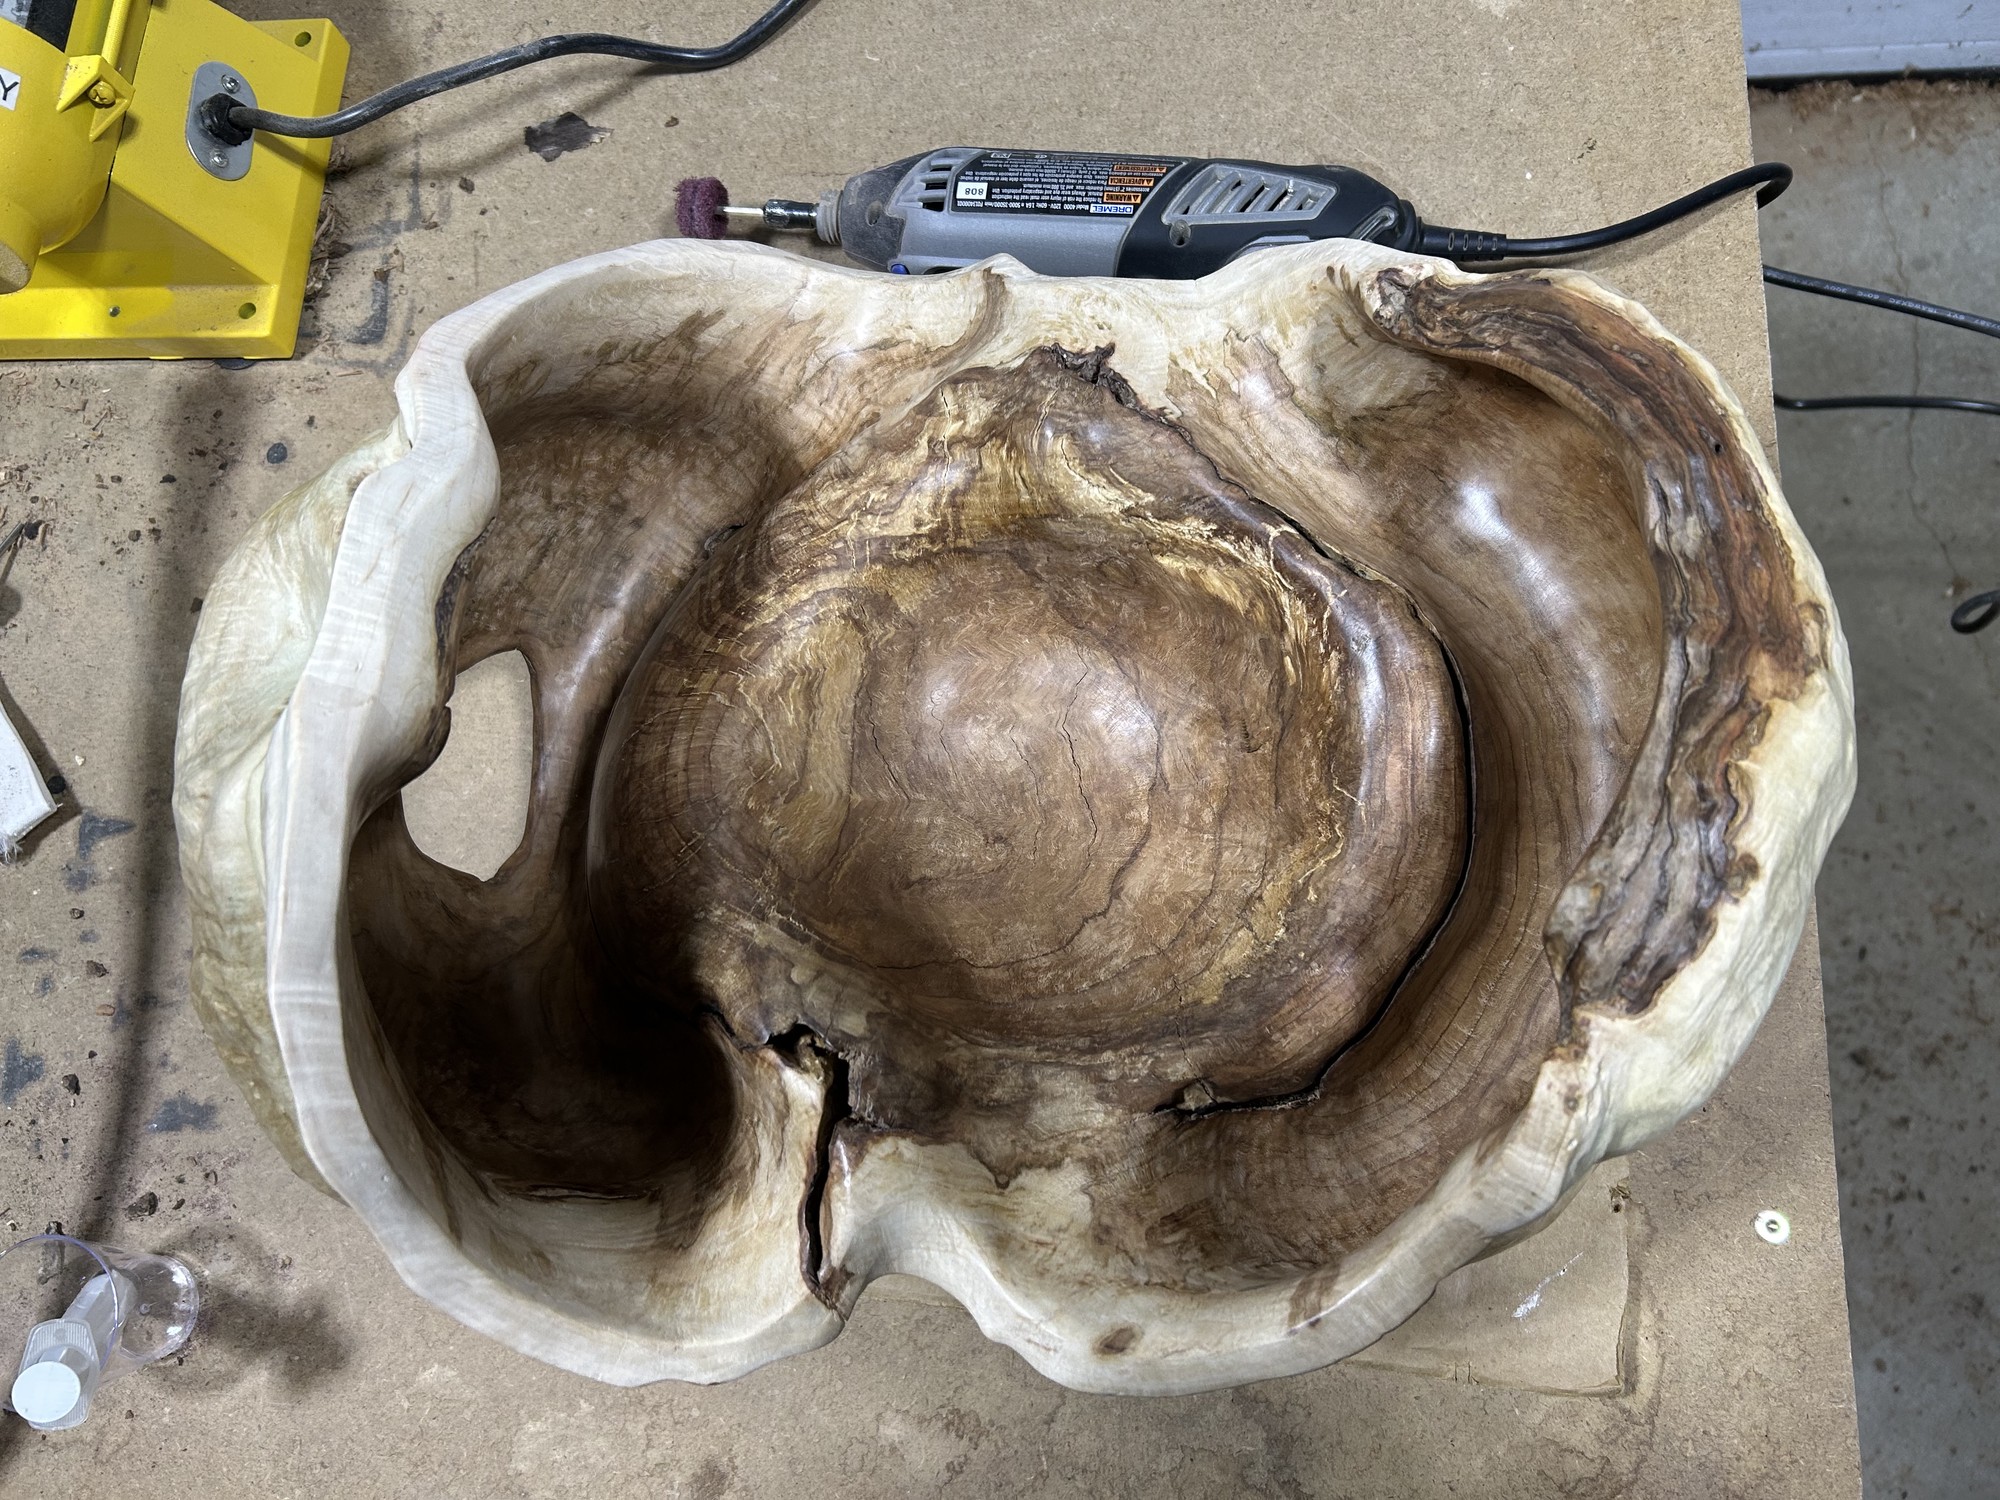
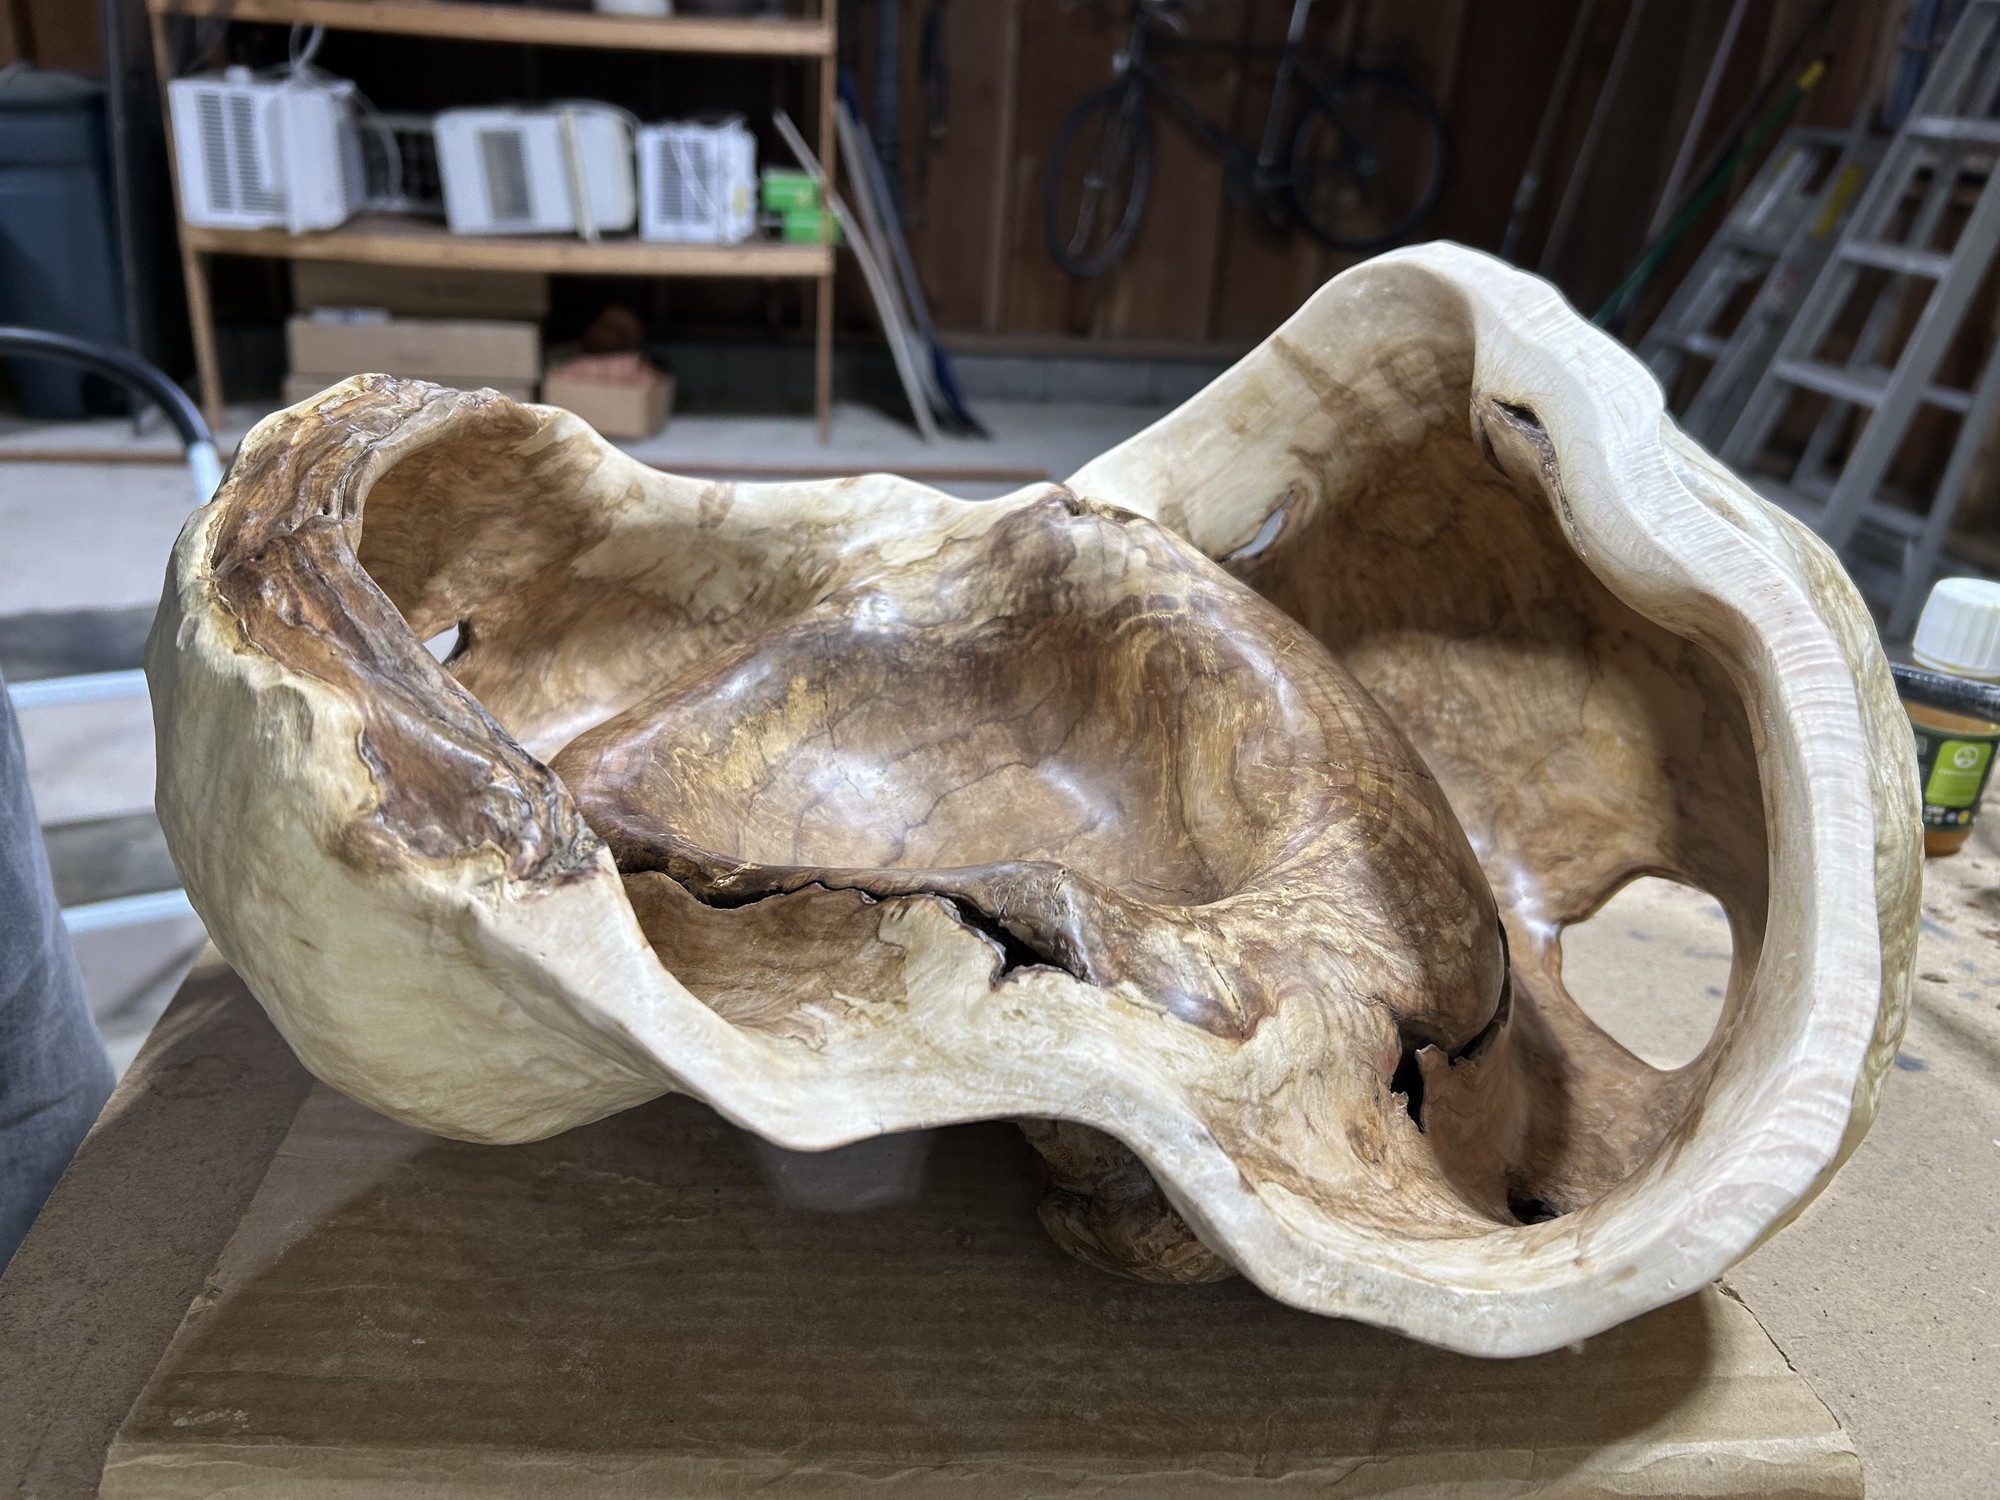
Hollowing this bowl was a delicate process as the rugose exterior made it exremely difficult to tell the true the thickness of the sides of the bowl as it was being hollowed. Additionally, as I carved, there was a large gap that formed into a ring around the center of the bowl where the burl had folded in on itself (see pictures below). This feature made it very difficult to tell until late into the carving stage whether the integrity of the burl would remain high enough to support its own weight. My options were to resin fill the gap to structurally reinforce it, or hope for the best and leave it as is. While resin filling would have certainly worked, it was very risky, as performing a resin fill would have likely meant spillage onto the exterior of the bowl. This would have been difficult to clean up and possibly have negatively impacted the final, visual outcome. I decided to hope for the best and press on without resin filling.
I started with the Orbicut 40 bit4 in large areas and the Orbicut 20 bit5 in confined areas. I found that using the aggressive (coarse) blade6 for the Orbicut 40 bit was controllable and fast, while I needed to use the less aggressive blades6 for the Orbicut 20 bit to maintain control (likely due to its smaller mass; more mass typically aids with bouncing induced by the cutting action of the blade edge).
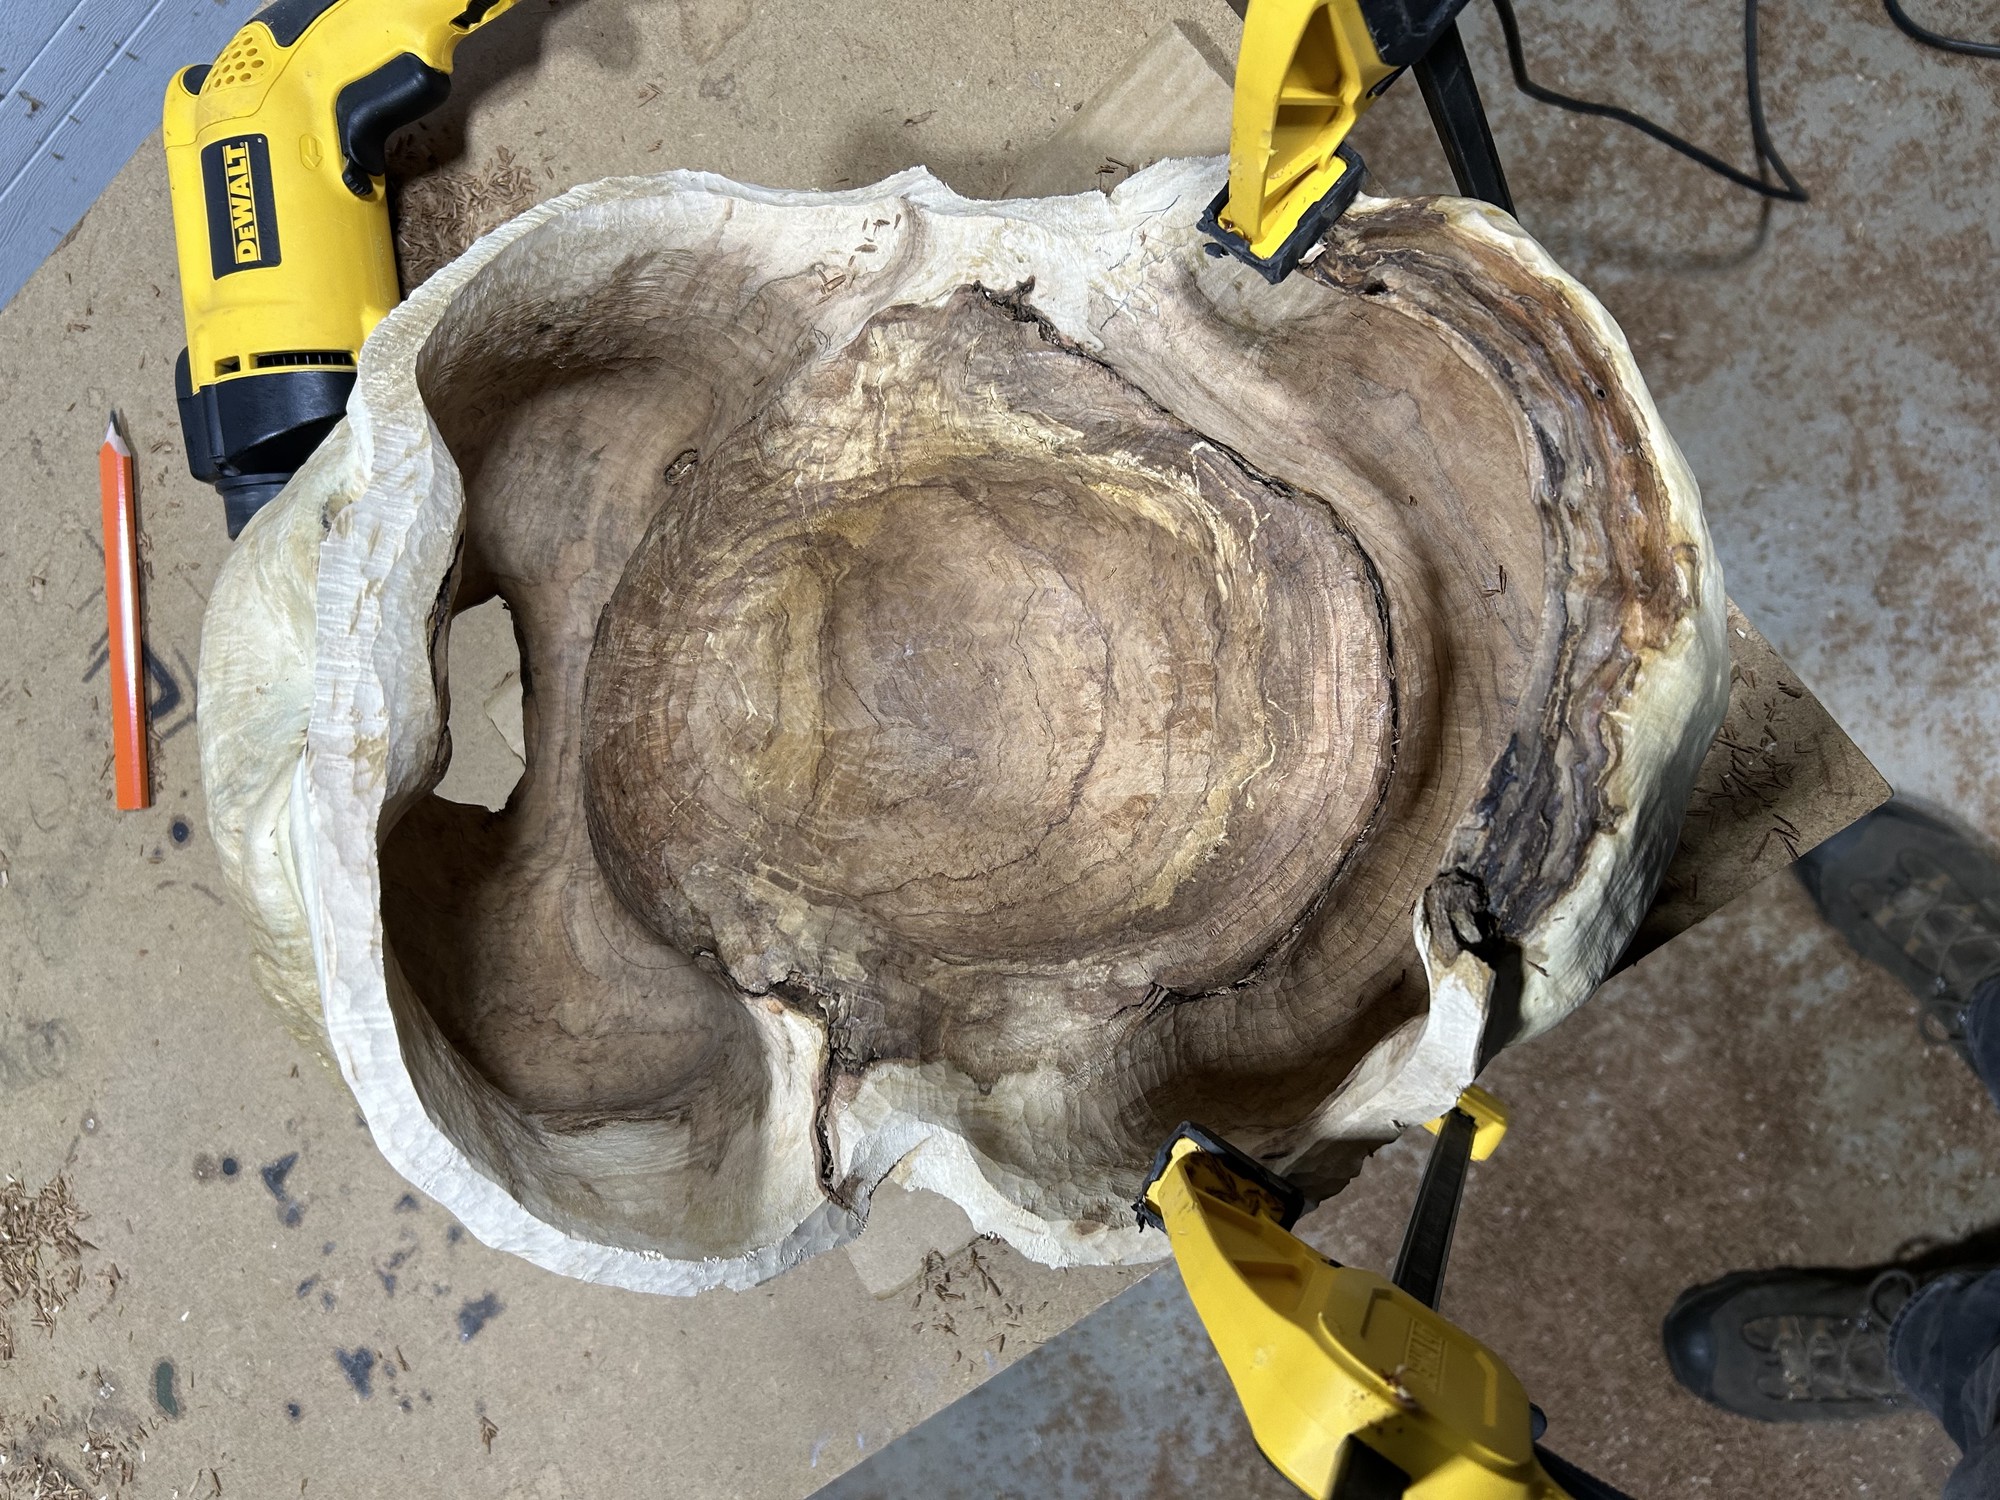
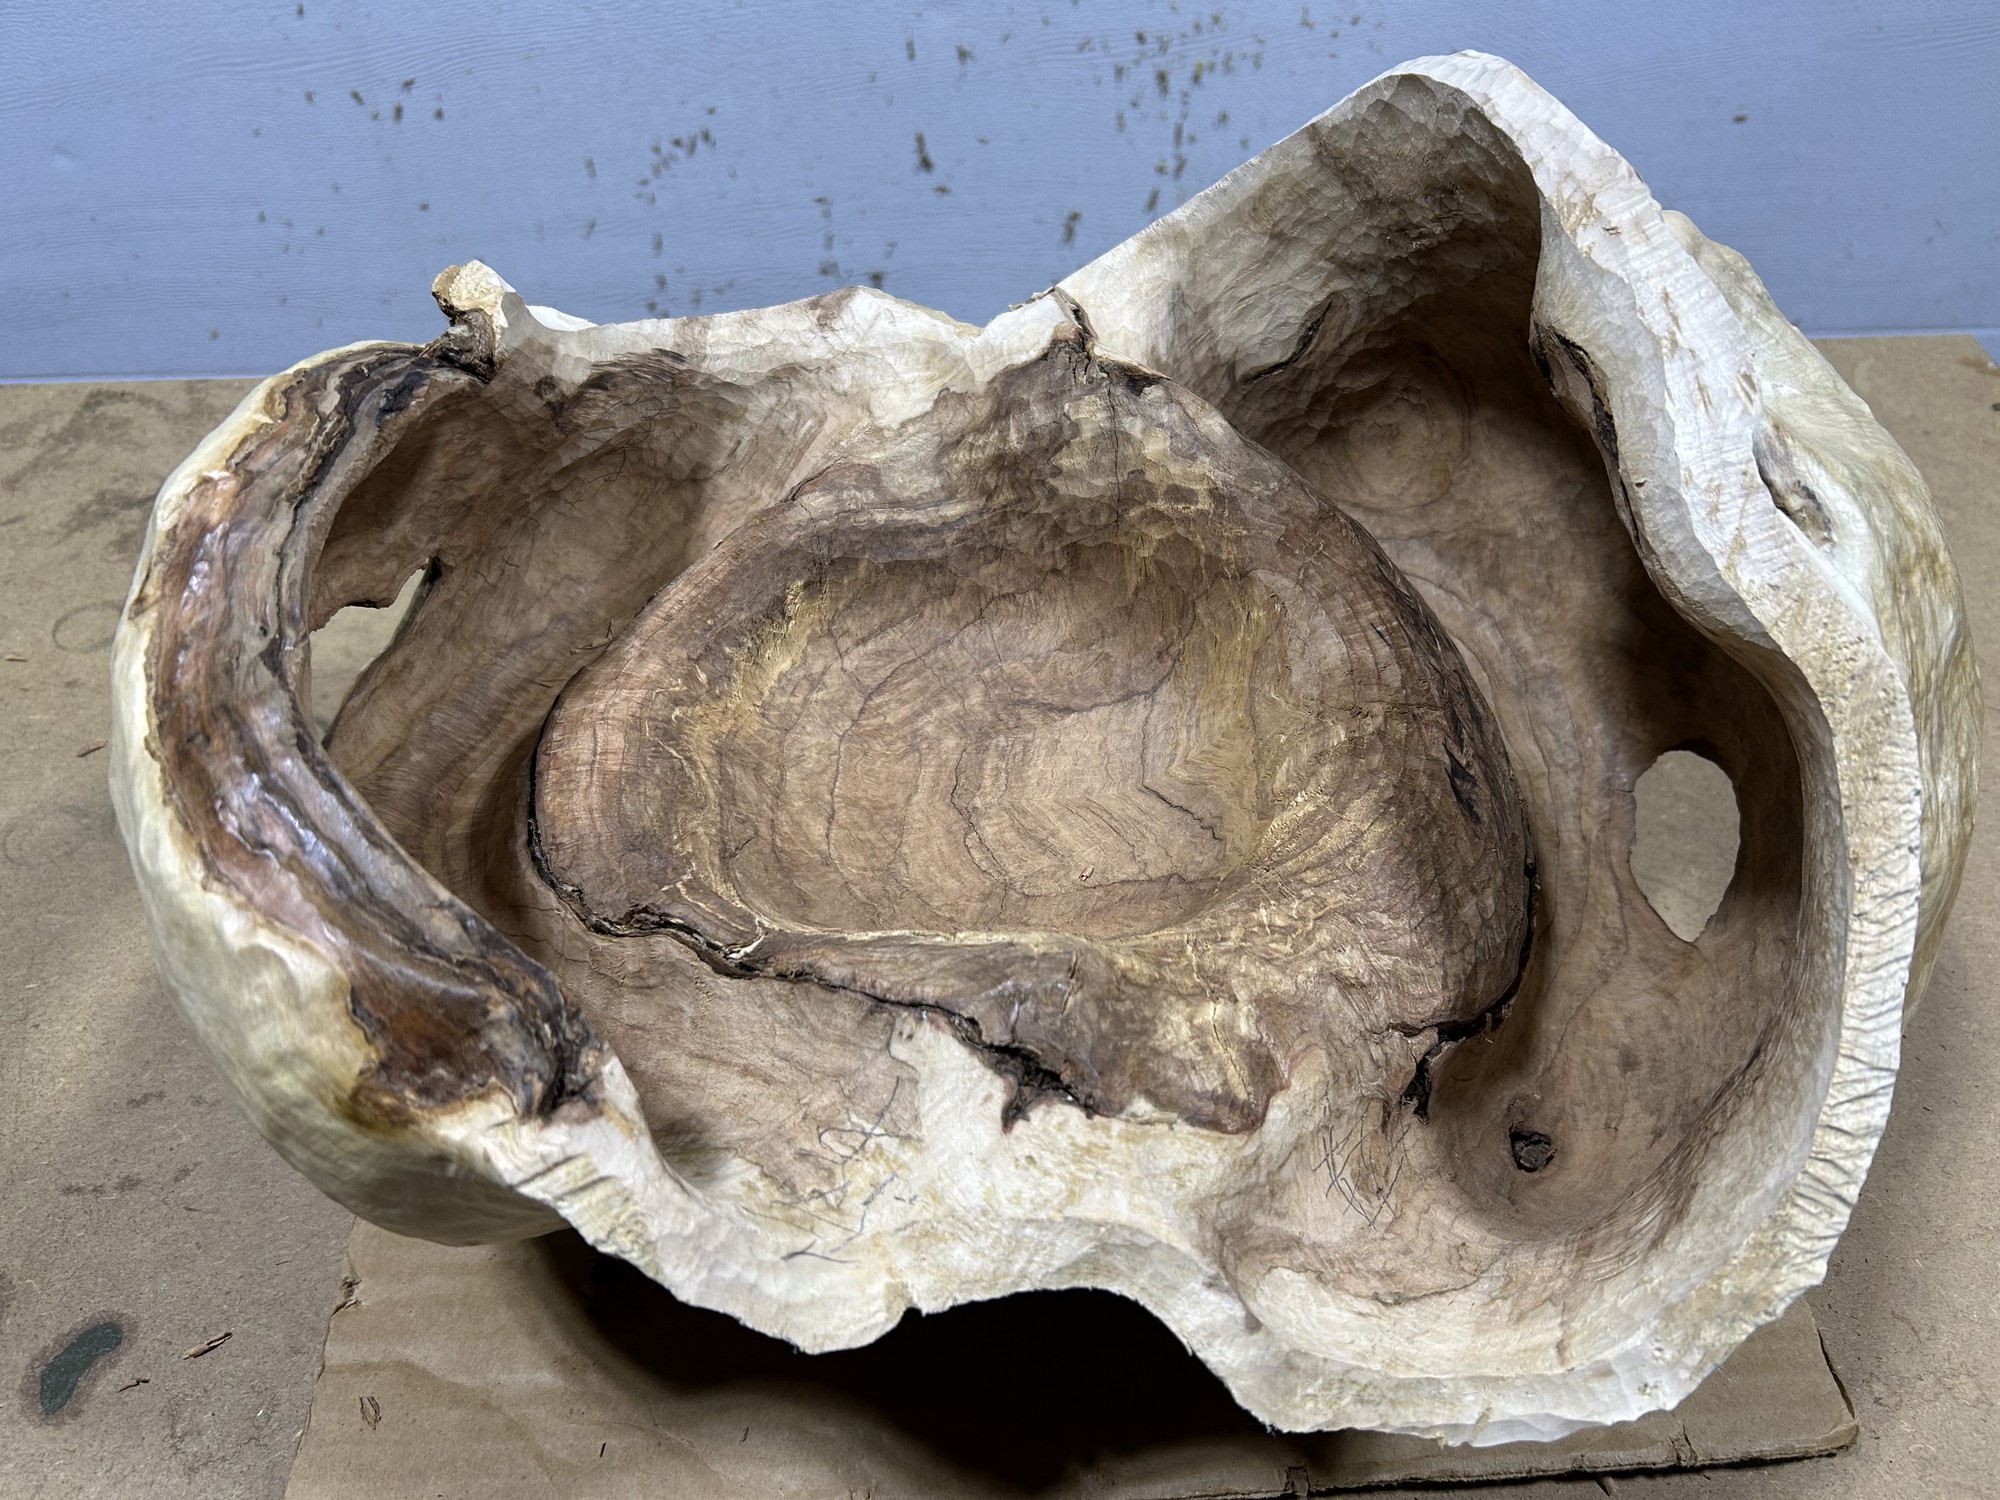
The reader will notice over the course of the above pictures that the hole on right comes into form. This was desired, but very difficult and tedious to expose. To accomplish this, I would alternate between attacking the carving from the top of the bowl and also through the hole itself as more and more of it came into form. As I slowly thinned out the perimeter of the bowl, I was able to gradually gain greater depth into the cavities of the bowl, which proved critical in uncovering the hole shown on the right above. I used a pencil to track which areas did and did not need further carving.
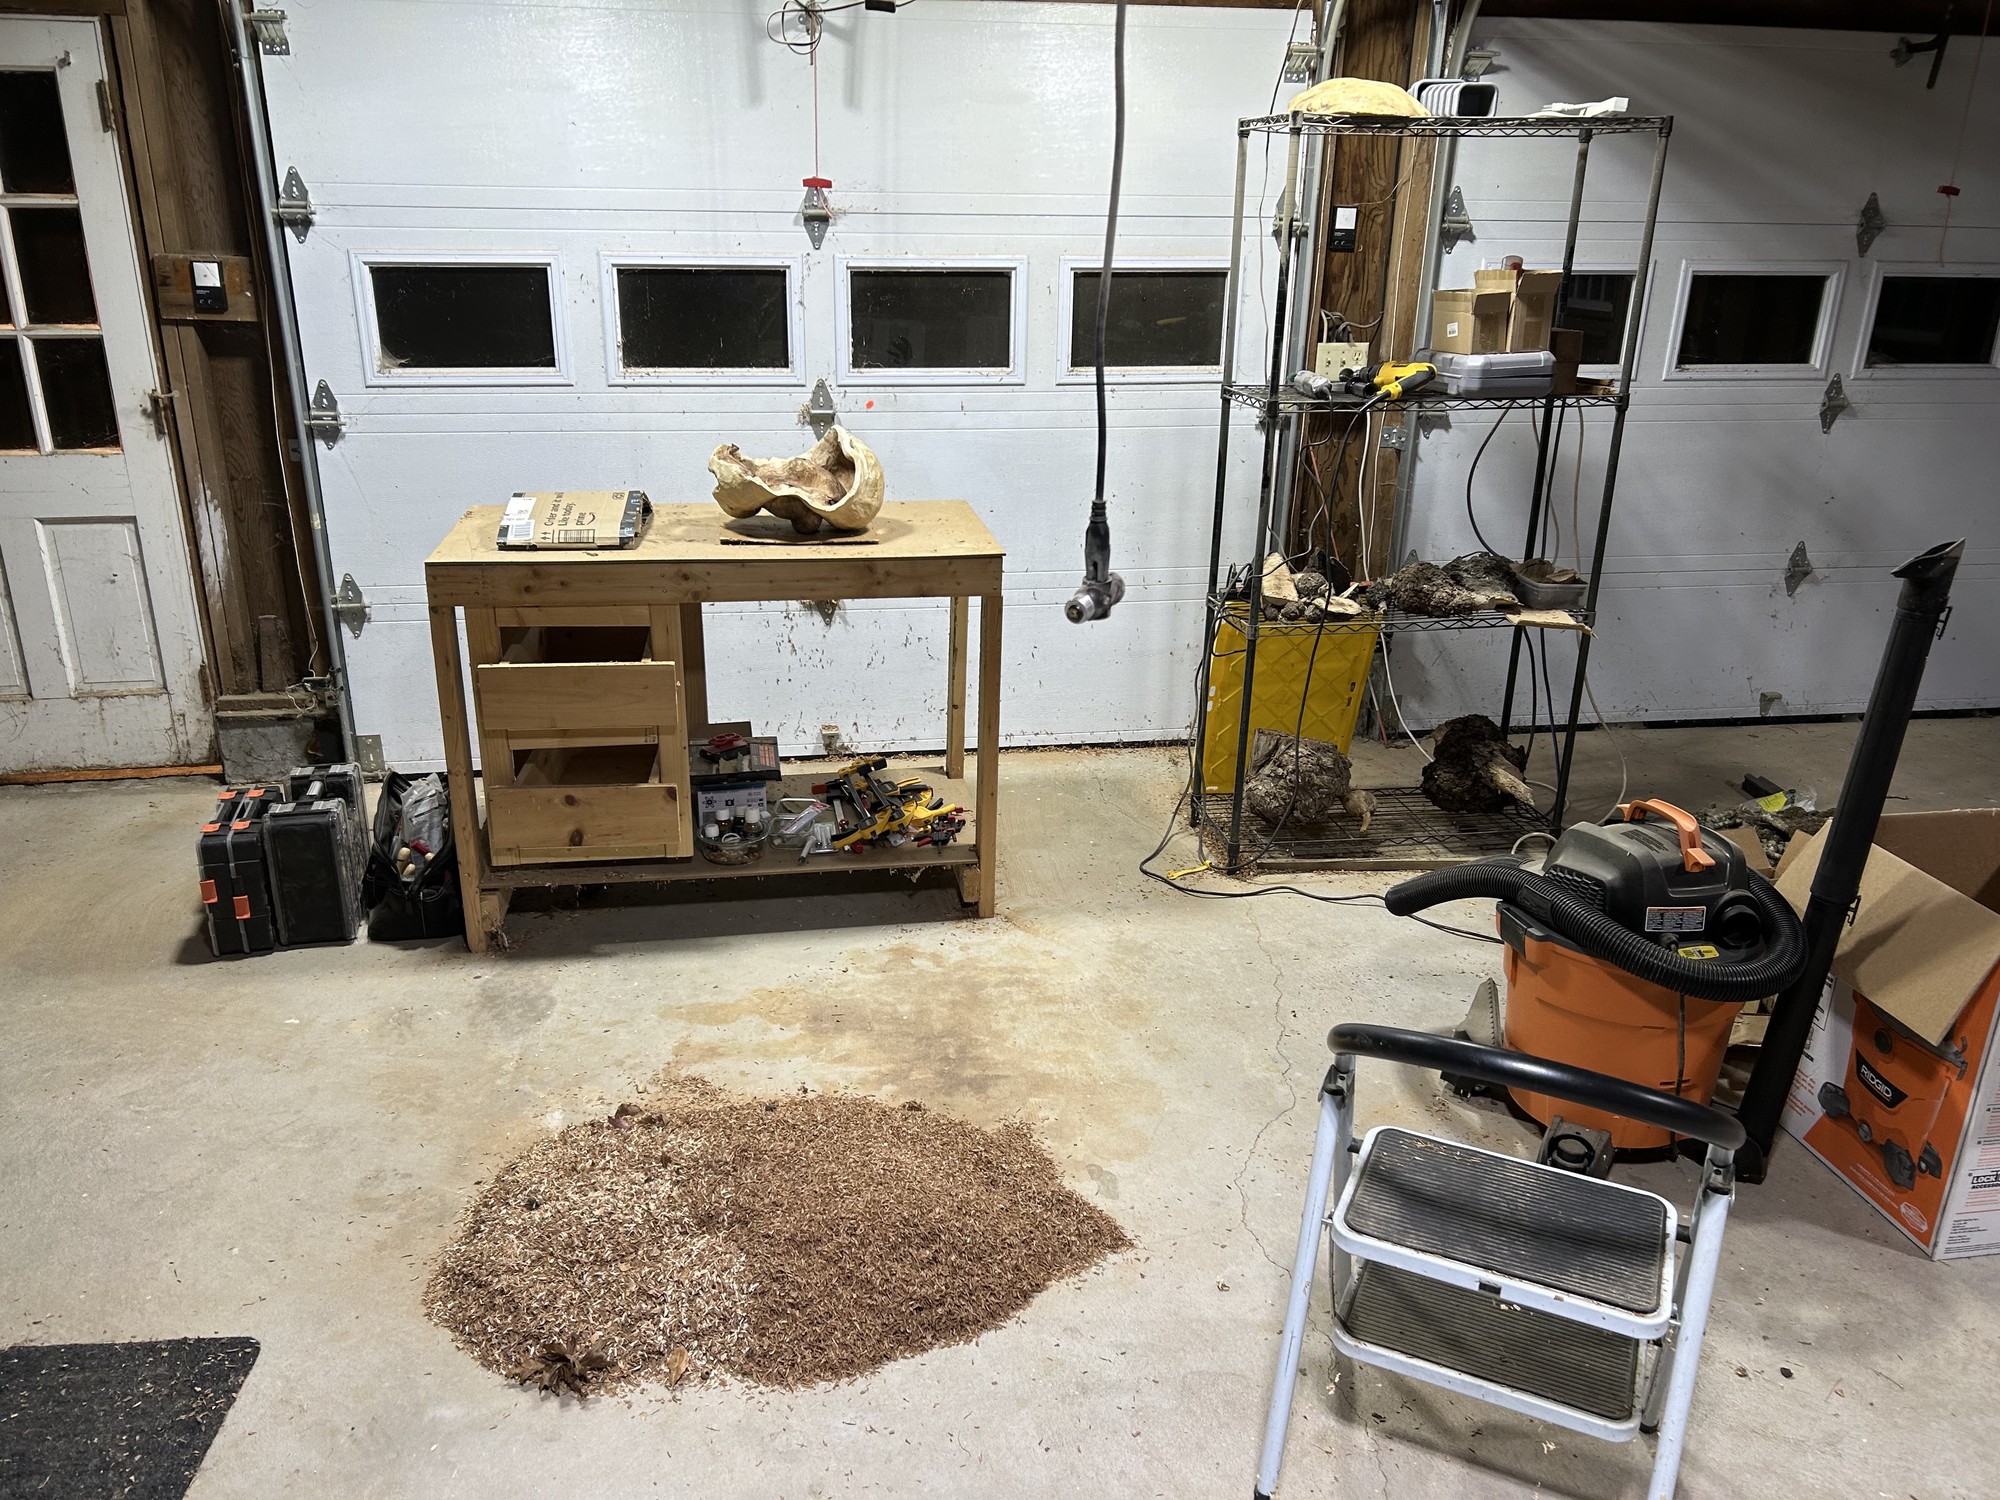
There was a considerable amount of wood chips from this step!
Inner Finish Work
Sanding
Next, I moved on to sanding the inner surface of the burl to even out the divots formed from the hollowing process.
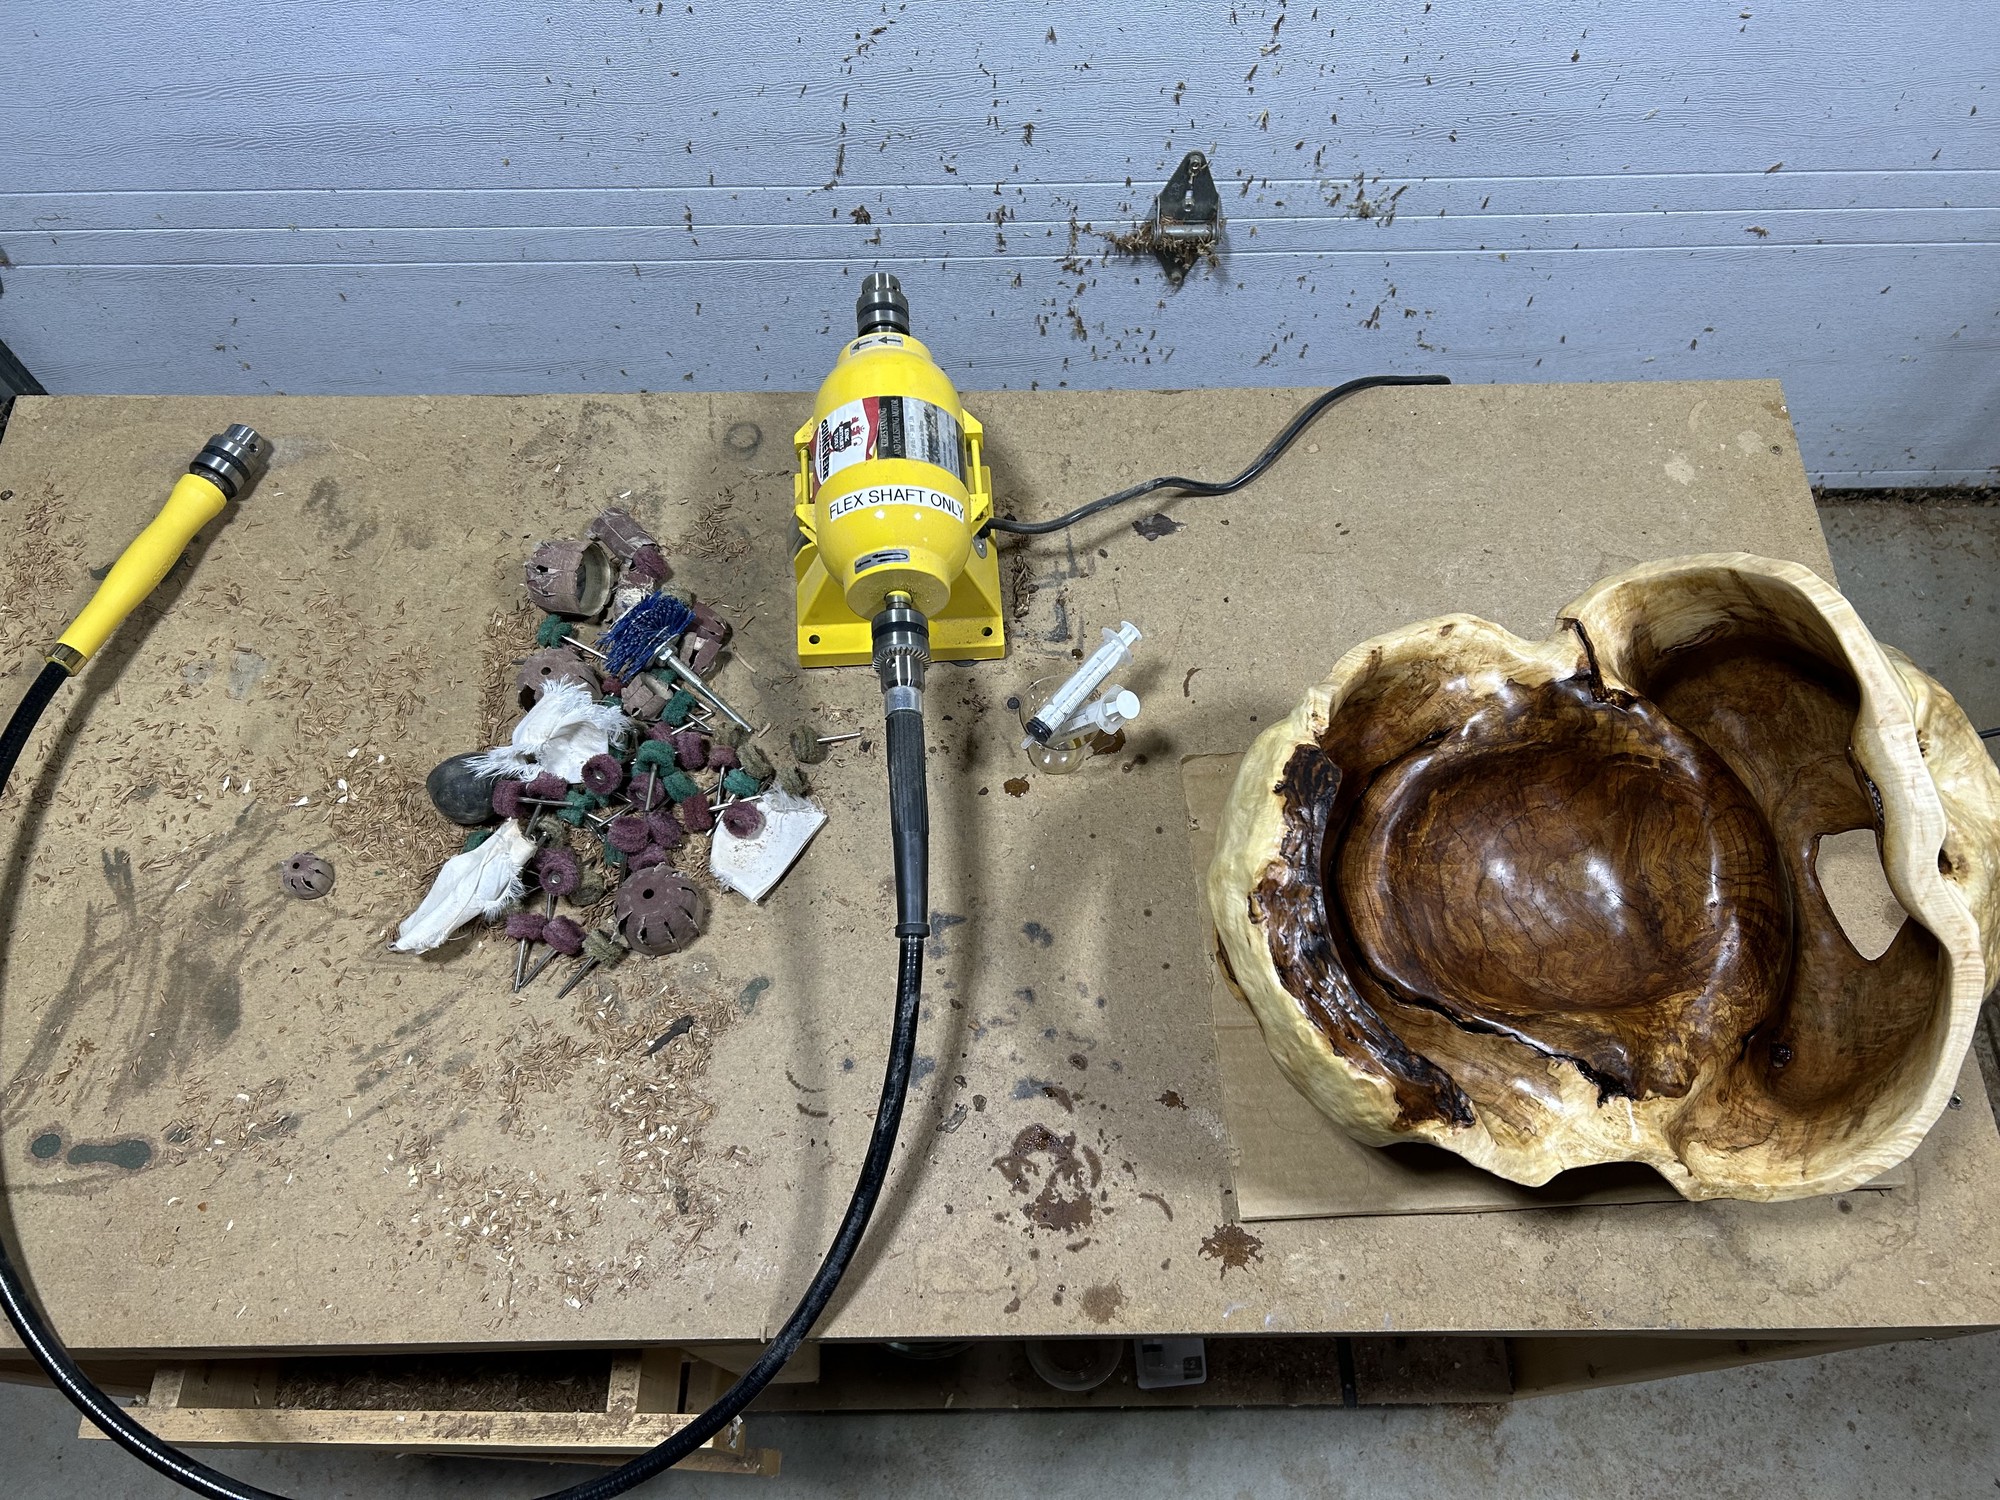
I started with the large, round/drum Guinevere sanders7 8 for large areas and the small, round/drum Guinevere sanders9 10 to get into smaller spaces. For each sander implement, I would progressivly work from 80 to 320 grit (the highest sold).
Polishing
I used a combination of the assorted dremel wheel brushes3 to more finely sand all surfaces and soften any hard lines. The bulk of the sanding was done with both the small and large, round/drum Guinevere sanders and their sanding covers11 12 13. Lastly, I used both the small and large, round/drum Guinevere sanders with their polishing cloths14 to polish the bowl. I found it useful to leave part of the cloth extended beyond the end of the drum. This allowed me to use the end of the drum as well as its sides and to avoid contacting the bare rubber of the drum (I accidentally burst one of my large, round sanders doing this on this bowl). Most importantly, this allowed me to reach into the deep cavities using the long drum8.
While not shown in the images (it is shown in the timelapse), as part of this stage, I also used a dental pick set15 to remove any bark in areas that are impossible to reach using drills, chisels and wheels. This was especially important for the large, circular gap around the center of the bowl.
Lastly, I touched up any defects or tool-marks I wasn’t happy with by using the dremel and wheel brushes shown below. This proved especially useful for removing gouges left by tools or bark in hard-to-reach areas. It’s also helpful to use these to simultaneously smooth/polish the edges of cracks and lip of the bowl. This gives the final bowl, a soft, organic appearance and touch.
Cleanup
Before applying the finish coats of oil, I cleaned off any debris using a vacuum (with brush-head to guard against denting the wood) on the burl. I forwent a wet-wipe since I did not want the grain to raise and have to resand/polish.
Finish Coats
The last step was to apply finish to stain and protect the bowl as well as to enhance the chatoyancy of the bowl. I was very happy with the color and grain of the bowl at this stage, so I used Pure (effectively clear) colored Rubio Monocoat16 following the instructions on the back of the can. I applied one coat, let sit for ~15min, and then wiped as much excess as possible. This minimally darkened the bowl but left the bowl’s color palette otherwise intact.
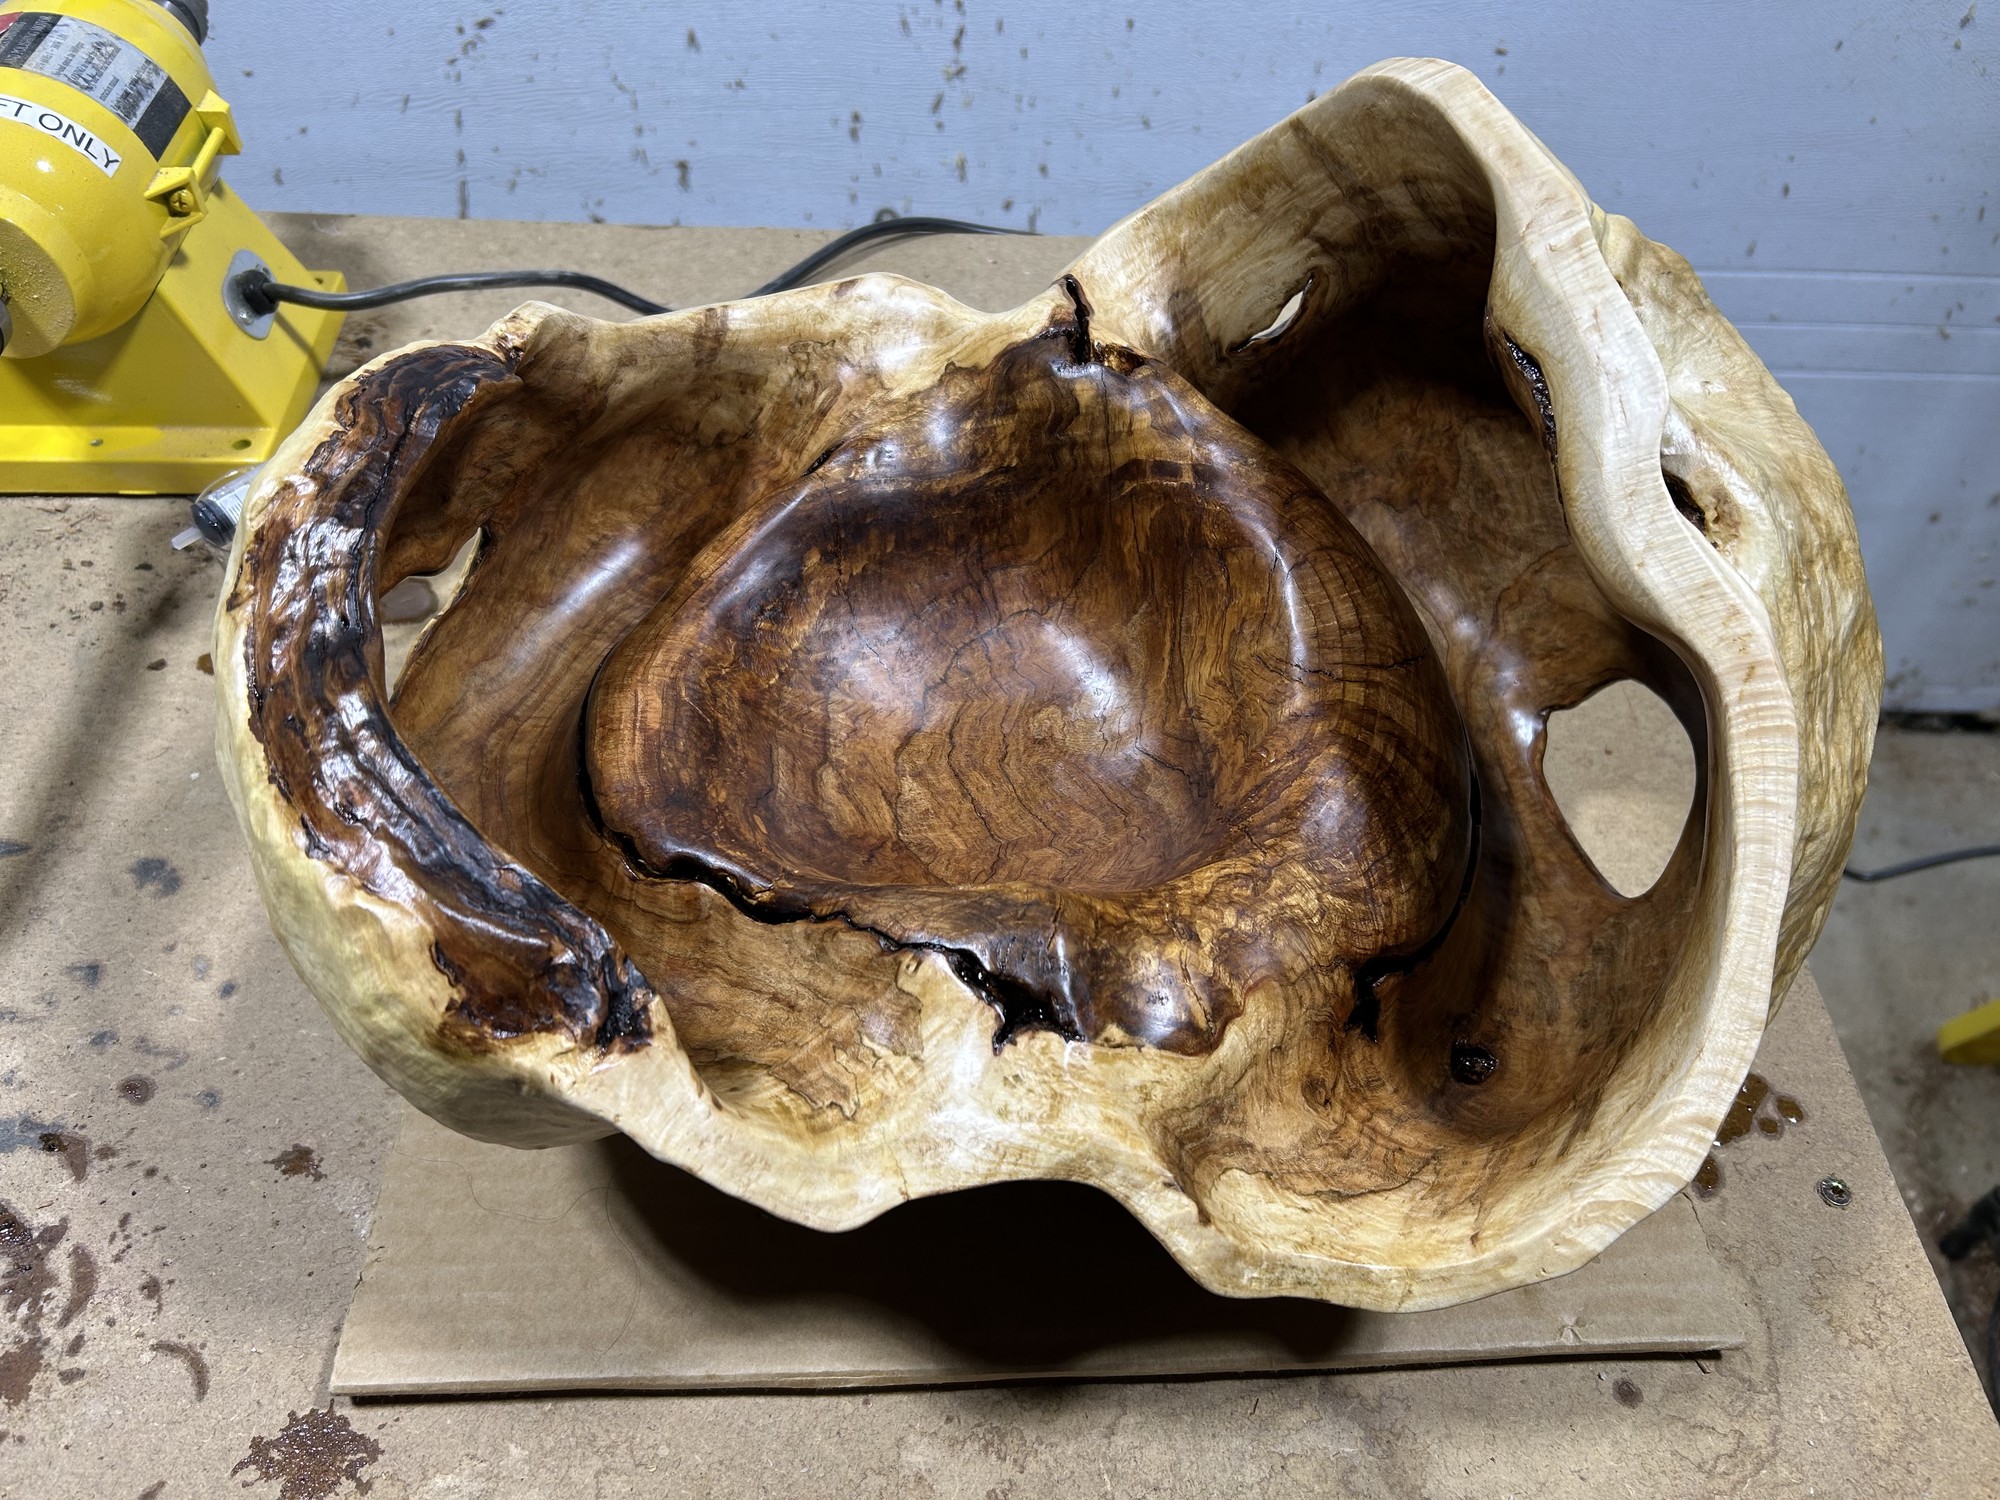
The gloss of the finish coat revealed left-over sanding marks. I felt compelled to make every surface as smooth and natural as possible, so I used the dremel and sanding wheels to sand/polish these areas and then quickly reapplied the finish coat in those areas. This seemed to work out very well.
I then left the bowl to dry for 2 days on a piece of cardboard in a >= 60F room. I checked-in on the bowl every several hours to wipe any dripping finish.
Normally, I would have used a non-porous material like a glass bowl to allow airflow and prevent both pooling of the oil as well as wicking of the oil into a porous material such as cardboard (potentially causing a darker region on the bottom of the bowl), but the bowl was too large for any of my containers. I then continued to let it dry/cure for another 7 days on a piece of cardboard in a >= 60F room.
After this initial week of curing, I found some places with excess finish oil that had dried into a goop (especially in cracks) along with hairs from q-tips that I had used to apply the oil in difficult areas. I fixed these areas by first using a dental pick set and tweezers to carefully remove the debris and poorly dried oil globs and then reapplied thin amounts of finish oil using the rigid, stem of a q-tip which I had cut the end off of.
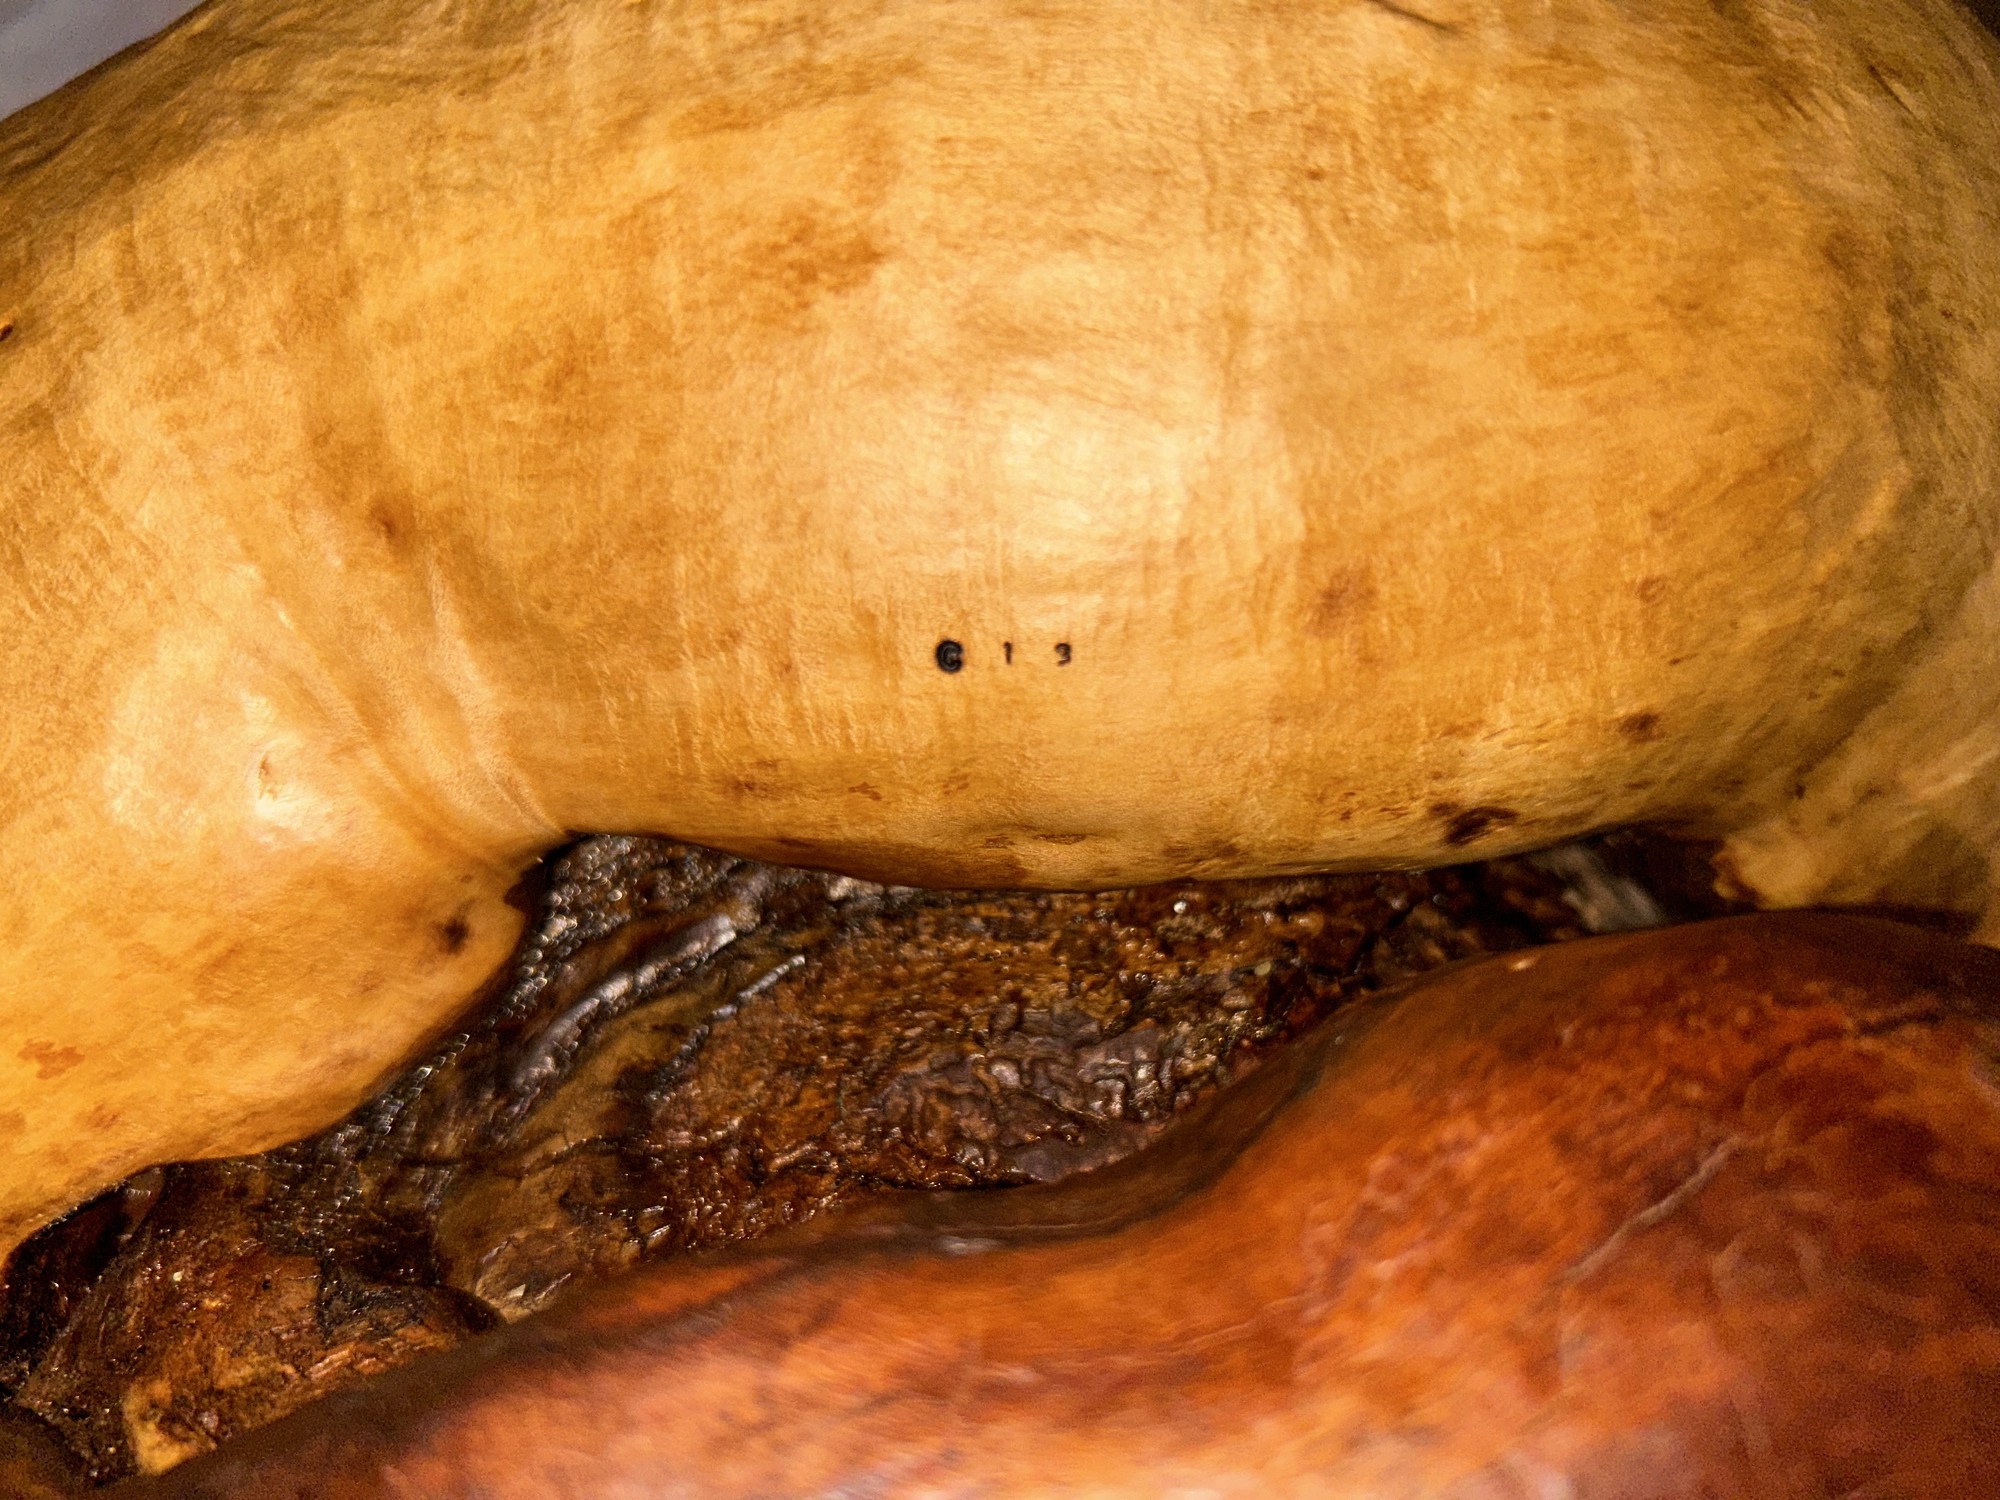
Signage
Next, I signed the bowl using my characteristic “c” followed by the number of the bowl. To do this, I use stamps17 heated for about 2 min above a gas stove top and then moderately pressed against the wood for ~3 seconds. This is a tricky thing to get right and it is recommended to first practice on a damp piece of wood. The finish oil in the wood will act to conduct heat quicker than unfinished wood. Holding the letters to the wood for too long will burn around the letter/number, while holding for too little won’t burn the letter/number enough.
Shipping
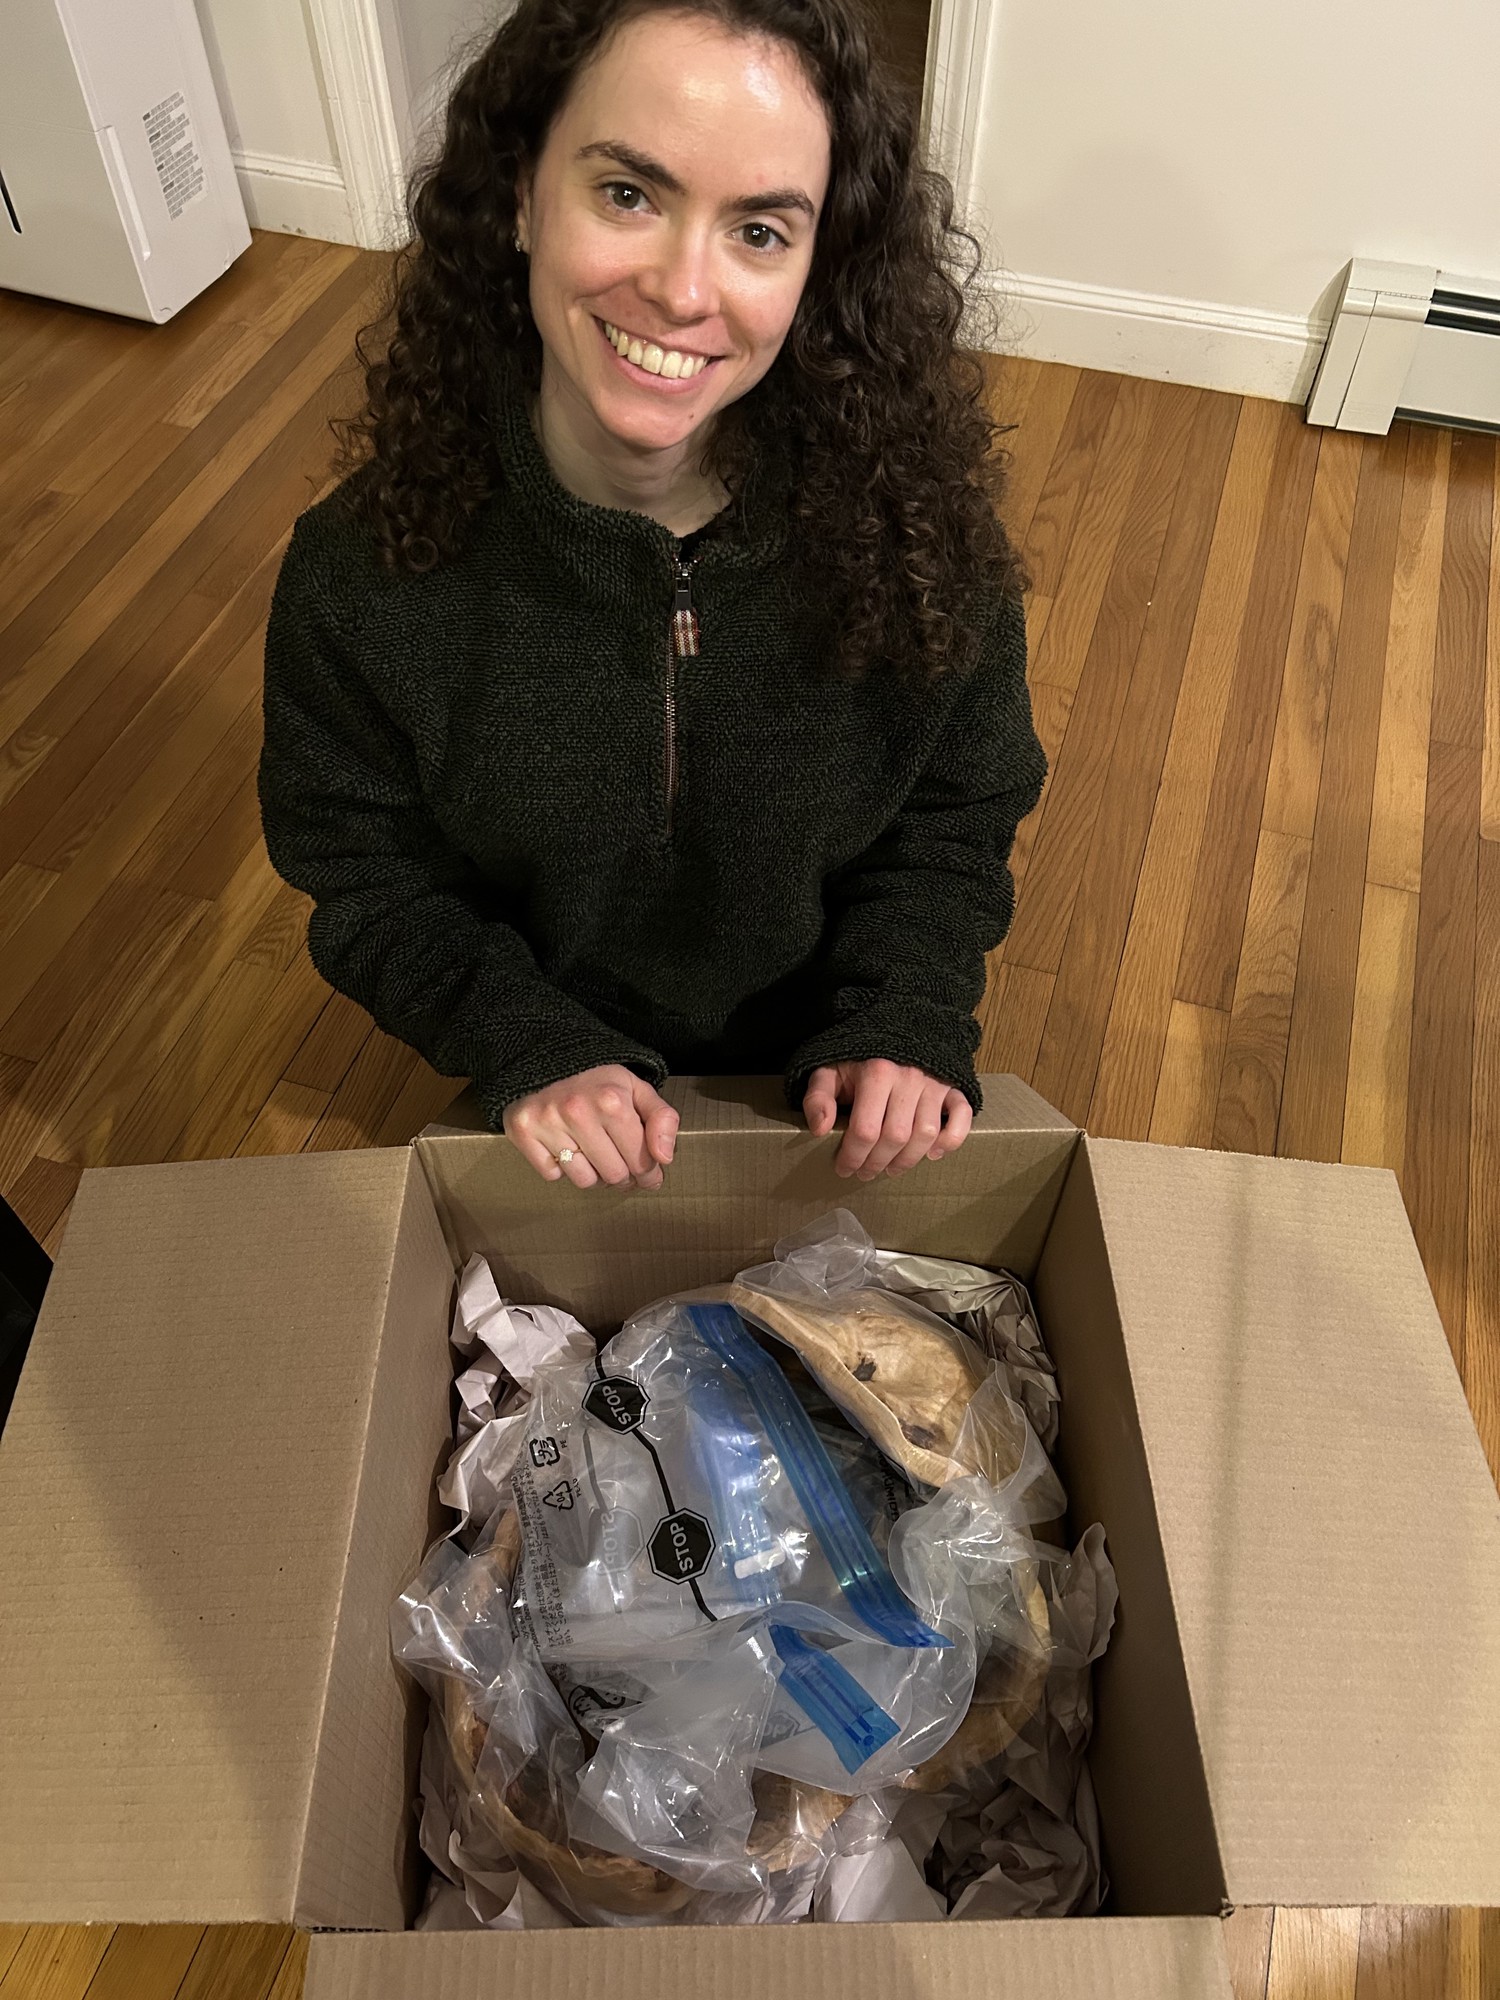
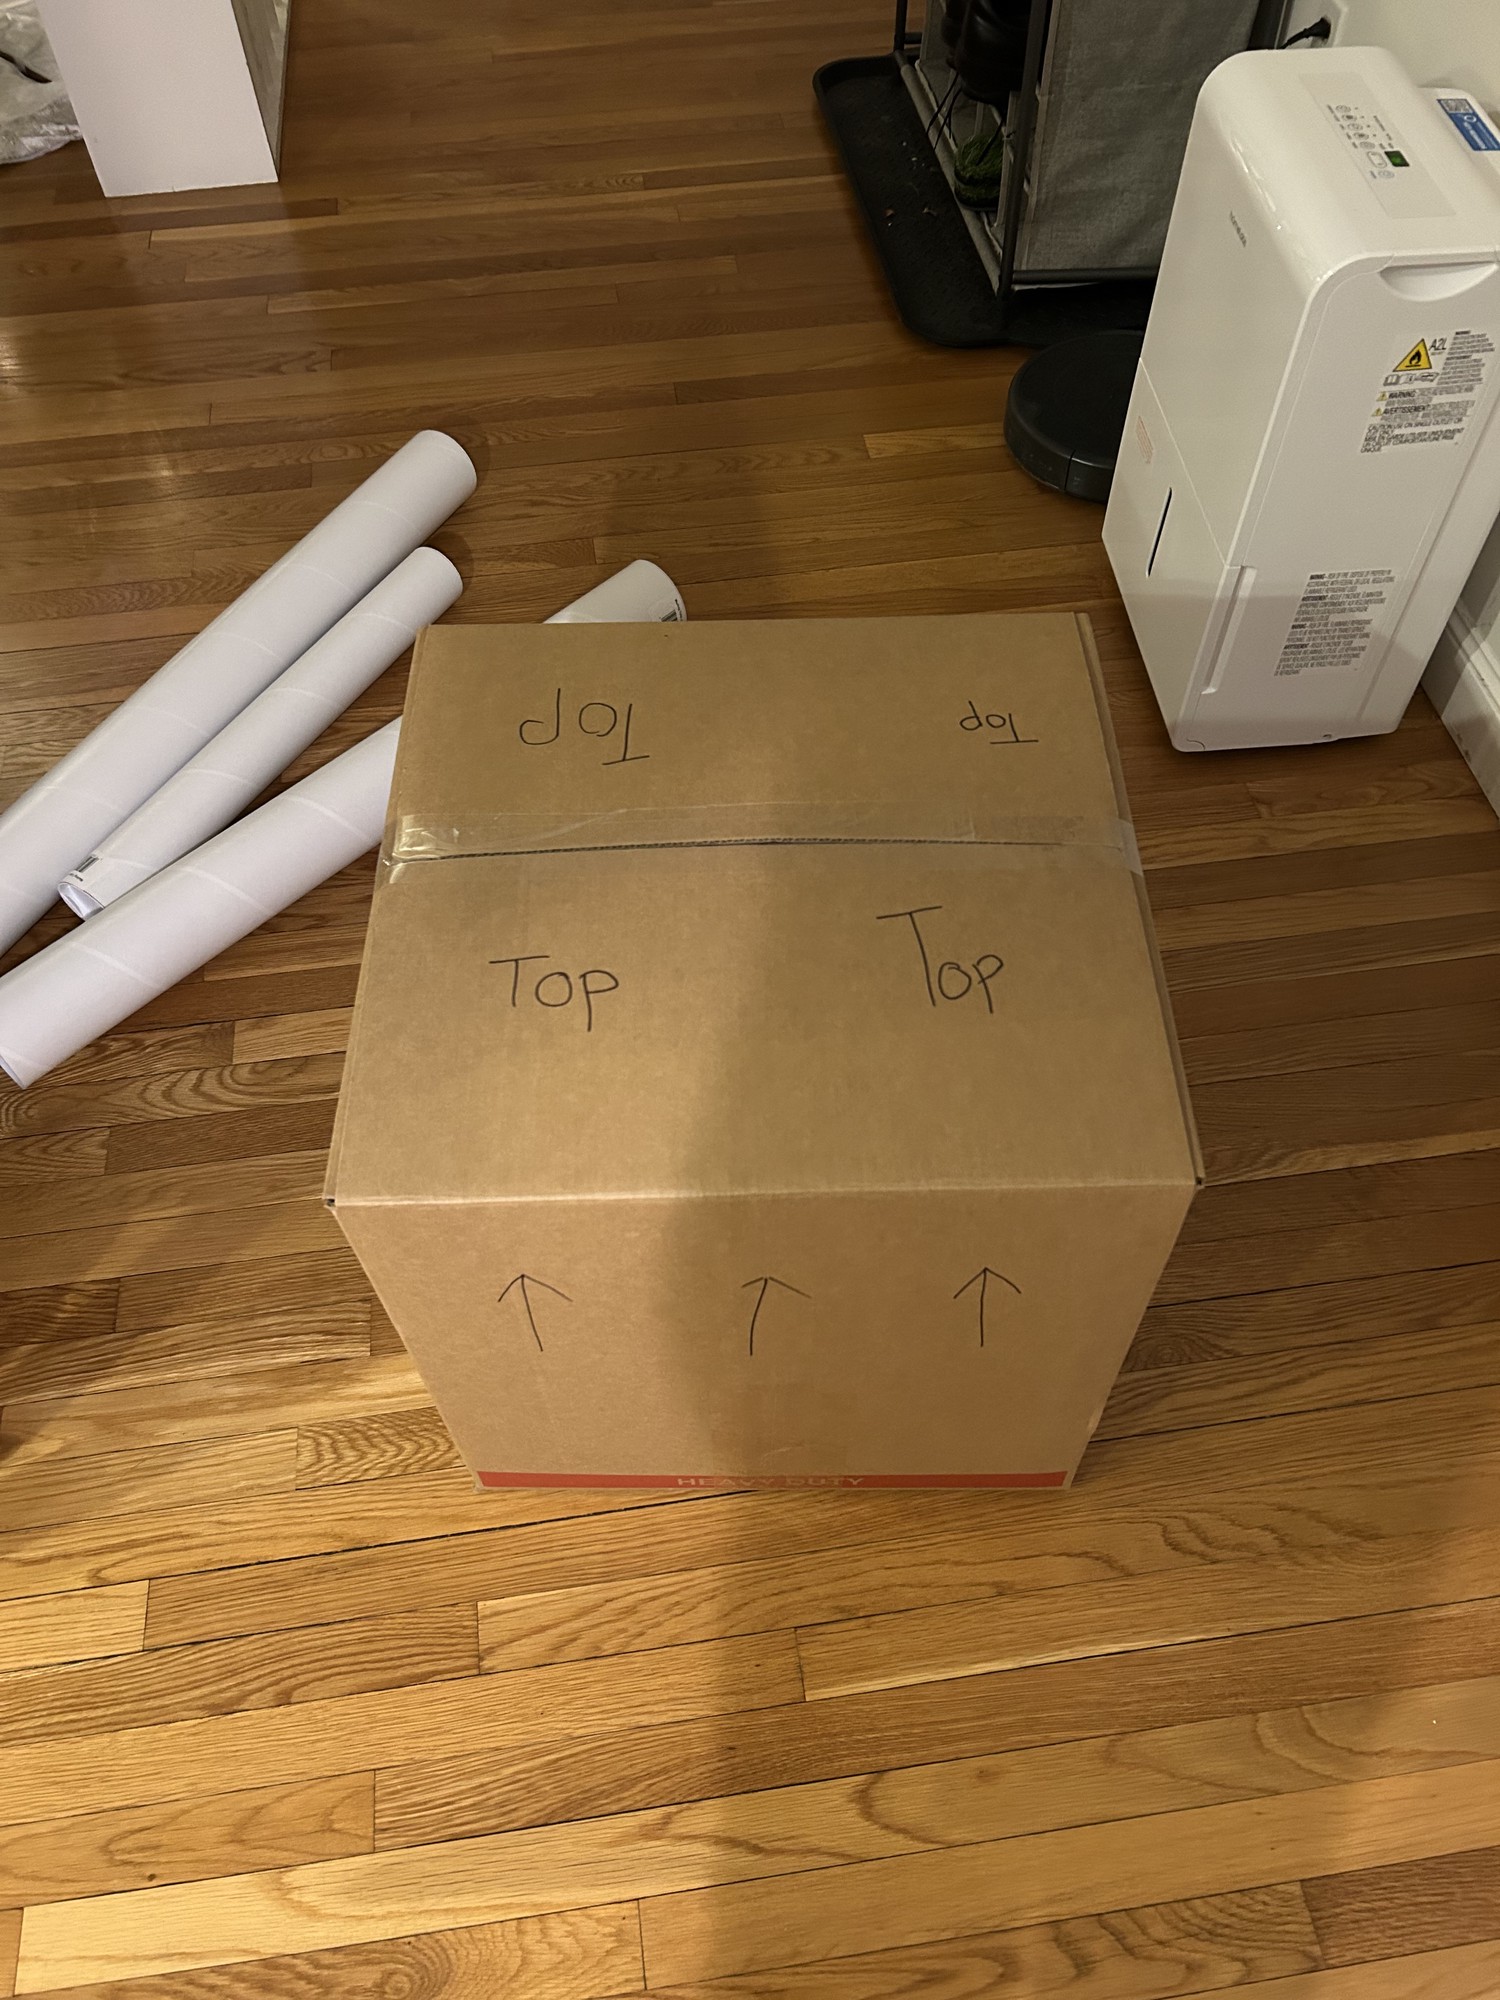
Lastly, I needed to find a way to get this bowl to the charity auction. It was challenging to come up with an affordable shipping solution for such a large bowl that would also be safe and secure. We settled on using Shippo’s18 two day delivery service and a two-box packaging system. An outer, 20"x20” box would give robust protection. An inner, 16"x16” box would house the bowl. Between the inner and outer boxes was crumpled paper. The bowl itself was nearly vacuumed sealed within a packing bag19 with some air left so that the bag did not tighten too much around fragile structures of the bowl. This was then placed into the inner box with crumpled paper. All told, the delivery service cost $80 and the packaging cost $40.
I’m happy to report that the bowl made it to the venue safely!

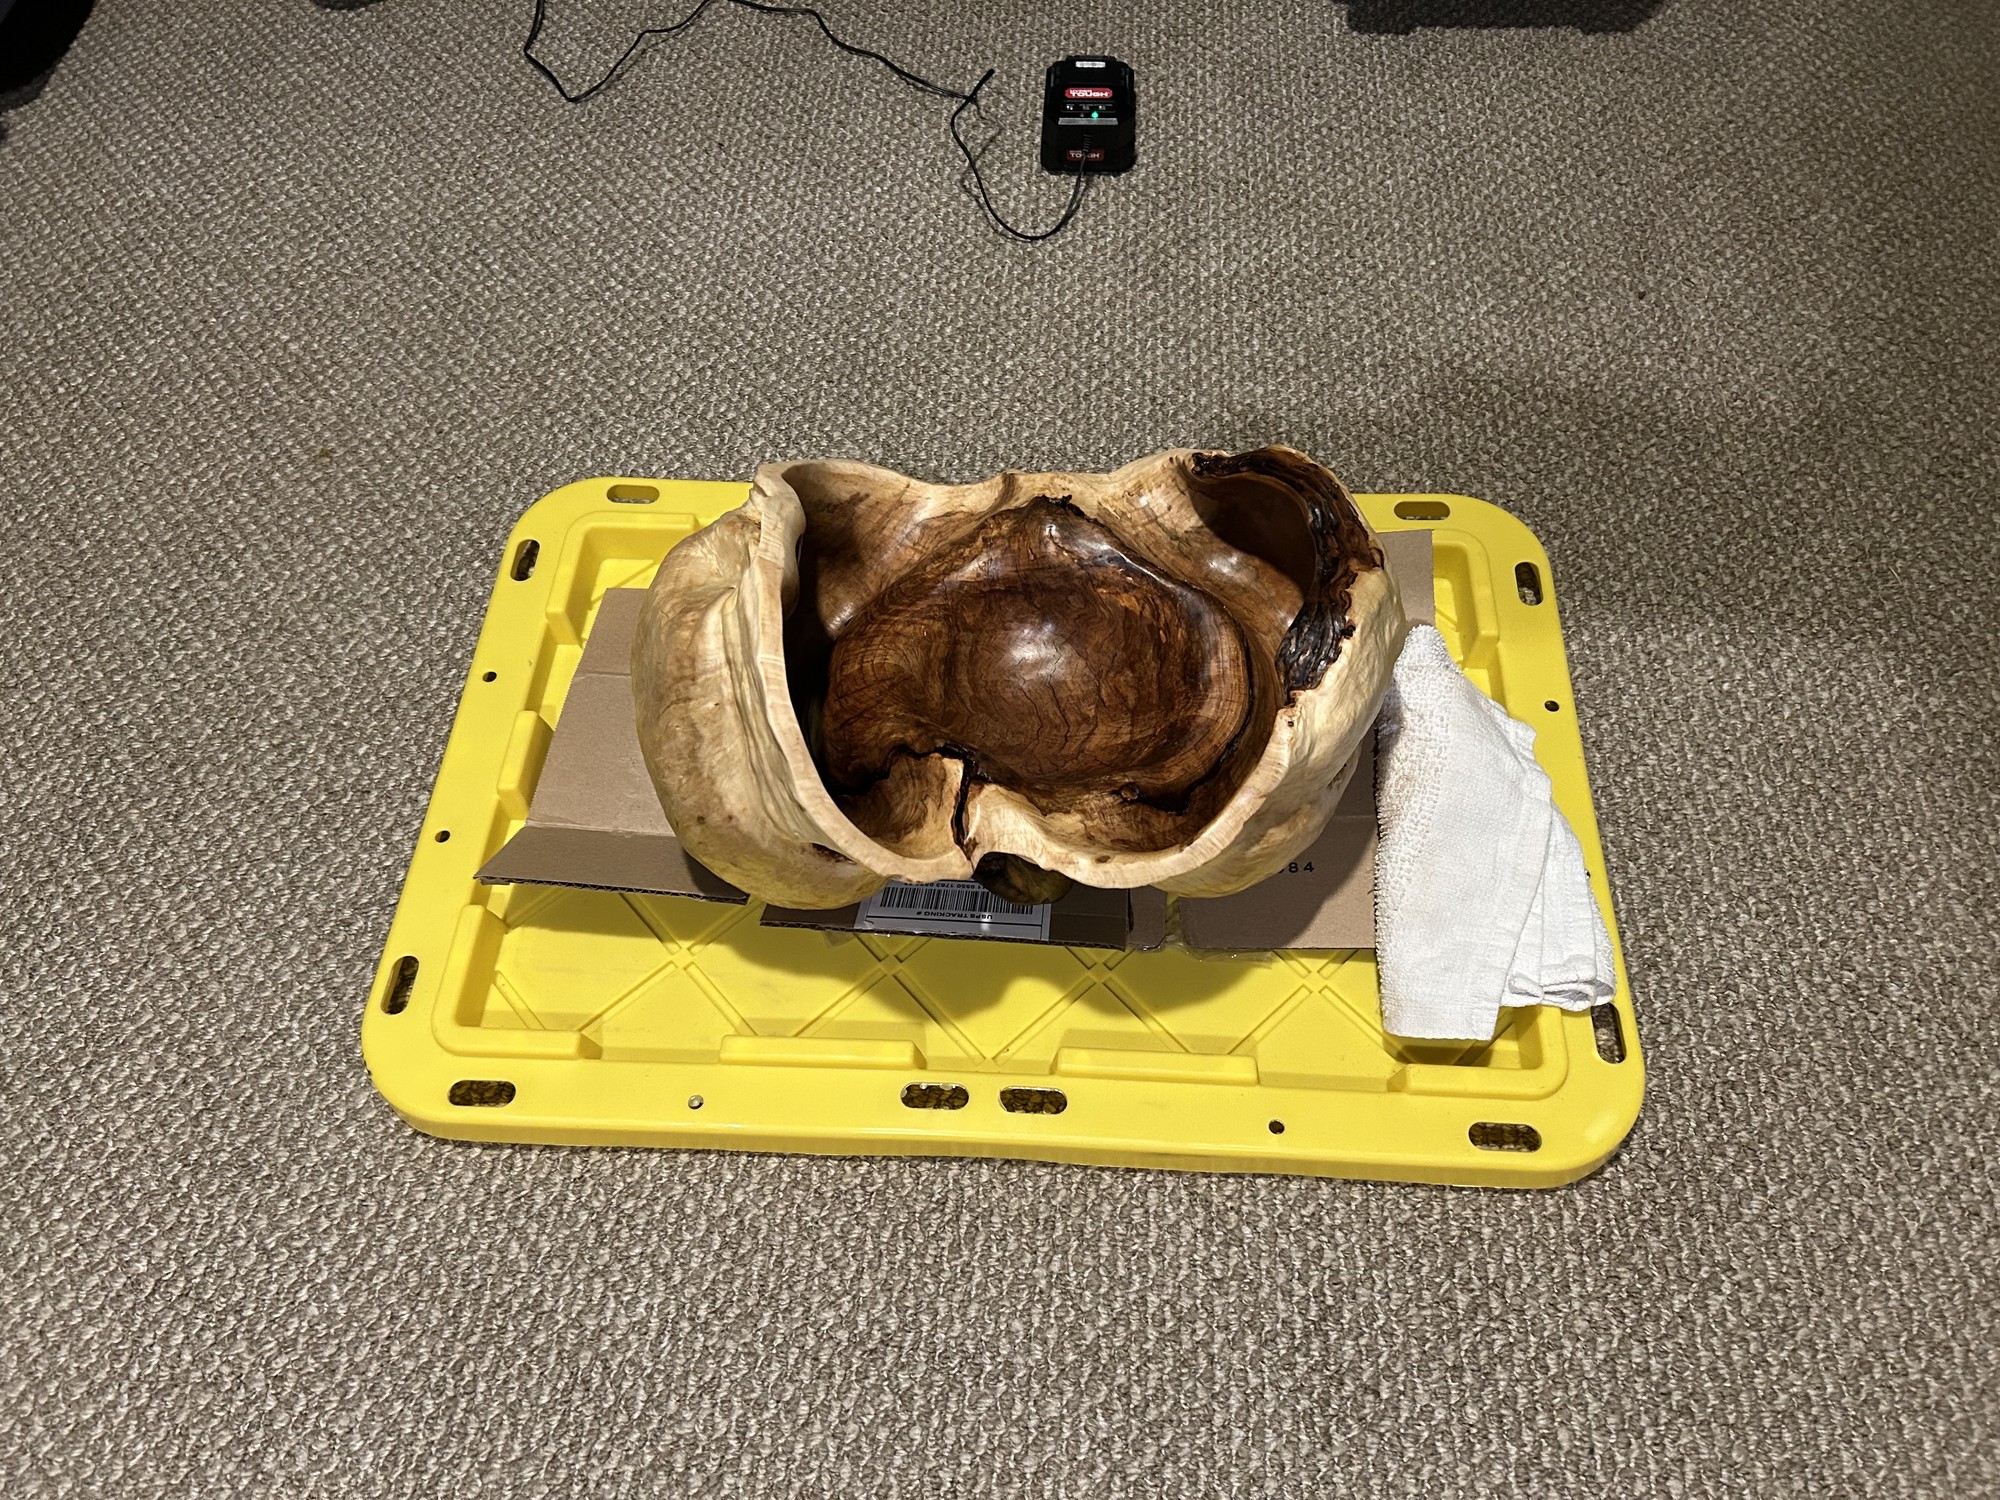
Finished Bowl

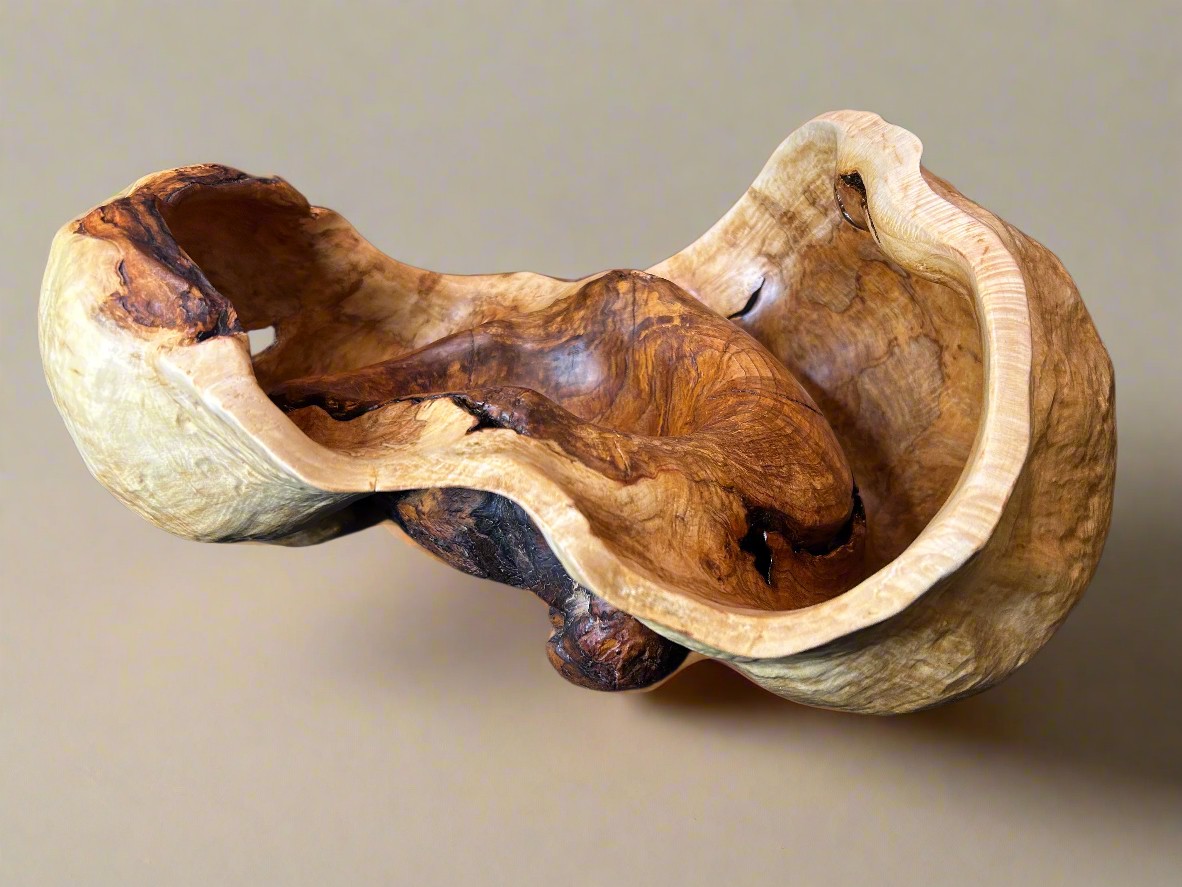
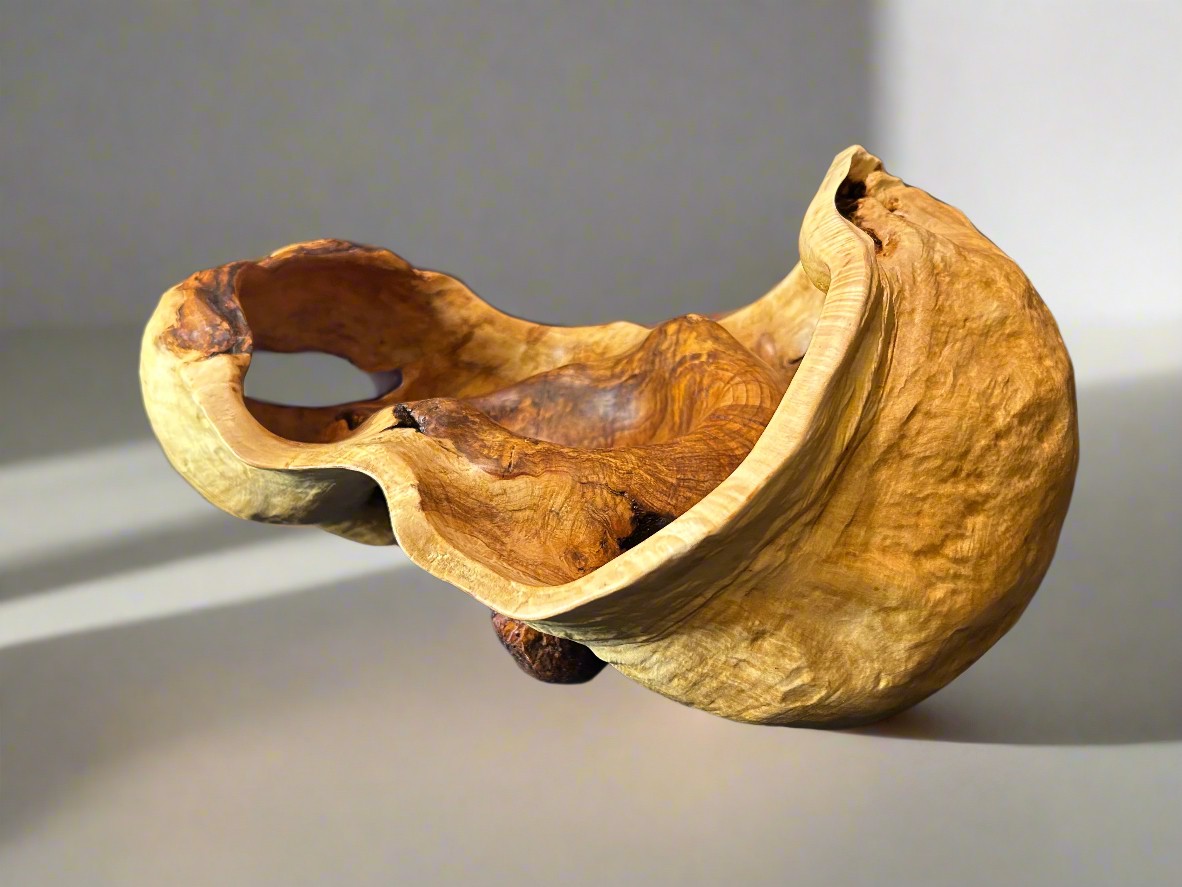
Cheers!
-
https://www.amazon.com/Mixiflor-Abrasive-Woodwork-Polish-Grinder/dp/B08D689WD4 ↩︎
-
https://www.homedepot.com/p/Avanti-Pro-4-in-Crimped-Wire-Wheel-PWW040WHLD01G/202831062 ↩︎
-
https://www.amazon.com/dp/B0CQF6W2JT/ref=sspa_dk_detail_1?psc=1&pd_rd_i=B0CQF6W2JT&pd_rd_w=bLqMK&content-id=amzn1.sym.8c2f9165-8e93-42a1-8313-73d3809141a2&pf_rd_p=8c2f9165-8e93-42a1-8313-73d3809141a2&pf_rd_r=QHTW1JFVWAJQZ4EJYWHV&pd_rd_wg=xCFRP&pd_rd_r=35335046-c0de-4057-a9cd-3cc55a02d363&s=industrial&sp_csd=d2lkZ2V0TmFtZT1zcF9kZXRhaWw ↩︎
-
https://www.amazon.com/OrbiCut-Speed-Cutting-Tool-Plano/dp/B01N5YGI35 ↩︎
-
https://katools.com/11367sr-guinevere-small-round-sander-replacement-bulb/ ↩︎
-
https://katools.com/11348-guinevere-round-sander-cloth-sleeves/ ↩︎
-
https://katools.com/11368-guinevere-small-drum-sander-cloth-sleeves/ ↩︎
-
https://katools.com/11378-guinevere-long-drum-cloth-sleeves ↩︎
-
https://katools.com/11368-guinevere-small-drum-sander-cloth-sleeves/ ↩︎
-
https://www.amazon.com/dp/B07PN9VVVG?ref_=ppx_hzsearch_conn_dt_b_fed_asin_title_1 ↩︎
-
https://www.amazon.com/dp/B01JTB6UUE?ref_=ppx_hzsearch_conn_dt_b_fed_asin_title_1 ↩︎
-
https://www.amazon.com/dp/B07RN64P2R?ref_=ppx_hzsearch_conn_dt_b_fed_asin_title_1 ↩︎